.jpeg)
Content Calendar Instagram: A Practical 2026 Playbook
Build a content calendar Instagram creators actually stick to in 2026. Learn posting cadence, content pillars, batching, tools, and a sample monthly plan.
5 min read
September 14, 2026

Build a repeatable video production workflow that saves time and money. This guide for solopreneurs & SMBs covers planning, shooting, editing, and repurposing.
Written by:


You publish one video, then spend the next week recovering from it. The script took too long, filming dragged, editing swallowed your evenings, and promotion turned into a pile of small tasks you kept putting off. That is not a content strategy. It is an exhaustion loop.
Solopreneurs do this to themselves every day. They treat each video like a custom project instead of building a repeatable production system. The result is predictable. Inconsistent publishing, slower turnaround, weaker results, and a growing urge to avoid the next shoot altogether.
A strong video production workflow addresses the core issue. It gives you a set process for planning, recording, editing, publishing, and reusing each asset without reinventing the work every time. If you want video to support the business instead of hijacking your calendar, you need operations, not bursts of motivation.
That is why a repeatable system matters more than a single polished upload. A smart workflow reduces decision fatigue, protects your time, and makes it possible to turn one recording session into multiple assets across channels. If you need a clearer strategy for using video to drive growth, start with this guide to small business video marketing.
You do not need more hustle. You need a system you can run every week without burning out.
Monday night, you record a video. Tuesday, you re-record the intro because it felt off. Wednesday, you cannot find the right clips. By Friday, the edit is still open, the thumbnail is not done, and publishing feels like one more job you do not have time for.
That is why solopreneurs stall with video. The problem is not effort. It is an unstable process.
Treating video like a random creative task guarantees drag. You start from scratch every time, make the same decisions again, and pay for that chaos with time, energy, and inconsistency. After a few rounds, video stops feeling useful and starts feeling expensive.
A workflow fixes the part that is broken. It cuts repeat decisions, sets a standard for each step, and turns one recording session into a system you can run weekly without draining yourself. If your videos are not connected to a larger customer journey, review this guide to small business video marketing strategy before you make another content plan.
Messy production looks active. It is mostly rework.
You shoot too much because the message is unclear. You edit too long because there was no structure before filming. You publish once because distribution was never planned. Then you skip the next video because the last one took too much out of you.
That pattern shows up in a few obvious ways:
One more problem gets ignored. Solopreneurs who already create written content often separate their writing and video processes, which creates duplicate work. A smarter approach borrows from systems for optimizing daily writing with voice so ideas, scripts, and spoken drafts move faster from rough thinking to publishable content.
A good workflow is a production rulebook. It forces decisions early, keeps assets organized, and removes avoidable friction from every video after the first few.
That matters because burnout rarely comes from the camera itself. It comes from loose planning, scattered files, endless editing choices, and manual publishing tasks stacked on top of actual client work. Solopreneurs do not need a more heroic effort. They need fewer moving parts.
Use this standard instead:
| Bad habit | Better workflow move |
|---|---|
| Start filming as soon as an idea appears | Set one business goal first |
| Ramble until something sounds usable | Write the core beats before recording |
| Capture random clips | Build a short shot list |
| Edit from an unorganized folder | Label and sort files before cutting |
| Publish one asset | Repurpose every video by default |
Here is the shift that matters. Stop treating each upload like a separate project. Build a repeatable video production system that gets easier every week.
Pre-production is where sane creators save themselves.
Most burnout in video doesn't come from filming. It comes from avoidable rework. You shoot the wrong angle, forget the CTA, ramble on camera, miss B-roll, then spend hours trying to patch the gaps in editing. All of that starts earlier than people admit.
Ziflow's workflow guide gets this right. The greatest benefit comes from locking the concept, script, shot list, budget, and schedule before filming. That's not overkill. That's how you stop one video from swallowing three afternoons.
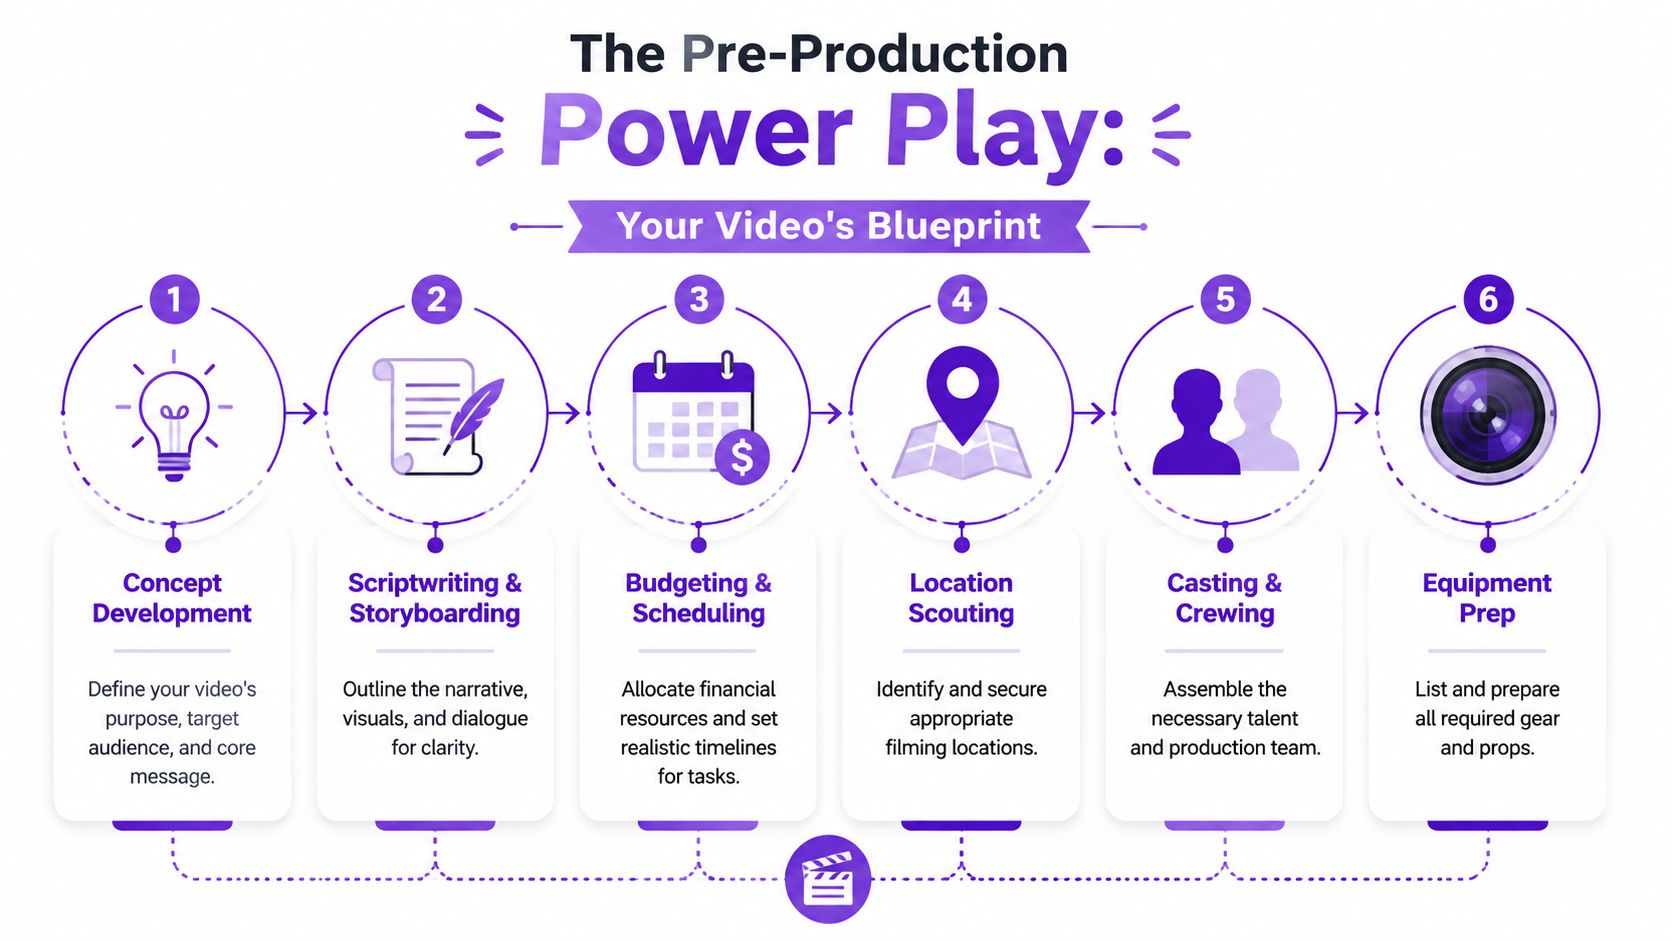
Every video needs one job.
Not three. Not five. One.
If you're a realtor, the job might be to handle a common seller objection. If you run a local service business, the job might be to show your process so prospects trust your professionalism. If you sell a course or service, the job might be to move viewers to a consultation or email signup.
Ask these questions before anything else:
If you can't answer those in plain language, you're not ready to film.
A full script is useful when wording matters. Think ads, landing page videos, product demos, and anything with compliance or specific claims.
An outline is better when your credibility depends on sounding natural. Think interviews, educational talking-head videos, quick expert breakdowns, and founder updates.
A simple outline can be enough:
If writing slows you down, use voice-first drafting. A practical way to speed up rough scripting is optimizing daily writing with voice, especially if you think faster out loud than on a blank page.
Here's a useful walkthrough before you move into production:
A shot list sounds fancy. It isn't.
It's just a written record of what you need to capture. For a solopreneur, that alone cuts waste because you stop over-shooting and stop forgetting the footage that makes editing easier.
Example for a simple customer education video:
| Shot | Purpose |
|---|---|
| Talking head intro | Deliver the main message |
| Close-up of product or tool | Add proof and visual interest |
| Screen recording | Explain process clearly |
| Customer-facing environment | Build trust and context |
| CTA outro | Direct next step |
Practical rule: If a shot doesn't support the viewer's understanding or your CTA, don't film it.
You do not need complicated software to get this right. A Google Doc, Notion page, or paper checklist works fine if you use it consistently.
Your repeatable pre-production checklist should include:
That's your blueprint. Without it, every shoot feels harder than it should.
Production day should feel boring. That's a compliment.
If filming feels frantic, your workflow broke earlier. The camera, lights, and microphone aren't the hard part. The hard part is showing up prepared enough that you can focus on delivery instead of damage control.
This section is where solopreneurs usually waste time trying to look “professional” instead of being organized. Forget the fantasy setup. Get clean audio, usable light, and the right footage. That's what counts.
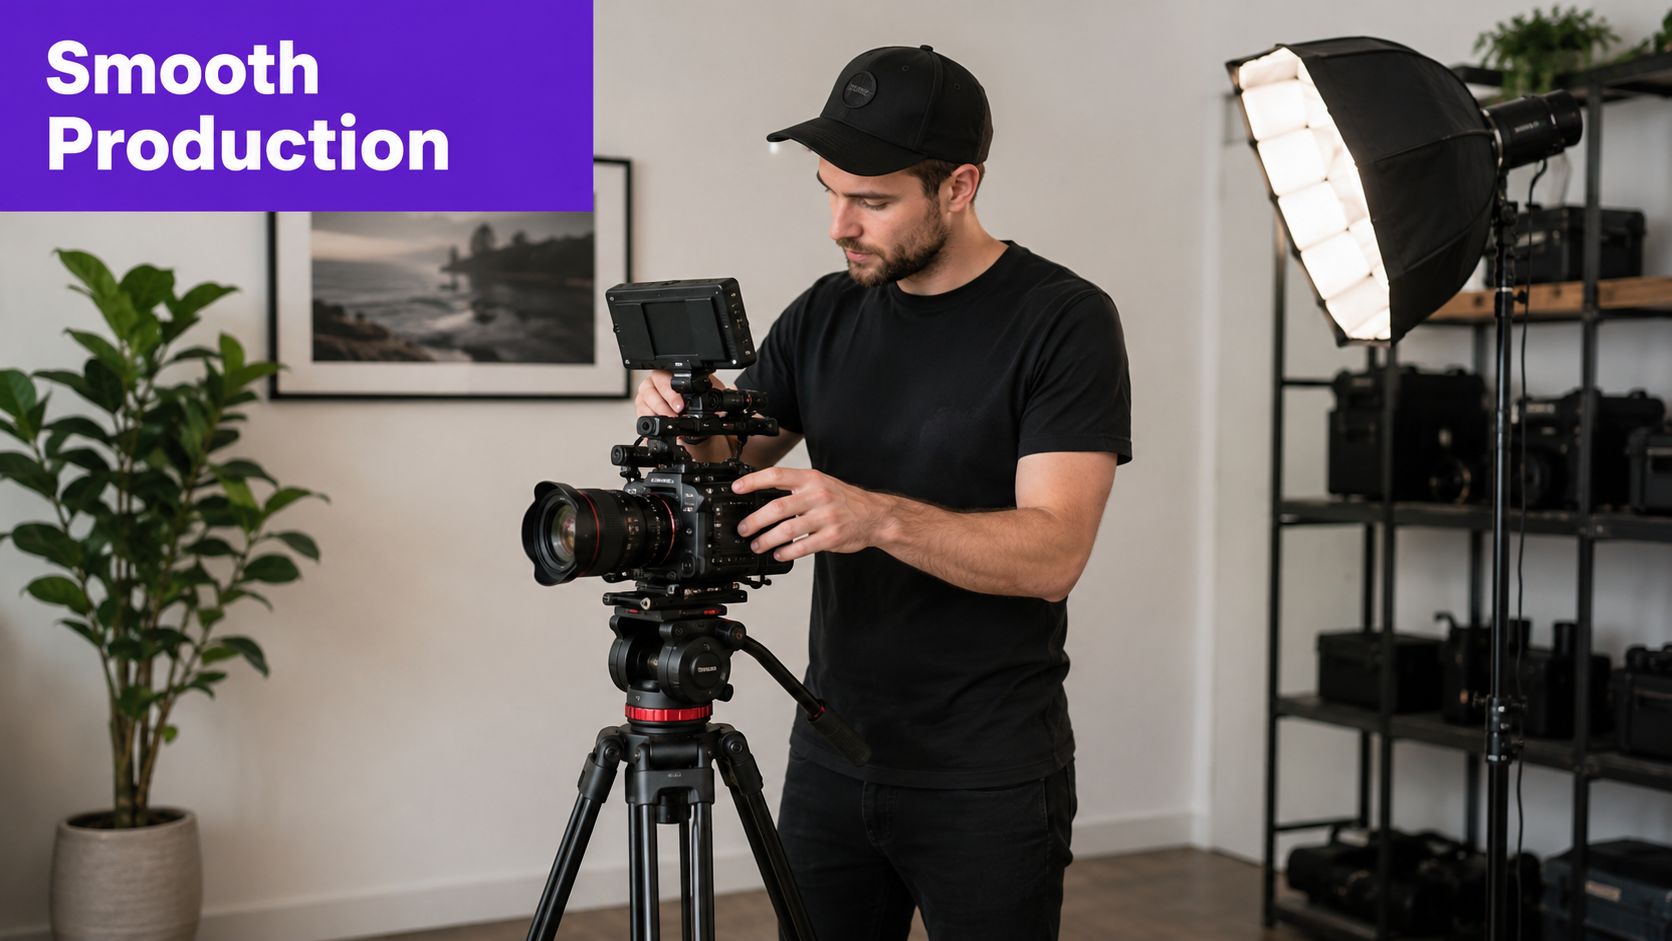
Don't trust your memory. Use a physical checklist.
A basic production reset should cover:
That prep matters even more because modern production can create a ridiculous amount of material. Iconik notes that a high-end camera shooting 8K RAW can generate more than 7 TB of raw data in one hour. You may not be shooting 8K RAW, but the lesson is the same. Extra footage creates extra storage, extra sorting, and extra editing drag.
People will forgive average visuals faster than they'll forgive bad sound.
If you're choosing where to spend effort, clean dialogue wins. A simple lav mic or a well-placed USB mic can do more for perceived quality than a more expensive camera body. Record a short test. Listen back. Fix hum, echo, or clothing rustle before you record the actual take.
Lighting is next. Keep it basic:
| Setup | What to do |
|---|---|
| Window light | Face the window, don't put it behind you |
| Single light | Place it slightly off-center at eye level |
| Two-light setup | Use one key light and soften shadows with the second |
| Background separation | Pull yourself away from the wall if possible |
B-roll is the supporting footage that covers cuts and makes your video feel finished. Hands typing. Product close-ups. Office details. Customer interactions. Screen recordings. Process shots.
Without B-roll, your edit gets trapped in endless talking head footage. With it, you can tighten pacing, hide jump cuts, and make explanations easier to follow.
Use your shot list and capture B-roll in batches:
If you create interview-style or podcast video, Podmuse's video podcast production insights are useful for thinking through camera coverage, visual variety, and production choices before you press record.
Shoot the sentence, then shoot the proof.
That one habit improves production quality fast. Say the idea on camera. Then capture the footage that proves it.
Editing becomes miserable when you treat it like discovery.
It gets faster when you treat it like assembly. You already decided the point, captured the right footage, and organized the files. Now you build the story in order. That's it.
A lot of solo creators sabotage this phase by opening their editor and immediately fussing over music, transitions, fonts, and color looks. That's decoration. Structure comes first.
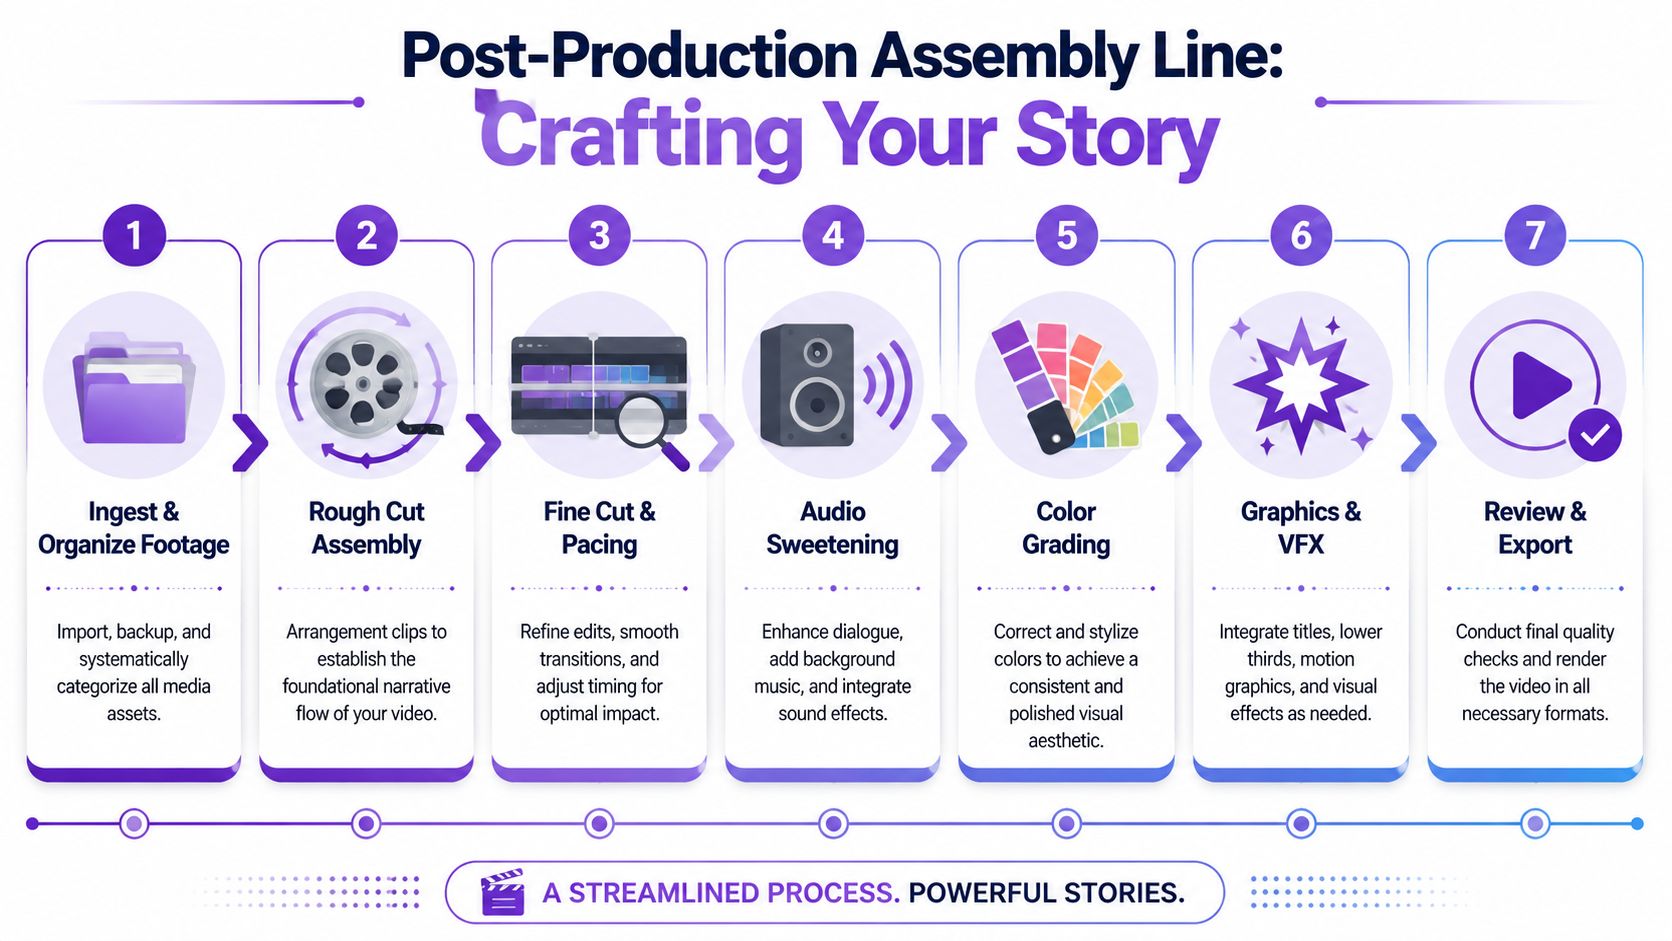
The rough cut is where you answer one question. Does this sequence make sense?
Start with the primary footage. Drop in the talking head, interview, tutorial capture, or main narrative clips in the order you planned. Remove obvious mistakes, dead air, duplicate takes, and rambling tangents. Don't worry about polish yet.
Your rough cut checklist:
The fine cut is where pacing gets fixed.
During this phase, shorten pauses, improve transitions, and place B-roll so the viewer never feels stuck watching unbroken talking head footage. Add screen recordings, product demos, or supporting visuals where they carry the explanation better than more words would.
If your files and versions already feel messy, you need a better system around your assets. This guide to video asset management is useful if you're tired of duplicate exports, mystery filenames, and hunting for the “final final” version.
Here's a simple editing flow that works for most business videos:
| Stage | What to focus on |
|---|---|
| Rough cut | Story order and usable takes |
| Fine cut | Pacing, trim decisions, B-roll placement |
| Polish | Audio, color, text, music, export settings |
Cut for clarity before you cut for style.
Now add the finishing layer. Keep it restrained.
Music should support the tone, not compete with the voice. Text overlays should emphasize key ideas, not turn your video into a slide deck. Color correction should make shots consistent and clean, not overly cinematic for no reason.
Use this final-pass checklist:
A repeatable post-production workflow matters because every extra decision taxes your energy. Standardize intros, lower thirds, music style, and export presets once. Then stop reinventing them.
Exporting the video is not the finish line. It's the midpoint.
Most solopreneurs often squander the value of their own work. They spend all their time making one long-form video, publish it once, and then start from zero again next week. That habit is expensive in energy. One recording session should feed multiple channels.
The smarter move is simple. Treat every finished video as a content source, not a single asset.
Once the master edit is done, break it down immediately while the context is fresh.
A practical repurposing chain looks like this:
That's how one piece of work starts acting like a system.
If webinars are part of your funnel, this article on webinar content strategy for YouTube gives a useful model for turning one long recording into a broader publishing workflow.
Repurposing manually sounds smart until you're the person doing it.
Clipping, resizing, captioning, writing descriptions, drafting titles, generating thumbnails, and scheduling posts across platforms becomes another production job. Most business owners don't need more tasks. They need fewer repetitive tasks.
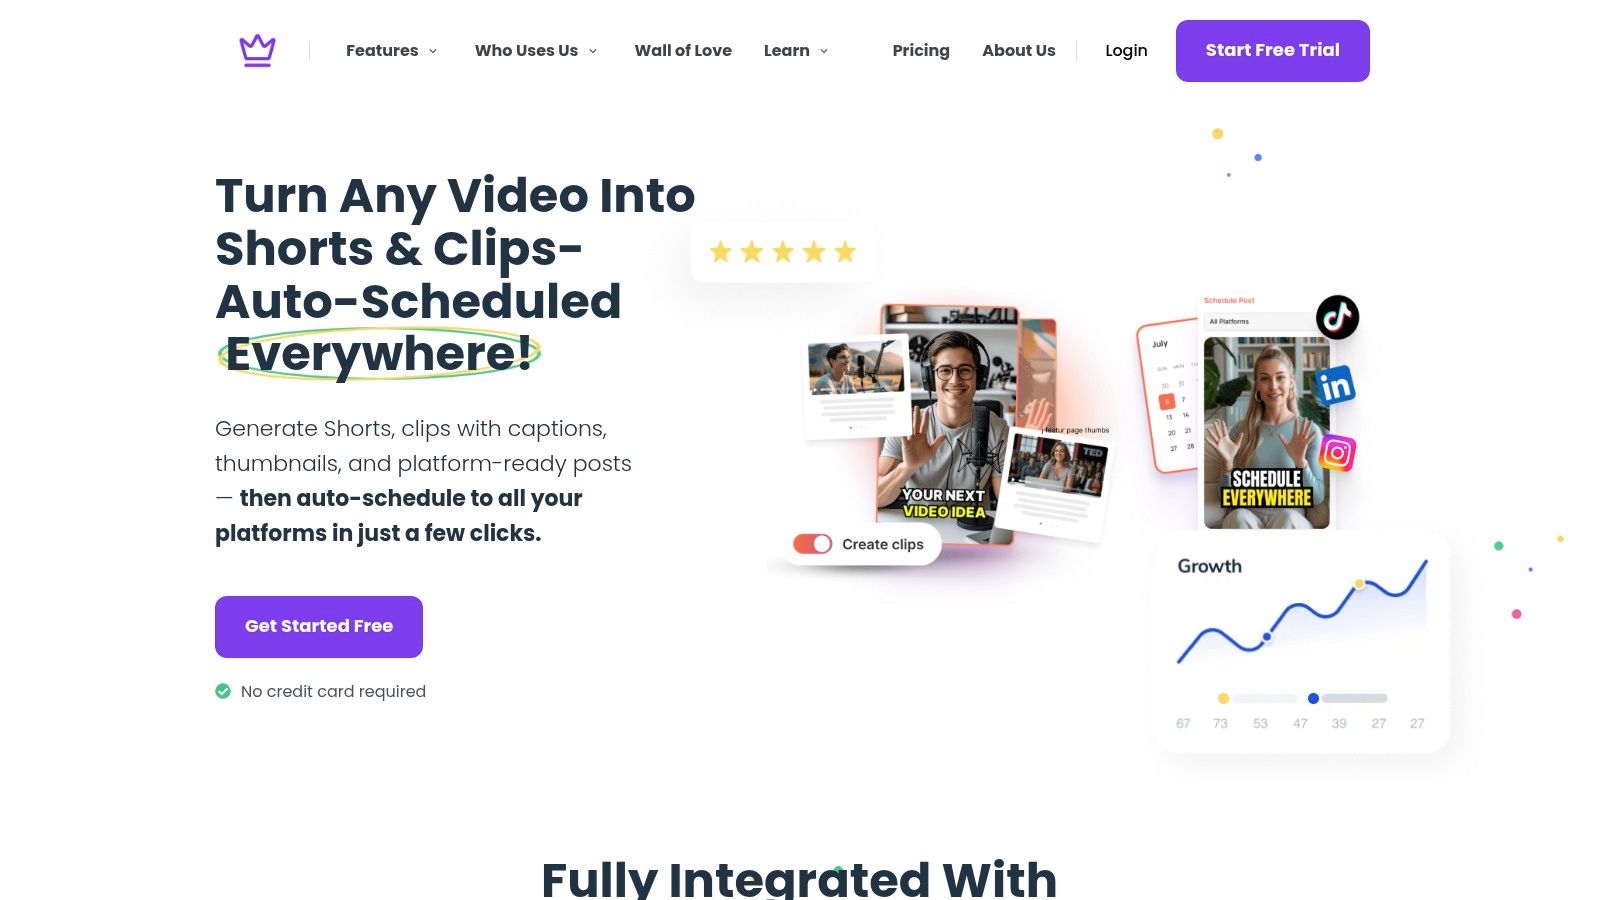
This is the point where automation earns its keep. For example, Taja AI can take a long-form video and generate clips, captions, thumbnails, blog-style outputs, and platform-specific posts, then schedule them across channels from one workflow. That's not magic. It's just replacing repeated manual steps with a repeatable publishing system.
Repurposing doesn't mean dumping identical content on every platform.
You need adaptation, not duplication. The hook that works on YouTube may be too slow for short-form. A thumbnail that works on desktop may fail on mobile. A polished educational clip may need a punchier caption on Instagram or LinkedIn.
Use a distribution checklist:
| Channel type | What to adapt |
|---|---|
| YouTube | Title, thumbnail, description, chapters |
| Short-form platforms | Vertical framing, captions, opening hook |
| LinkedIn or Facebook | Native post copy and business context |
| Blog or website | Embedded video plus written summary |
A repeatable video production workflow includes publishing. If distribution is manual chaos, the workflow is incomplete.
That's the mindset shift solopreneurs need. Don't ask, “How do I make another video?” Ask, “How do I turn this recording into a week or month of usable content?”
If you never review performance, your workflow stays expensive.
A lot of small businesses obsess over view count because it's visible and easy to brag about. It's also incomplete. A video can attract clicks and still fail because people leave early, ignore the CTA, or never convert into leads, replies, consultations, or sales conversations.
The useful metrics are the ones that help you fix the next round.
Pay attention to:
These numbers tell you where the workflow broke. If people don't click, your packaging failed. If they click and leave, your opening failed. If they watch but don't act, your CTA or offer likely needs work.
Don't just “review analytics.” Use them to adjust your production system.
If retention drops when you ramble in the first minute, tighten your pre-production outline. If viewers respond better to demos than opinions, shift your shot list. If one topic keeps outperforming others, build a content cluster around that problem instead of guessing what to post next.
A simple review cadence works:
Your workflow should get lighter over time because your decisions get smarter.
Refinement is the key differentiator between sustainable and exhausted creators. They don't just produce. They refine.
Keep a running document with three columns:
| Keep doing | Stop doing | Test next |
|---|---|---|
| Formats that hold attention | Intros that lose viewers | New hooks, thumbnails, or CTAs |
That one habit stops you from repeating weak choices for months.
And once your system is running, idea generation gets easier because it's based on evidence instead of pressure. You're no longer asking, “What should I make?” You're asking, “What does the audience keep responding to?”
If you're tired of producing one video at a time and want a workflow that keeps creating after the edit is done, Taja AI is built for that kind of system. It helps turn long-form recordings into clips, captions, thumbnails, written assets, and scheduled posts so your content pipeline doesn't depend on you manually doing every step each week.


We are blessed to work with leading brands & Companies


We try to make easy and simple for every professionals. Get 30 days free trial - No credit card required.


© 2025 Taja AI. All rights reserved.