.jpeg)

10 Repurpose Examples to Multiply Content Reach
Explore 10 repurpose examples for turning long-form content into clips, posts, blogs, emails, and lead magnets across creator and business niches.
5 min read
September 17, 2026

Learn how to use iMovie on Mac and iPhone with our step-by-step guide. From basic edits to exporting for social media, master iMovie for content creation.
Written by:


You’ve probably got footage sitting on your Mac right now that should already be working for your business.
A webinar with solid advice. A customer testimonial with one great soundbite. A podcast interview that could become a week of shorts. The bottleneck usually isn’t ideas. It’s the feeling that video editing is a separate profession, and that if you don’t learn a big, complicated app, your content stays stuck as raw files.
That’s where things often become overcomplicated. If you’re trying to figure out how to use iMovie, you don’t need to think like a filmmaker first. You need to think like a repurposer. Your job is to turn one useful recording into several usable assets without wasting your week.
For a lot of solo creators and small teams, iMovie is enough to do exactly that. It’s already on the Mac, it’s fast to learn, and it covers the edits that matter most when the goal is publishing across platforms instead of building a cinematic masterpiece. If you’re still comparing options, this 2026 list of video apps is a useful way to see where iMovie fits among newer tools and more advanced editors.
A lot of business owners treat editing as the part they’ll “figure out later.” Later usually means never.
The pattern is familiar. You record a long Zoom interview, a talking-head lesson, or a local business promo. The recording is fine. The message is useful. Then you open a pro editing app, see a dense interface, and close it again because you don’t have time to become an editor this week.
iMovie solves a very specific problem. It removes enough friction that you can readily start. That matters more than feature depth for many users. If your real objective is to publish a polished main video and carve out clips for social, the fastest tool you’ll consistently use often beats the advanced tool you avoid.
That’s the secret weapon part. iMovie is not trying to be everything. It gives you the basics that drive output: import footage, cut dead space, clean up audio, layer simple visuals, and export in a format you can repurpose. For a solopreneur, that’s the difference between content production and content backlog.
Practical rule: If the edit is stopping you from publishing, your workflow is too heavy.
What works in iMovie is a clean, repeatable process. Bring in one long-form recording. Pull out the strongest moments. Fix sound before you obsess over visual polish. Add only the text and supporting footage that help the viewer stay with you.
What doesn’t work is trying to force iMovie into a Hollywood-style workflow. If you expect deep color grading, elaborate motion graphics, or a giant layered composition, you’ll hit its limits. But if you want professional-looking business content without getting bogged down, iMovie is still one of the most practical starting points on a Mac.
The first win is simple. Open iMovie and create one project without trying to master every button on screen.
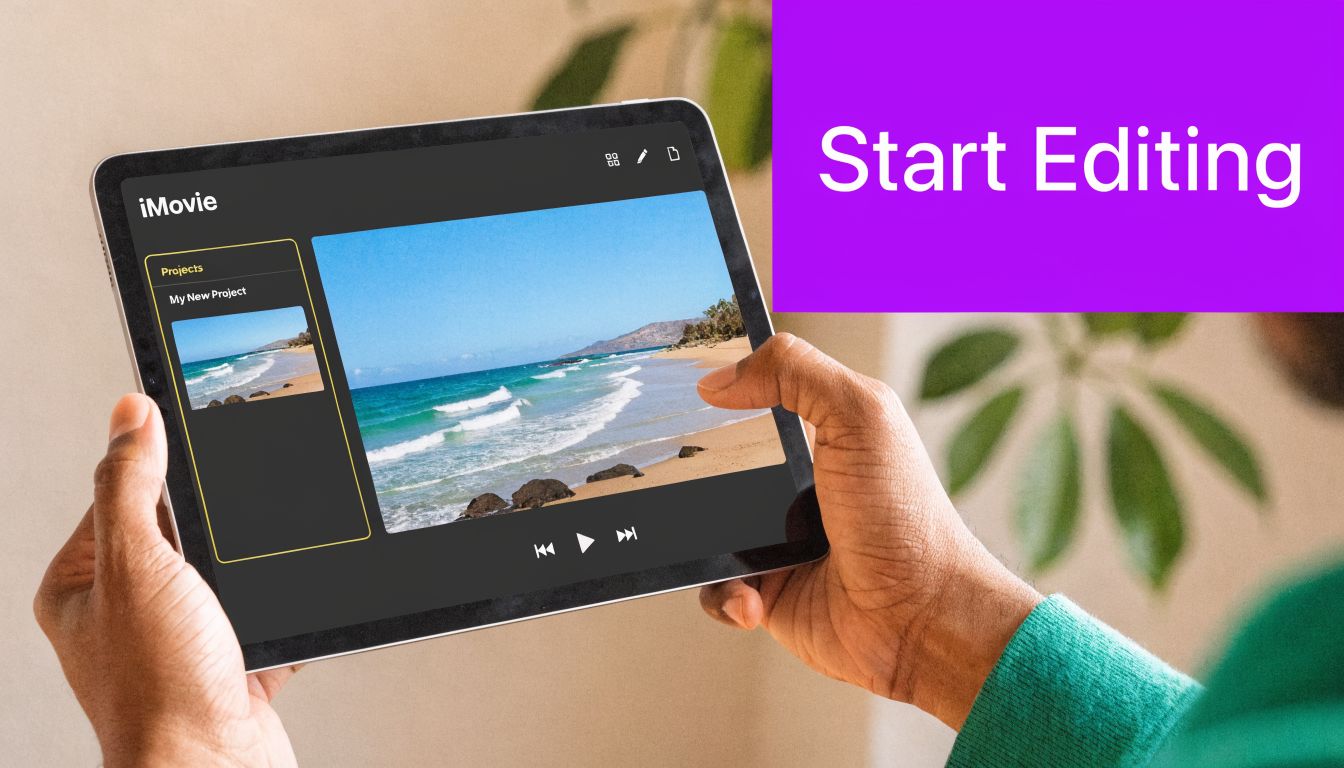
On Mac, iMovie is easiest to understand when you think of it as three work zones. The media browser is where your clips live before you use them. The preview window shows what the selected clip or your current cut looks like. The timeline is where the actual edit happens.
On iPhone and iPad, the layout is more compact, but the logic is the same. You still choose footage, preview it, and build your edit in sequence. Apple has kept the structure familiar enough that moving between devices isn’t confusing once you know what each area is for.
If you remember nothing else at the start, remember this:
That last point matters because beginners often spend too much time clicking around in the browser and not enough time shaping the timeline. The timeline is the project.
On Mac, click Create New and choose Movie. On iPhone or iPad, tap the plus sign and start a new movie project. Then select the clips you want to bring in.
If your footage is already on your Mac, import directly from a folder or drag files into iMovie. If it’s on your iPhone, bring it over through Photos or AirDrop first if that’s quicker for you to manage. If you recorded on a camera, import from the connected device or memory card.
A practical approach is to import more selectively than you think you need to. When you dump every take and every false start into a project, the first edit gets slower for no real benefit. For business content, the usable footage usually becomes obvious fast.
Start with the primary footage only. Add supporting assets after the story works.
Most beginner guides stop too early. They show where to click, but not why your setup matters.
If you’re editing a webinar, podcast, lesson, or interview, your future clips depend on how cleanly you build the main project. Put the long-form footage into the timeline in rough order first. Don’t add titles, transitions, and music right away. Get the spoken content working before anything else.
That’s especially important because while iMovie tutorials extensively cover visual editing, there is minimal guidance on audio-centric workflows. This gap is particularly acute for podcasters, interviewers, and educators who repurpose long-form recordings, audiences that rely heavily on clean dialogue (reference). In practice, that means many people spend time on visuals while leaving the part viewers notice most untouched.
Use this order for your first real project:
Import the core footage
Add the main talking-head, interview, webinar, or testimonial clips.
Skim before dragging everything in
Mark the sections that sound strongest. You don’t need every second.
Build a rough cut
Put the clips in order and ignore polish for now.
Check the audio early
If the dialogue is weak, the whole project feels amateur no matter how good the visuals are.
Save naming confusion for later
Fancy folder systems can wait. Clarity in the timeline matters more than perfect media management on day one.
Once you stop treating iMovie like a complicated production suite and start using it like a publishing tool, the interface gets much less intimidating.
A rough cut becomes publishable in the timeline. It also becomes reusable.
That second part matters if the goal is not just one finished video, but a week or two of clips pulled from the same recording. A clean timeline lets you turn a webinar into a full replay, three short insights, a customer quote clip, and a teaser without rebuilding the project each time.
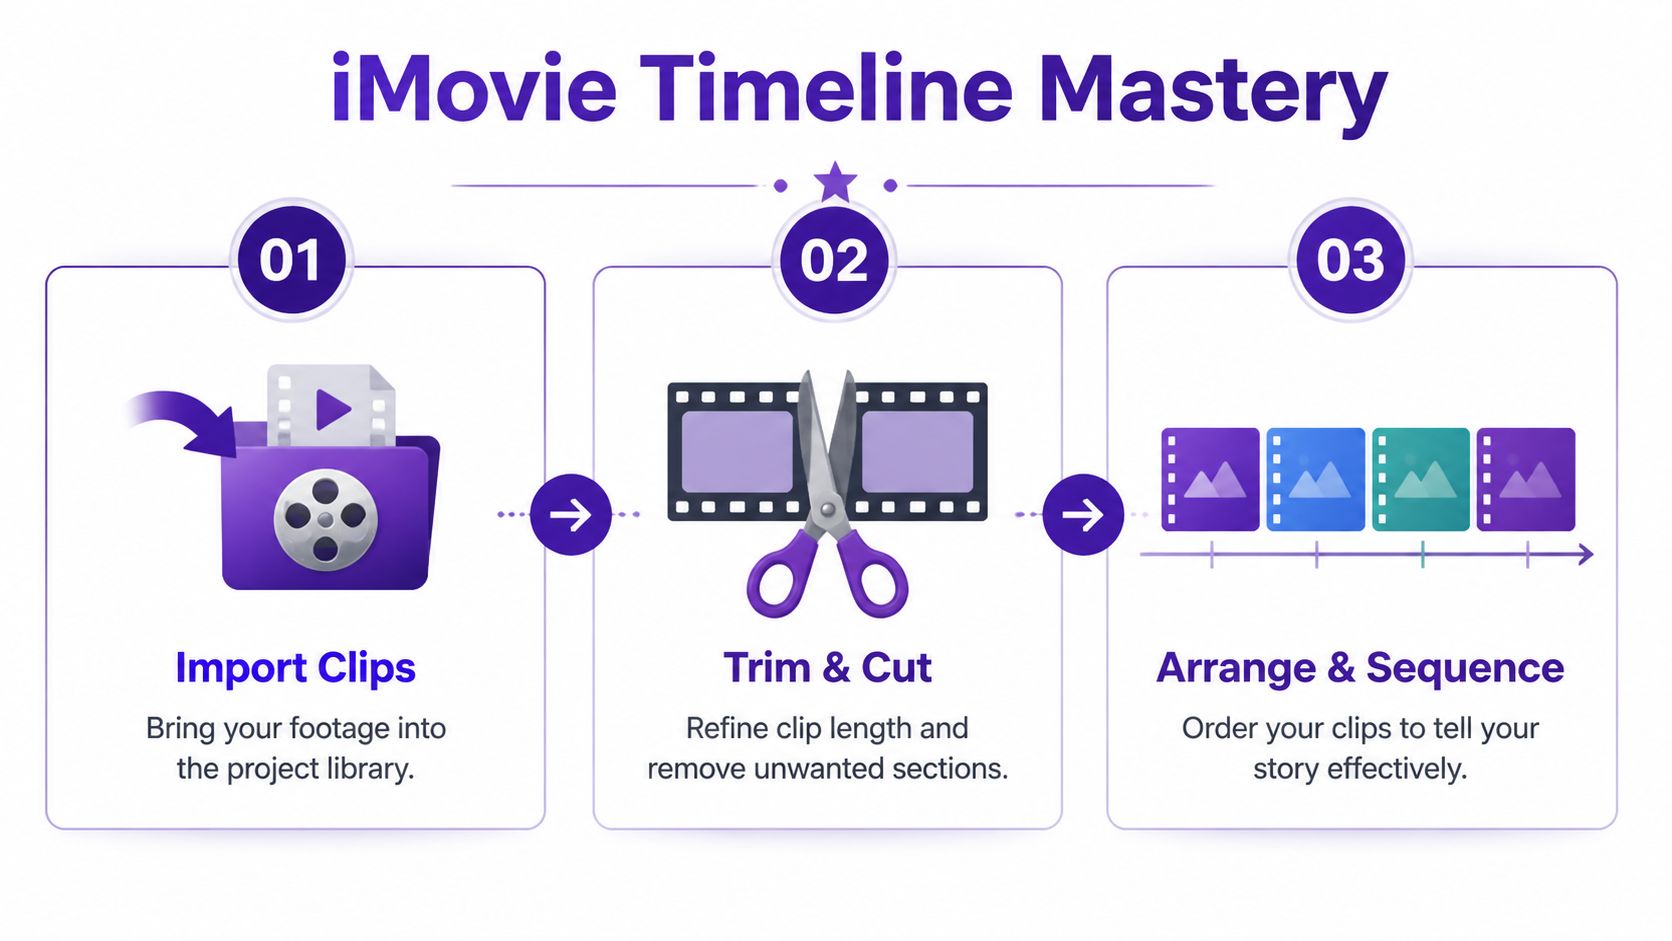
Trimming is the fastest way to improve a video in iMovie. Drag the start or end of a clip inward and cut the seconds that slow the message down. Remove the breath before the answer starts. Remove the pause after the point lands. Remove repeated words unless they add personality.
For repurposing, trimming does more than tighten pacing. It helps identify clip boundaries early. If a 90-second answer really contains one strong 22-second point, finding that now saves time later when you need a vertical short, a LinkedIn excerpt, or a paid social cutdown.
I usually trim harder than beginners expect. Business content benefits from clarity more than completeness.
Split a clip when one recording contains multiple ideas, a weak middle section, or a natural sound bite you may want to reuse later. Set the playhead where the thought changes, then split. That gives you control over the strongest line without throwing away the rest of the take.
This is one of the biggest differences between editing for documentation and editing for distribution. A podcast answer may work as one continuous segment in the full episode, but short-form viewers need a tighter entry point. Splitting lets you isolate the sharp claim, move it earlier, and keep the setup only where it helps.
A testimonial is a common example. One answer often includes the old problem, the failed alternatives, the reason they chose you, and the outcome. Those are separate assets hiding inside one clip.
Clip order controls attention. In iMovie, dragging a clip to a new spot is simple, but the reason for moving it matters.
For the full version, chronological order often works. For a short-form cut, the strongest sentence usually belongs first. If you are turning a horizontal interview into social clips, lead with the statement that earns the next five seconds of attention. Then support it.
That is the core repurposing mindset. The source recording captures the conversation. The timeline shapes it for the platform.
iMovie gives you enough layered editing to cover jump cuts, show context, and keep a talking-head video moving. Add B-roll over the main shot, drop in screenshots, or use picture-in-picture when the visual helps the point land.
There is a practical limit. If you stack too many high-resolution clips, playback can slow down on everyday MacBooks. Keep the timeline responsive and the project stays easier to revise, which matters when one client asks for a full version, square cut, and several shorts from the same session.
A reliable approach:
Place the main clip first
Make sure the spoken sequence works on its own.
Add B-roll where it earns its place
Cover a jump cut, show the product, reinforce a claim, or illustrate a process.
Keep overlays short
Long B-roll clips clutter the timeline and make revisions slower.
Simplify before performance drops
If playback gets choppy, reduce overlapping visuals before assuming iMovie is the problem.
If you want more ideas after the structure is locked, this guide on video editing with effects covers useful visual additions without turning the edit into a gimmick.
A messy timeline usually comes from visual changes that ignore the spoken track. The cleaner approach is to treat dialogue as the spine of the edit, then make visual choices around it. That reduces the chance of breaking timing every time you move a clip.
For interview clips, webinars, and podcasts, I keep an ear on room sound early. If the voice has too much echo, fix that before spending time on visual layering. Tools that clean up audio reverb can help salvage clips that would otherwise feel cheap, even if the picture looks fine.
This habit pays off when you repurpose aggressively. Stable dialogue timing makes it much easier to test alternate B-roll, captions, framing, and social cut lengths without rebuilding the whole sequence.
| Common timeline mistake | What happens |
|---|---|
| Leaving long pauses in place | The edit feels slower and strong short clips are harder to spot |
| Keeping multi-topic answers as one block | You miss chances to create separate reusable assets |
| Adding overlays before the sequence is settled | Revisions take longer because every trim affects visual placement |
| Stacking too many visuals at once | Playback slows and reviewing cuts becomes frustrating |
Straight cuts do most of the work in good iMovie edits. A simple dissolve is fine when the scene change needs a softer handoff, but heavy transitions usually weaken business content. They slow pacing and call attention to the edit.
Professional-looking iMovie projects tend to feel clean, not busy. The timeline should help the viewer follow the message and help you turn one recording into multiple usable pieces with minimal rework.
The fastest way to make a video feel amateur is weak audio.
Viewers forgive a shot that’s slightly imperfect. They don’t forgive dialogue they have to work to understand. That’s why the jump from “rough edit” to “professional-looking content” usually starts with sound, not filters.
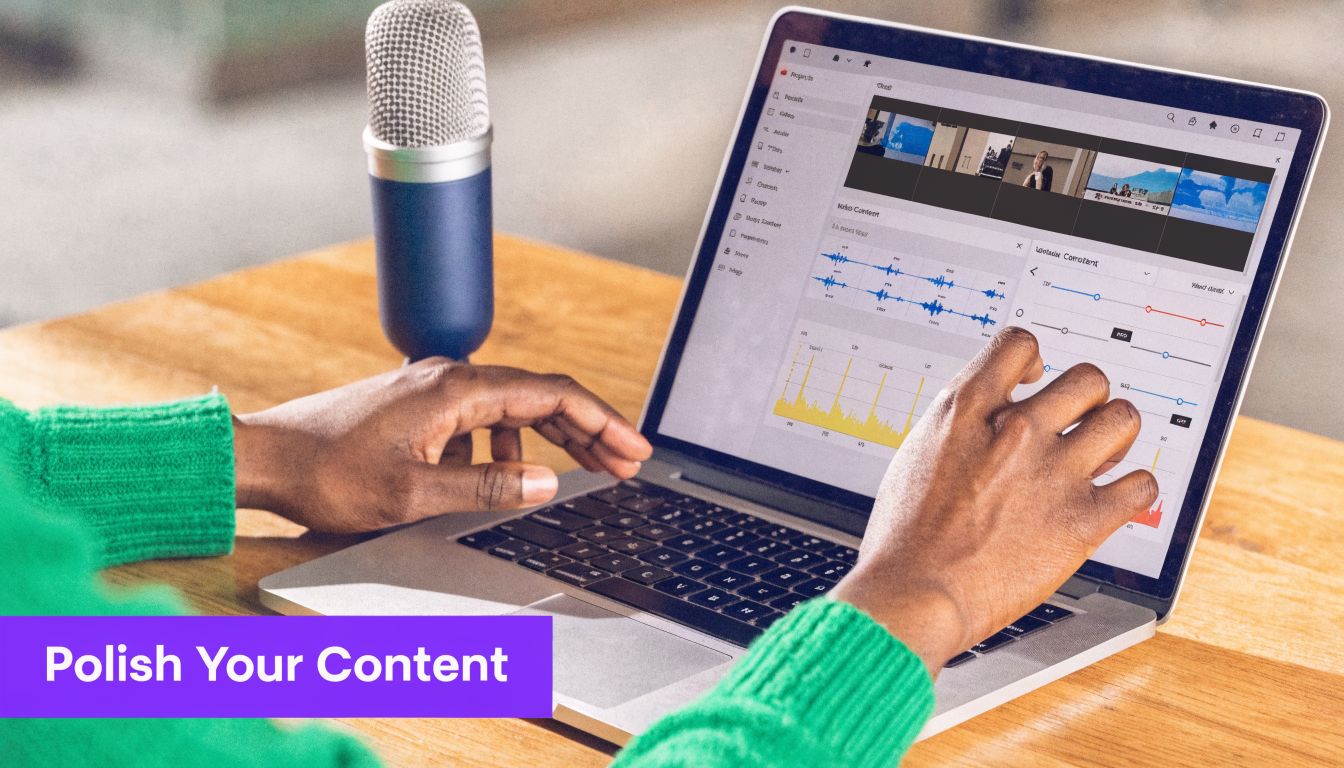
One of the most useful features in iMovie for repurposing is Detach Audio. Right-click the clip and select Detach audio. That separates the sound from the picture so you can work on it independently.
iMovie’s audio detachment feature allows creators to separate dialogue from video for independent editing. By right-clicking and selecting ‘Detach audio,’ editors can use noise reduction and effects tools on the isolated track. This is essential for repurposing, as cleaned audio can be reused across multiple short-form clips (reference).
In practical terms, if you clean the dialogue once, you don’t have to fight the same background issues every time you cut a new short from the same recording. That’s a real workflow improvement for podcasters, educators, consultants, and anyone pulling many assets from one long session.
Once the audio is detached, go into the audio adjustment tools and deal with the obvious problems first. Lower background hum if you can hear it. Reduce room noise. Check whether the speaker level is consistent from beginning to end.
If the room is especially echoey, iMovie may not be enough on its own. In that case, using a dedicated tool to clean up audio reverb before or after your edit can help salvage otherwise strong content.
A few rules keep this simple:
Fix clarity before loudness
Clear speech matters more than making everything louder.
Listen with headphones
Laptop speakers hide problems that show up immediately on headphones.
Check the detached track after edits
Once audio is separated, it’s easy to forget that the levels may still need adjustment.
Be careful with music
Background music should support the pace, not compete with dialogue.
Bad audio makes a competent video feel untrustworthy. Clean audio makes a simple video feel deliberate.
There’s also a common pitfall worth avoiding. After detaching audio, some creators clean the track but forget to rebalance levels before export. The result is a final video that sounds uneven when clips are reused elsewhere.
Text overlays are strongest when they provide context, not decoration.
Use titles for names, short hooks, section labels, or a key phrase the viewer should remember. If you’re cutting vertical clips later, this is also where you should think ahead. Text that sits too low or too close to the edge often gets awkward once the frame changes.
Good title use in iMovie usually looks like this:
Short and readable
Keep on-screen text brief enough to scan quickly.
Placed with platform crops in mind
Leave room for mobile interfaces and subtitles.
Consistent in style
One or two title treatments feel branded. Five different styles feel accidental.
iMovie gives you enough to improve visual consistency without spending your day on aesthetics. You can apply basic color adjustments, simple filters, crops, and framing changes. That’s often enough for small-business content where trust and clarity matter more than cinematic style.
What works is correcting obvious mismatches, making sure the speaker is framed well, and using B-roll or screenshots to support the point. What usually doesn’t work is trying to force dramatic visual style onto ordinary business footage.
A polished iMovie project often comes down to restraint:
| Polishing move | Best use |
|---|---|
| Noise reduction | Improve spoken clarity |
| Volume adjustment | Keep dialogue consistent |
| Background music | Add energy in intros, outros, or montage sections |
| Titles and lower thirds | Clarify who’s speaking or what the viewer is seeing |
| Basic color tweaks | Make clips feel more consistent |
If you only do three finishing moves, make them these: clean the audio, tighten the title styling, and remove any visual clutter that distracts from the speaker. That’s usually enough to shift a video from “homemade” to “publishable.”
The export step is where a lot of solid editing work gets wasted.
You finish the video, hit share, save a file, and assume you’re done. But if your real goal is reach, export is not just a technical afterthought. It’s where you decide how one piece of content becomes multiple platform-ready versions.
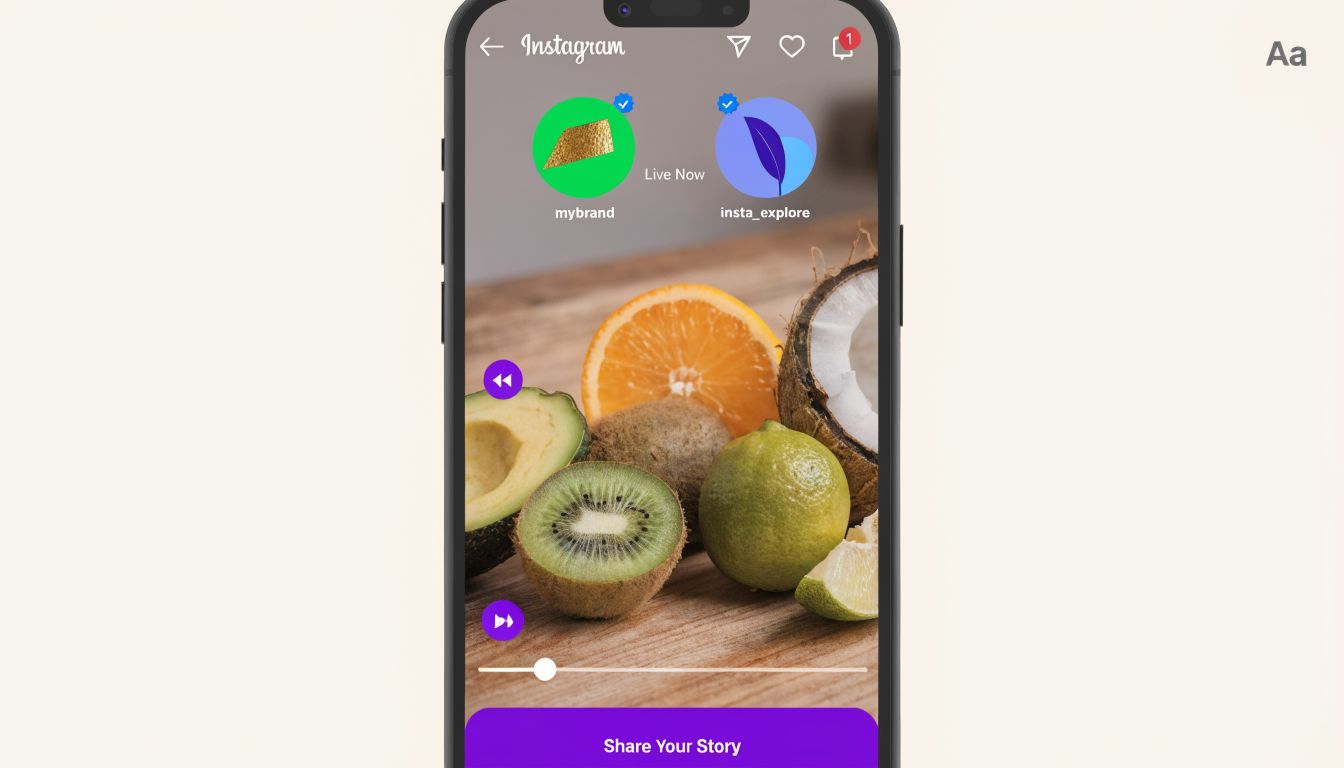
If you recorded a horizontal interview, webinar, or podcast, the master export is only one deliverable. You may also need vertical shorts, square clips, or feed-friendly versions with different framing.
That’s where many tutorials fall short. While iMovie supports vertical video editing, many tutorials only cover export settings such as 1080×1920 rather than the workflow of converting horizontal footage strategically for different platforms (reference). The framing decision is the hard part, not the export button.
For example, a talking-head video framed well in a horizontal format can look cramped in vertical if you crop the sides without repositioning the subject. A social clip also often needs stronger visual hierarchy. The face has to stay central, the text has to remain readable, and the dead space has to go.
Different platforms reward different viewing experiences. TikTok and Reels usually want a stronger vertical composition. Instagram feed often benefits from a taller crop without going fully vertical. LinkedIn clips tend to work best when the text and focal point are immediately clear.
If you create content for a local business niche, industry examples help. This real estate social media guide is a strong example of how platform-specific packaging changes what performs in practice.
Here’s a practical repurposing sequence for iMovie:
Finish the main edit first
Lock the message before making format variations.
Duplicate the project
Keep the original untouched so you don’t break the main version.
Create platform-specific crops
Reframe around the speaker’s face, product, or key action.
Shorten aggressively for social
A strong short clip usually starts closer to the point than the original.
Check title placement again
Text that worked in horizontal often needs adjustment in vertical.
A repurposed clip is not a smaller copy of the original. It’s a version rebuilt for a different screen.
Use these settings as a simple operating table when exporting from iMovie:
| Platform | Resolution | Quality | Compress |
|---|---|---|---|
| TikTok | 1080×1920 | High | Faster |
| Instagram Reels | 1080×1920 | High | Faster |
| YouTube Shorts | 1080×1920 | High | Better Quality |
| Instagram Feed | 4:5 | High | Faster |
| 1:1 or 4:5 | High | Faster |
The main goal here isn’t perfection. It’s consistency. Choose a small set of export patterns you can repeat without guessing every time.
If you want to see another workflow perspective on adapting edits for platform distribution, this article on social video editing is worth reading after you’ve built your basic export routine.
This is the step people rush. Don’t.
Before final export, play through the whole social version and watch for three things:
Subject position
Make sure the speaker doesn’t drift awkwardly after cropping.
Text safety
Keep overlays away from edges and likely interface areas.
Visual rhythm
A short clip needs quicker visual reinforcement than a long-form segment.
This walkthrough gives a useful visual reference for the kind of framing decisions that matter in repurposed video:
For social content, speed matters. So does reliability.
If your clip looks good, reads clearly on mobile, and the audio is clean, that version is ready. Chasing tiny visual refinements on every export often slows down publishing more than it improves results. The better system is to produce a strong master, then generate a few deliberate variants built for where the content will be seen.
A useful iMovie workflow isn’t “record, edit, upload, repeat.” That burns people out fast.
The more sustainable model is simple. Record one strong long-form video. Edit the main version cleanly. Pull out the best moments. Reframe them for the platforms that matter to your audience. Publish from a repeatable system instead of reinventing the process every time.
That’s why learning how to use iMovie matters more than it first appears. You’re not just learning where the trim tool is. You’re building a lightweight content engine that can support a business without requiring studio-level software or a full editing team.
If you want to push that system further after the manual edit is done, this guide on automating content creation is a good next step.
iMovie won’t do everything. It doesn’t need to. For a solopreneur, educator, podcaster, agent, or small business team, it can do the work that gets content out the door. That’s the part that counts.
If you want to turn one long-form video into ready-to-publish clips, captions, thumbnails, blogs, and platform-specific posts without living in the editing timeline, Taja AI helps streamline that workflow. It’s built for creators and businesses that need consistent output from every recording, especially when one source video needs to become weeks of content.


We are blessed to work with leading brands & Companies


We try to make easy and simple for every professionals. Get 30 days free trial - No credit card required.


© 2025 Taja AI. All rights reserved.