.jpeg)
10 Instagram Reel Captions That Drive Action
Explore 10 Instagram Reel captions with hooks, CTAs, niche formulas, hashtag examples, and Taja AI ideas for faster content creation.
5 min read
September 24, 2026

Learn how to slow down Instagram videos with native tools, phone editors, and apps. Our guide covers Reels, Stories, export settings, and audio handling.
Written by:


You filmed a great moment. Then you posted it, watched it back in Reels, and realized the clip moved too fast to land. The product reveal blinked by. The hair flip looked accidental instead of dramatic. The tutorial step that needed emphasis got buried in the pace.
That's usually not a filming problem. It's a timing problem.
If you're trying to figure out how to slow down instagram videos, the technical part is easy. The bigger win is knowing when slow motion helps, when it hurts, and which workflow saves you the most time for the kind of content you make. For creators, local businesses, educators, and marketers, slow motion isn't just a visual effect. It's a retention tool, a storytelling tool, and often a repurposing shortcut.
Short-form video is crowded. If your clip doesn't earn attention in the first seconds, it gets skipped. That's why pacing matters as much as framing.
Instagram Reels playback reached 200 billion daily views globally, and 41% of viral Reels with over 1 million views incorporate speed ramps. Slowed sections also average a 15% longer dwell time per view, according to the data summarized in this Instagram Reels speed-ramp report. That doesn't mean every clip should be slowed down. It means viewers consistently respond when creators use speed changes to direct attention.
Slow motion works because it creates a pause inside a fast feed. It tells the viewer, “This is the moment to watch.” That's useful when you're showing:
Slow motion is strongest when the motion itself is the message.
Used badly, it drags pacing and makes a simple clip feel overedited. Used well, it increases clarity and gives your best moment more room to breathe. That's the difference between adding an effect and shaping a viewer's experience.
Before you touch the speed controls, choose the workflow. Most creators use one of three paths: Instagram's native editor, the editor already on their phone, or a third-party app on mobile or desktop.
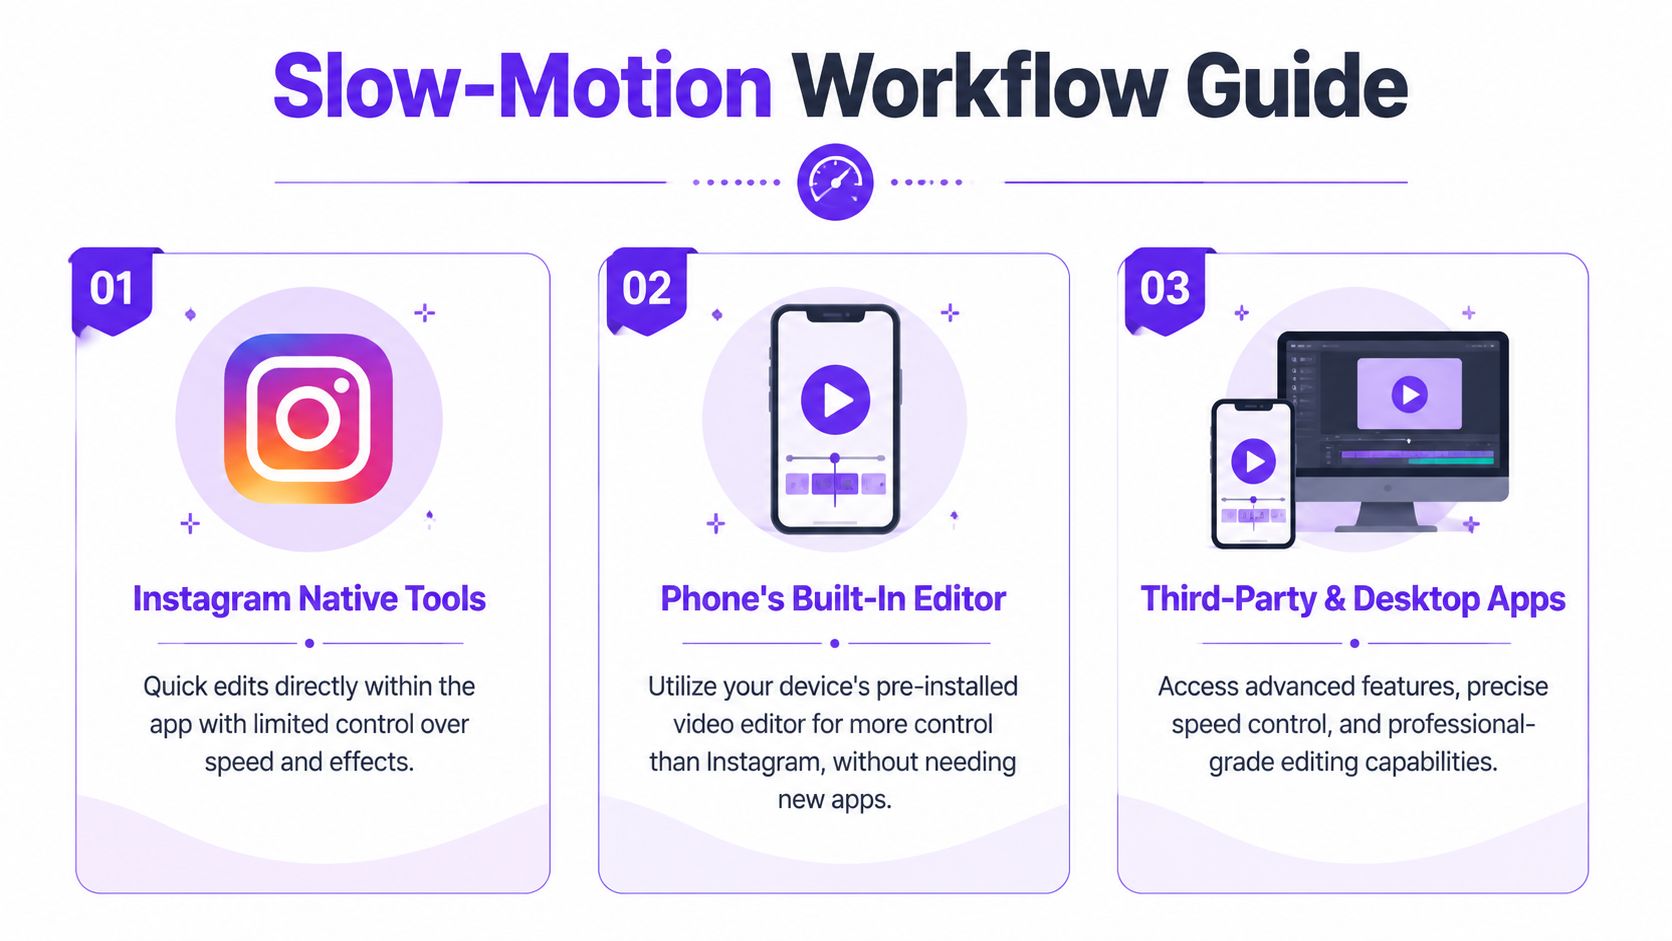
The right choice depends on one question. Are you optimizing for speed, control, or polish?
If you're posting fast and don't want to leave the app, use Instagram.
If you want a cleaner pre-edited file without learning another tool, use your phone's built-in editor.
If you need selective slow motion, smoother ramps, better audio handling, or a reusable content system, use a dedicated editor.
| Method | Best For | Pros | Cons |
|---|---|---|---|
| Instagram Native Tools | Fast Reels and Stories | Quick, built in, easy to publish immediately | Limited precision, weaker control over audio and nuanced timing |
| Phone's Built-In Editor | Simple polishing before upload | No extra app, better prep before posting, familiar interface | Editing options vary by device, less flexible than dedicated apps |
| Third-Party & Desktop Apps | Branded content and advanced edits | Precise control, speed ramps, cleaner exports, stronger audio workflow | Takes more time, more decisions, steeper learning curve |
A lot of small teams overcomplicate this. They open desktop software for a clip that could've been handled inside Instagram in under a minute. Other teams do the opposite. They force everything through the app, then wonder why the edit feels rough.
A better system is to match the tool to the job:
If you want a broader view on efficient editing systems, this guide to social video editing workflows is useful for thinking beyond a single post.
Instagram is the fastest option when you need to publish now and don't want another export step.
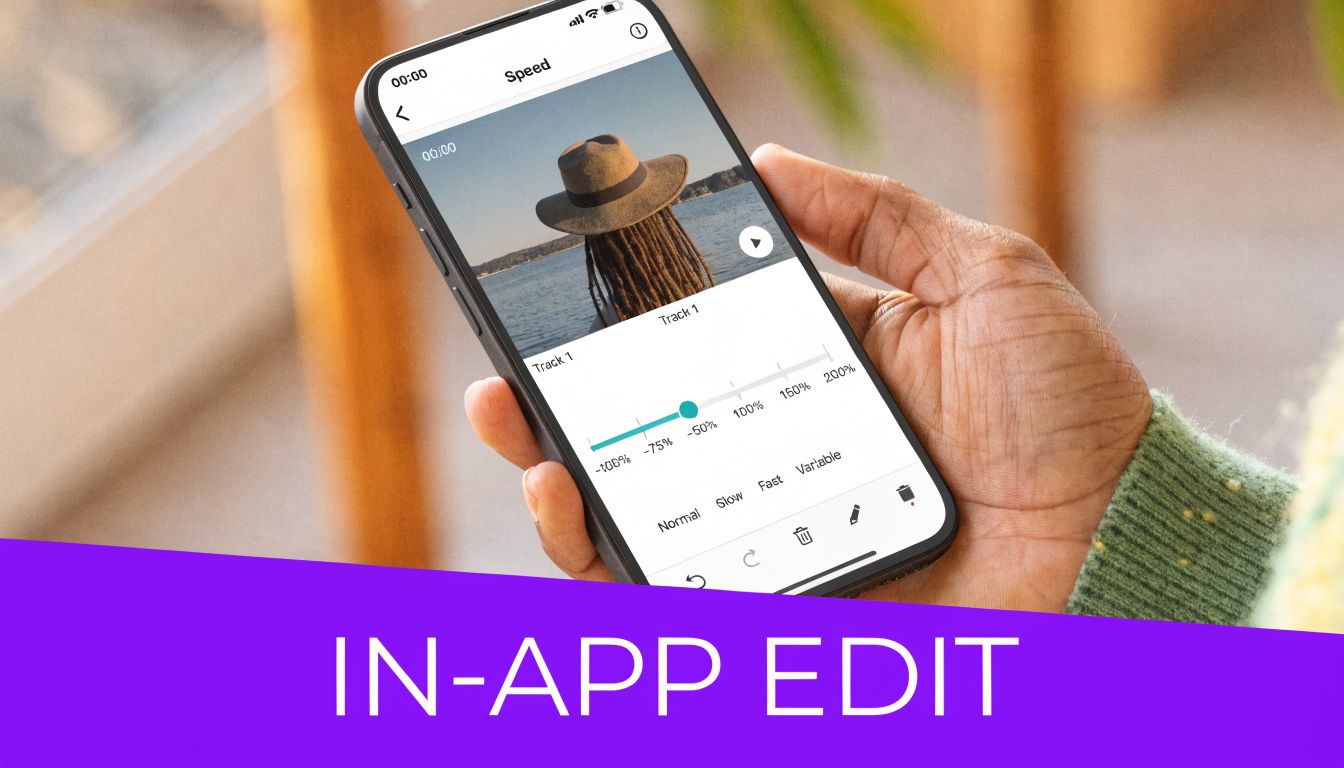
Instagram's native speed tools go down to 0.1x, and a 2023 Hootsuite study of 1.2 million Reels found that videos using speed changes achieved 35% more views on average, with slow motion appearing in 28% of top-performing content, as summarized in this Reels speed tools breakdown.
If you're editing after import, Instagram also supports timeline-based speed adjustments on clips in the editor. That's enough for basic emphasis without leaving the app.
Practical rule: Start at 0.5x. Move slower only if the moment still feels too quick after previewing it.
Instagram is built for speed, not deep precision. If you need to isolate one exact segment, manage audio carefully, or prep one version for multiple platforms, you'll hit limits fast.
That's especially true when the clip also needs to meet platform specs cleanly. This overview of Instagram video format requirements helps if your slowed clip is getting cropped, framed awkwardly, or exported in the wrong shape.
Your phone's default editor is the middle ground. It's better than pure in-app editing when you want to clean up timing before upload, but you don't want a full editing app in the mix.
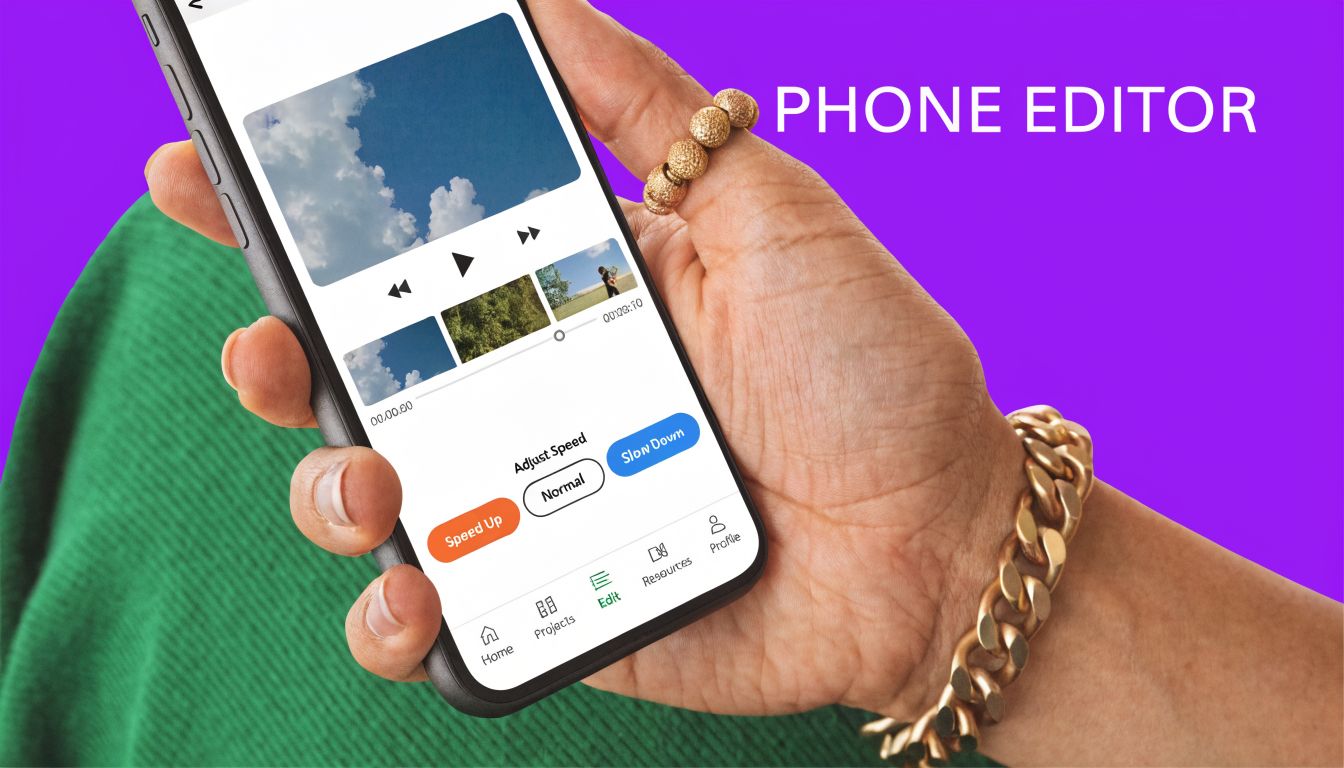
This is a smart route for walkthroughs, demonstrations, service clips, and any content where you want one cleaner file to post everywhere.
In the Photos app, open your video and tap Edit. If the clip was captured in a higher-frame-rate mode, iPhone may already expose slow-motion controls that let you adjust where the slowed segment starts and ends. You can also trim first so the slow section lands exactly where you want the viewer to focus.
For practical use, this works best when the original footage was shot with the intention of highlighting motion. A property walkthrough detail, a countertop finish, or a close-up tool demo benefits from this kind of prep.
In Google Photos or your phone maker's default gallery editor, open the clip and look for Edit, then Speed or motion-related options. The exact labels vary by device, but the goal is the same. Trim the dead space, slow the most important part, and save a new version before uploading to Instagram.
That extra pre-edit often gives you cleaner pacing than trying to make decisions after you're already inside Reels.
Here's a quick walkthrough if you want a visual reference:
Use your phone editor when:
If you already do light editing on Apple devices, this walkthrough on how to use iMovie is a good next step once your default phone tools start feeling too limited.
If the clip has to look intentional, not just edited, use a dedicated app. CapCut, InShot, and Premiere Pro give you the main thing Instagram lacks: precise control over timing inside the clip.
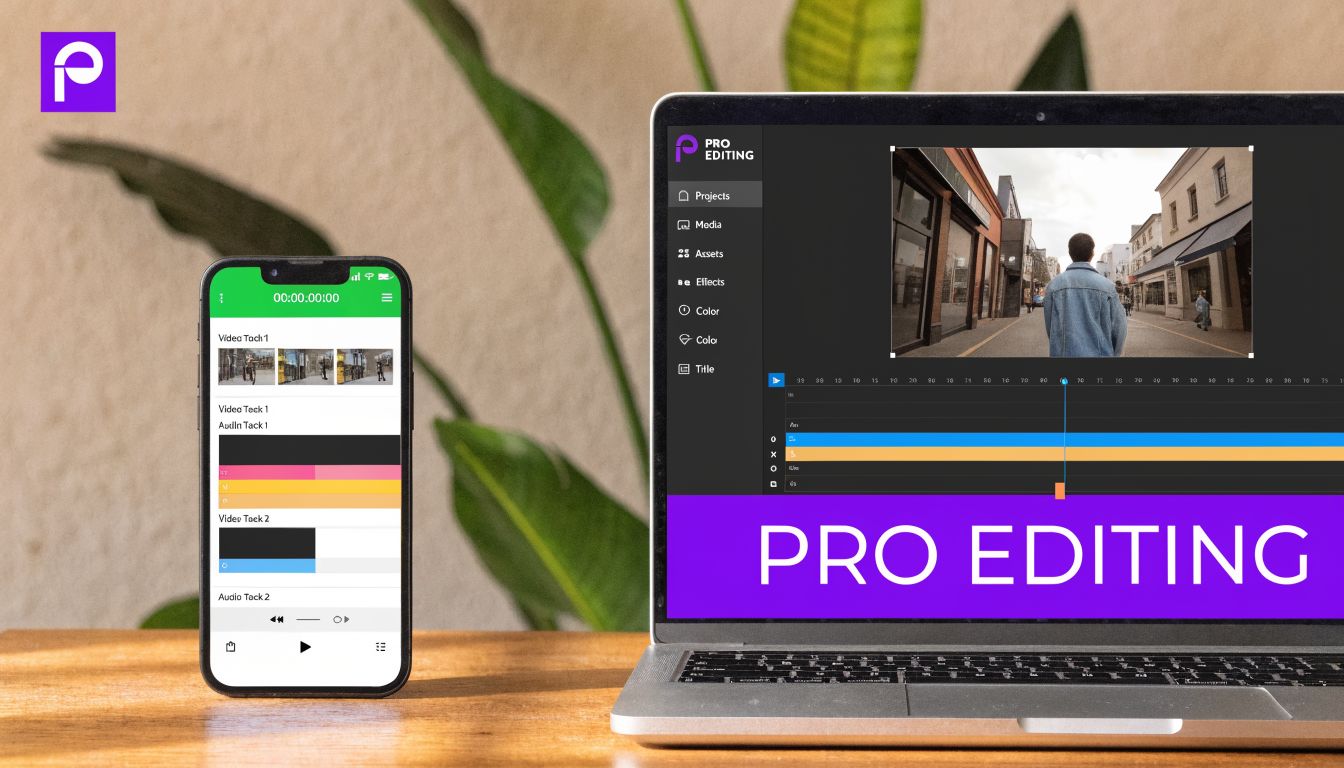
The biggest advantage is speed ramping. Instead of slowing an entire video, you can keep most of the clip moving normally, dip into slow motion for the reveal or emotional beat, then return to full speed. That usually feels more modern and keeps retention stronger than dragging the whole clip.
For the smoothest results, source footage matters. According to this slow-motion quality guide, pre-exporting at 60fps can boost quality by 20%, 0.3x often yields the best motion blur, and over-slowing imported clips below 0.1x can create jitter, an issue reported in 65% of tutorials. That's the technical reason some slow-motion edits feel buttery while others look broken.
If you didn't shoot enough frames, the editor has to invent motion that wasn't there.
For interview clips, testimonials, or educational moments, edit the timing first, then deal with text and subtitles. If you're turning spoken clips into shorts, a solid online video transcription guide can help you build captions and pull cleaner excerpts before you finalize the slow-motion beats.
That matters because speech-heavy clips usually shouldn't be slowed much at all. Slow the gesture, the reaction, the cutaway, or the visual proof. Keep the spoken core moving at a natural pace.
Most tutorials stop at button clicks. That's not enough if you care about performance.
The core question isn't just how to slow down instagram videos. It is where slow motion changes the viewer experience in a useful way. Existing guides usually skip performance context, which leaves creators in trial-and-error mode. That gap is especially obvious for people using video to drive business outcomes, not just aesthetics. Real estate agents want to know whether a slower property detail holds attention better. Educators want to know whether a slowed demonstration improves clarity. Marketing teams want a testable workflow instead of guesswork.
Slow motion tends to work best in four places:
The common thread is simple. The viewer needs more time to process what matters.
Slowed visuals often create awkward sound. Music, room noise, and speech can all become distracting if you just drag the whole clip slower and leave the original audio untouched.
A better workflow is:
Best practice: If the value is in the words, don't slow the words. Slow the supporting visuals around them.
What works for a stylist won't always work for a plumber. What works for a dance creator won't always work for a church clip or a coaching reel.
Instead of asking, “Does slow motion work?” ask:
One useful pattern is to create two versions of the same short. One at normal pacing. One with a slowed key moment. Watch which one gets better holds, replies, shares, or saves in your own account. That's the kind of testing that turns a visual trick into a repeatable strategy.
It can. Quality usually drops when the original clip wasn't captured cleanly enough for slow motion or when you push the speed too far. Higher-frame-rate footage gives editors more visual information to work with, so slowed motion looks smoother.
Yes, but the easiest way depends on the tool. Instagram can handle basic clip-level edits. Dedicated apps are better when you want one short section slowed and the rest untouched.
Because the sound stretches with the video. Speech often becomes unnatural fast. In most cases, replace the original audio with music, voiceover, or fresh sound design.
No. It works best when you're emphasizing motion, emotion, or a key visual detail. If nothing important is happening in the frame, slow motion just slows the viewer down.
If you're turning longer videos into Instagram-ready clips regularly, Taja AI can remove a lot of the manual work. It helps repurpose long-form content into shorts, captions, thumbnails, blogs, and platform-specific posts from one upload, which is useful when you need more consistent output without spending your week inside an editor.


We are blessed to work with leading brands & Companies


We try to make easy and simple for every professionals. Get 30 days free trial - No credit card required.


© 2025 Taja AI. All rights reserved.