.jpeg)
10 Burnout Prevention Strategies for Creators
Explore 10 burnout prevention strategies for creators, solopreneurs, and small teams, with practical steps, checklists, measurement tips, and tools.
5 min read
September 30, 2026

Learn how to schedule Instagram Reels using native tools, Meta Business Suite, and AI automation. Master timing, captions, and bulk workflows
Written by:


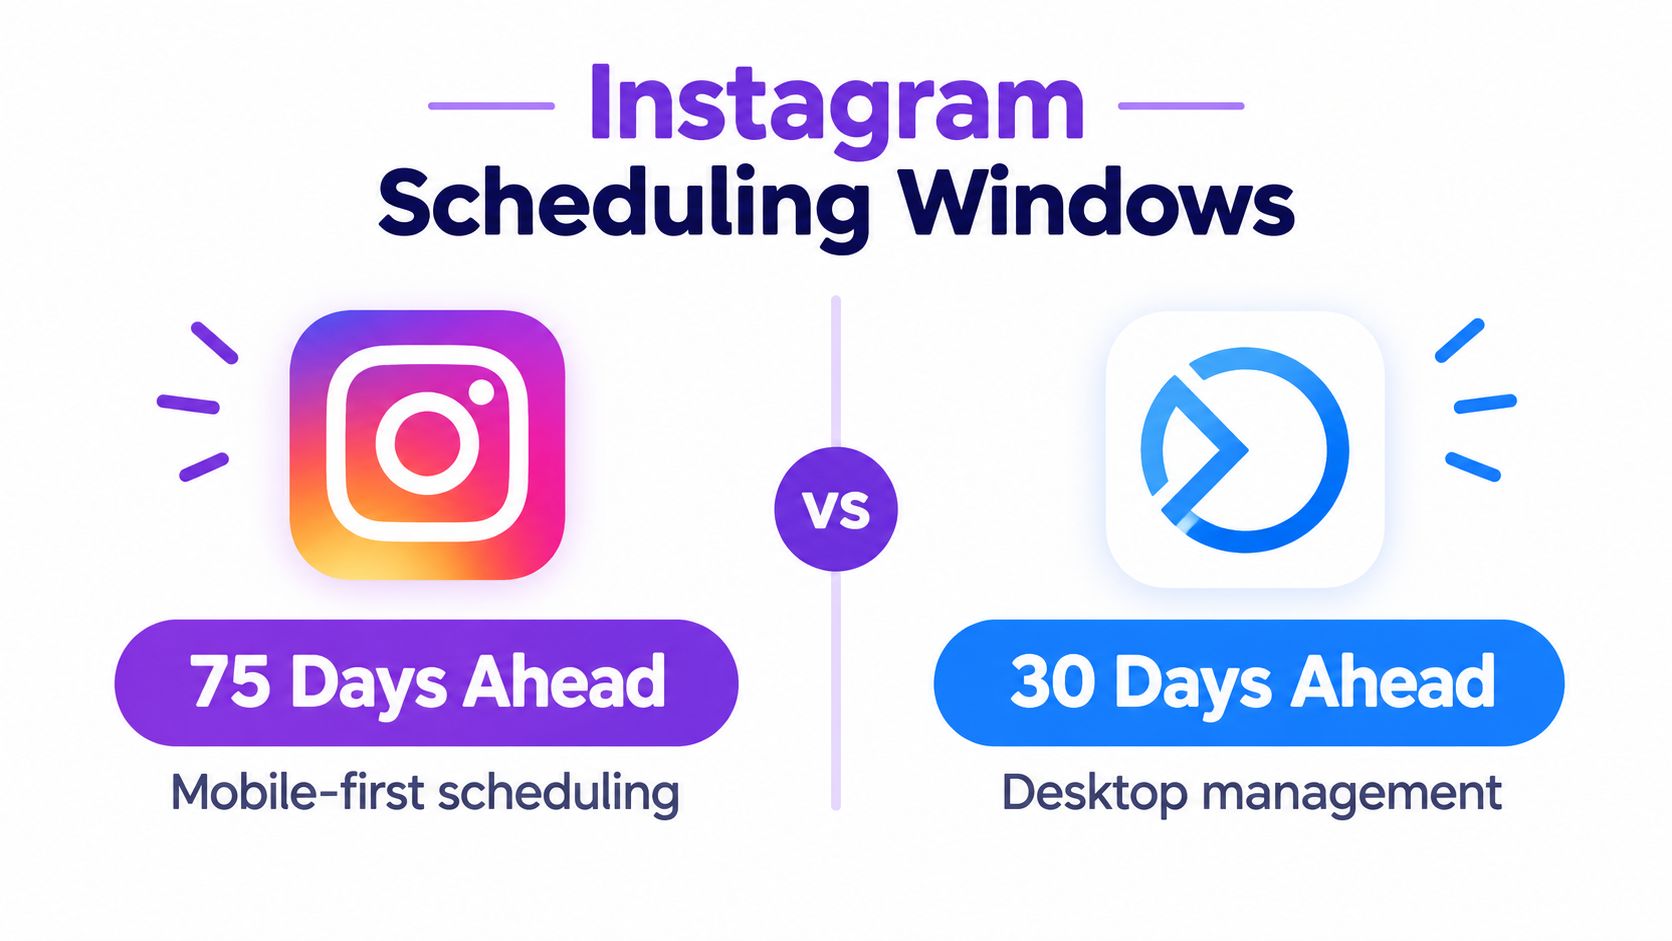
Instagram's native scheduler lets eligible professional accounts schedule Reels up to 75 days ahead, while Meta Business Suite works within roughly a 30-day window. Third-party tools add bulk scheduling and repurposing, so the right method depends on your account type, publishing volume, and how much content you already have.
That distinction changes the workflow more than most tutorials admit. Scheduling isn't just a matter of finding the right button. You're choosing where content lives, how far ahead you can plan, whether one person or a team will manage it, and whether you're creating each Reel from scratch or extracting it from long-form video.
Instagram's native scheduler reaches 75 days ahead for eligible professional accounts, while Meta Business Suite generally covers about a month. The difference affects how you batch content, review creative, and coordinate publishing. Current guidance on Instagram Reels scheduling documents the longer mobile window, while Meta Business Suite scheduling instructions describe its shorter planning range, from 20 minutes to 29 days.
Account setup determines which workflow is available. Native scheduling is intended for Creator and Business accounts, rather than personal accounts. Meta Business Suite also requires an Instagram Business or Creator account connected to a Facebook Page. If those conditions are missing, reinstalling the app or changing the date will not solve the issue.
The 75-day native window works well for a creator who edits on a phone and batches evergreen material, recurring series, launch content, or posts tied to a stable editorial plan. It reduces the need to move finished videos into another system.
Meta Business Suite fits desktop-based teams managing Facebook and Instagram together. Its shared calendar supports closer creative review and approval, although the shorter horizon makes long-range planning less convenient.
| Workflow | Better fit | Main trade-off |
|---|---|---|
| One creator, mobile editing, occasional batches | Instagram app | Limited team coordination |
| Facebook and Instagram publishing | Meta Business Suite | Shorter scheduling horizon |
| Multiple accounts, repurposing, bulk operations | Third-party platform | Adds setup and another tool layer |
A third-party platform becomes more useful when the work involves several accounts, recurring batches, or turning long-form video into multiple Reels. Tools such as Taja AI can support that repurposing workflow, but they introduce another review step and should not replace checks for captions, covers, rights, and brand fit.
Before choosing a calendar, teams can find Instagram scraping data to examine audience behavior and content themes. Scheduling determines how far ahead posts can be queued. It does not decide which ideas deserve production time.
For an eligible professional account, Instagram's native scheduler is usually the fastest route when the Reel is already edited on your phone. Open Instagram, tap the create button, choose Reel, and upload or record the vertical video. Finish the creative details before opening the scheduling controls.
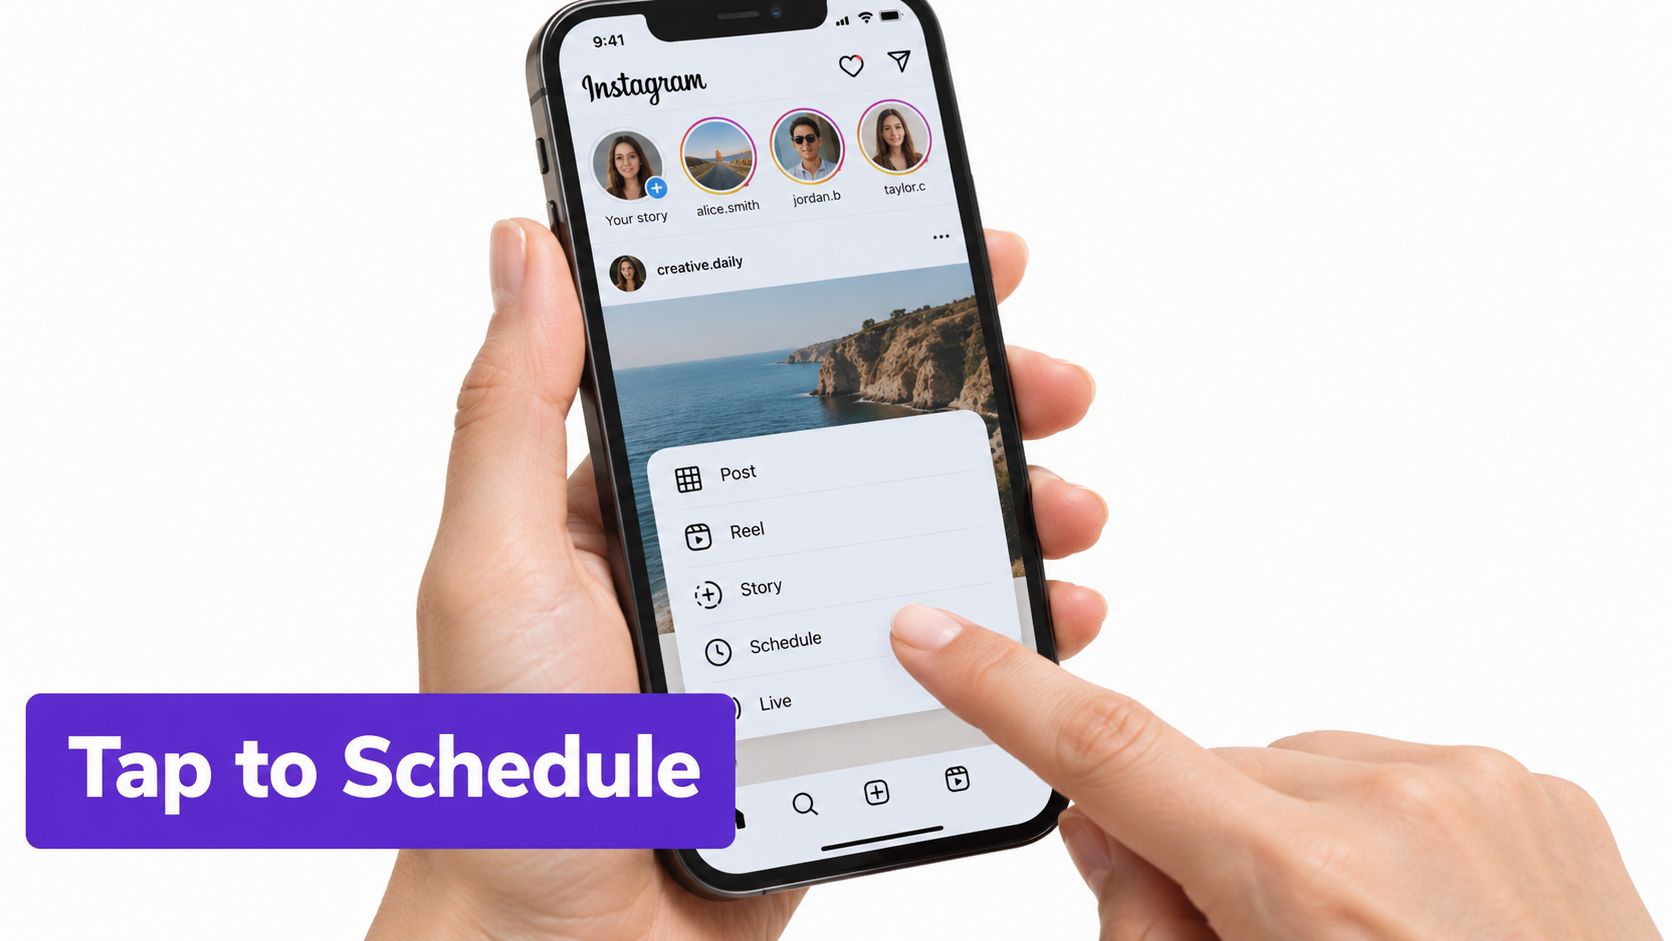
Eligible accounts can schedule up to 25 posts per day, according to Instagram Reels scheduling guidance. That capacity covers a regular creator calendar, though the app still requires each post to be prepared and checked individually.
Review the Reel before scheduling, because a correct date does not guarantee a correct post. Watch the opening seconds with and without sound. Check the cover in the profile grid, confirm that on-screen text is readable, and make sure the caption still works if Instagram displays it differently across placements.
Practical rule: Schedule only after the creative, caption, cover, permissions, and destination pass the same review used for an immediate post.
After scheduling, open the scheduled content area from your profile and verify the queue entry. Confirm the date, time, cover, caption, and account. This check also catches a draft that was saved instead of scheduled, which will not publish automatically.
For a visual walkthrough of the native flow, this video demonstrates the relevant publishing sequence:
The app works best when one person controls editing, review, and publishing from a phone. For a batch, prepare captions and cover images in advance, then schedule each Reel in one focused session. Record the queue in a simple content log so a scheduled post is not accidentally reused or published elsewhere.
Meta Business Suite is the desktop option for teams that already operate through a Facebook Page and want a central place to prepare Instagram and Facebook content. The setup is less immediate than the mobile app, but it suits a workflow where videos, captions, thumbnails, and approval decisions live on a computer.
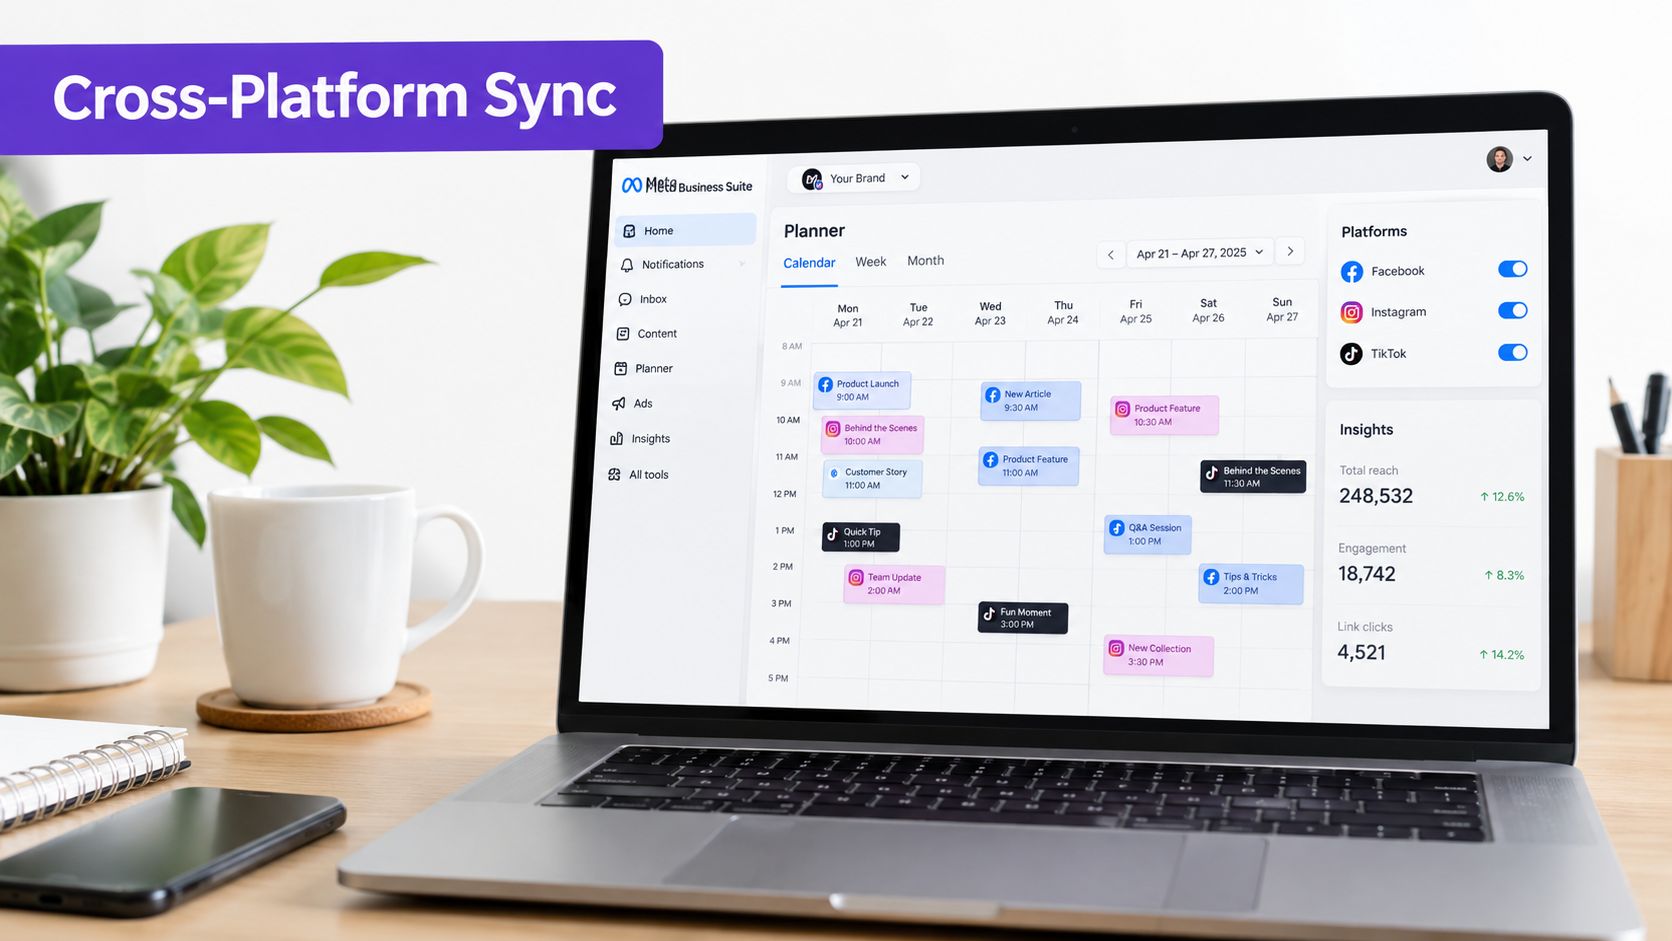
Connect the Instagram Business or Creator account to the relevant Facebook Page. Then open Meta Business Suite on desktop and go to the Content or Planner area. Choose Create Reel, select the Instagram destination, and upload the pre-edited vertical video.
Add the caption and thumbnail, review the preview, and select Schedule instead of publishing immediately. Choose a date and time within the available planning window, then confirm. Meta's workflow is built around business accounts, so a personal Instagram profile can't be treated as a simple missing-permission issue.
The desktop process is helpful when you want a larger preview, access to shared files, or a calendar view. It's less appealing if your team expects to upload a large batch of Reels and schedule them in one operation.
Meta Business Suite doesn't provide bulk scheduling for Reels in the way many teams expect. You may still need to process each Reel individually, and cross-posting behavior can differ from publishing directly inside Instagram. Don't assume that a feature available for a standard post will behave identically for a Reel.
| Consideration | Instagram app | Meta Business Suite |
|---|---|---|
| Primary device | Mobile | Desktop |
| Account requirement | Professional account | Business or Creator account linked to a Facebook Page |
| Planning reach | Up to 75 days | Roughly 30 days |
| Bulk Reel scheduling | Limited | Not supported as a bulk workflow |
| Best use | Individual creators | Business and cross-platform teams |
If Facebook is part of your distribution plan, the Facebook post to Instagram workflow can help you think through how content should move between platforms rather than assuming every destination should receive an identical version. That distinction matters because a caption or thumbnail prepared for Facebook may need editing before it works well as an Instagram Reel.
A long-form recording can support a full Reels queue, but only after someone separates useful moments from repetition. Podcasters, educators, interviewers, and service businesses usually have plenty of source material. The work sits in finding complete ideas, adapting them for vertical viewing, writing supporting copy, and giving each clip a clear purpose.
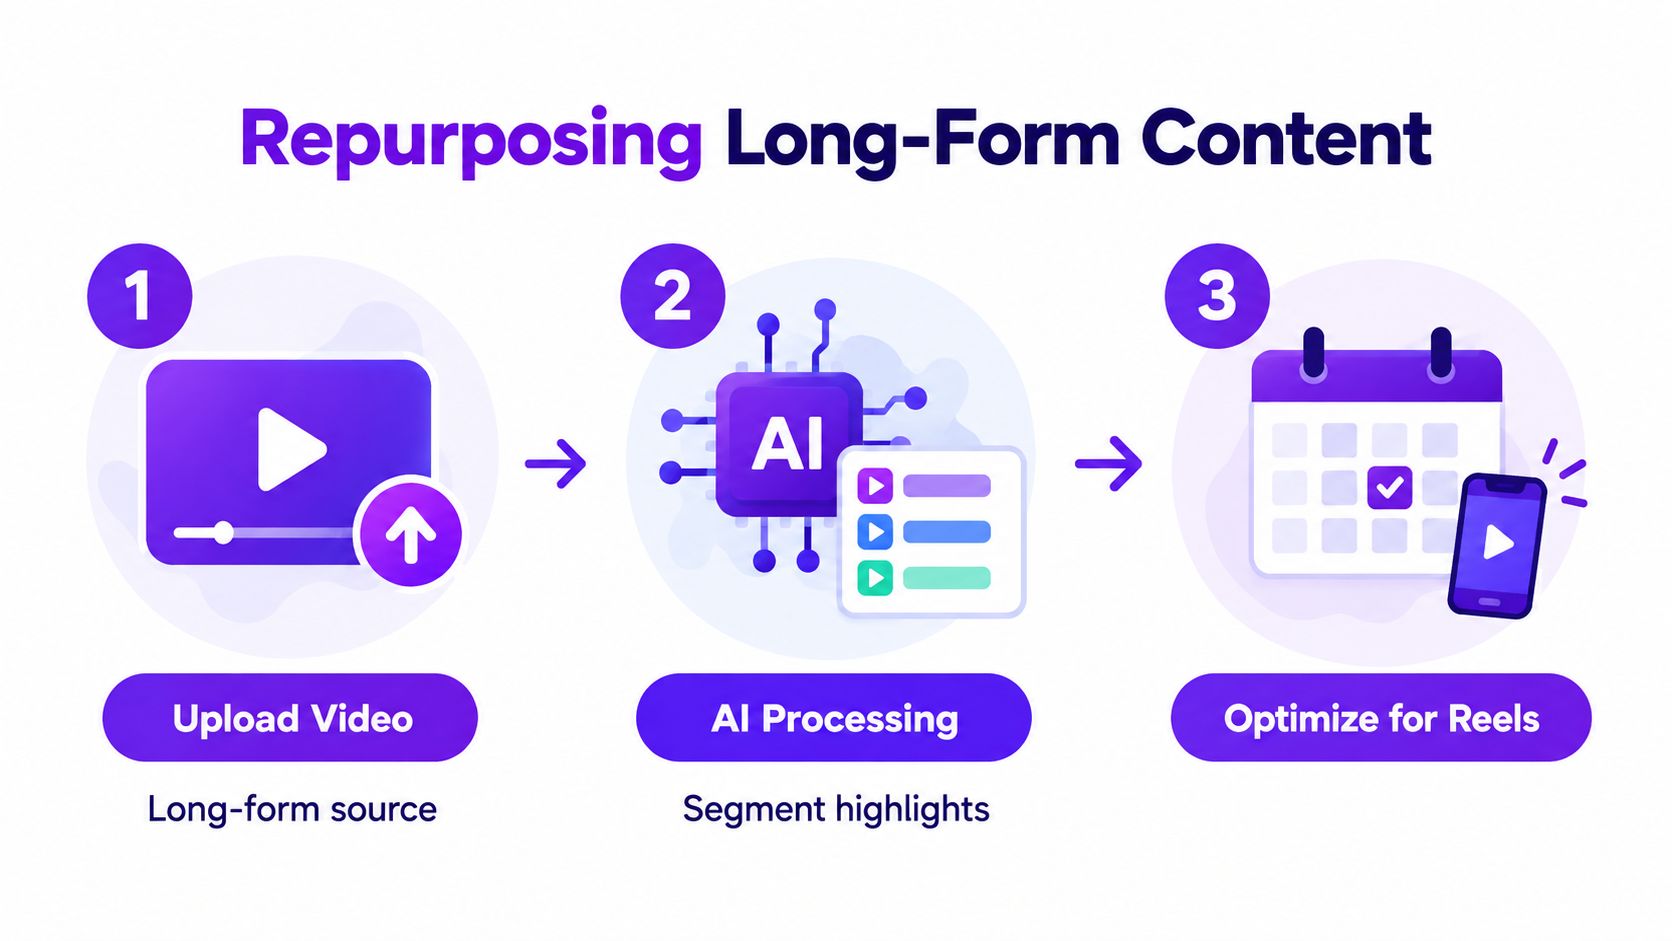
A platform such as Taja AI can analyze a long-form upload against a channel, niche, and brand voice, then produce short-form assets and text for review. According to Taja AI, the platform reports saving users up to 2.3 hours per optimized video, more than 2.6 million hours saved collectively, and an average of 27 short assets and text outputs from analyzed content. Treat those figures as product-reported benchmarks, not a substitute for checking every clip.
Use this sequence:
For example, a 45-minute podcast interview can produce three educational hooks, two objection-handling clips, and one behind-the-scenes moment. Assign each to a different calendar slot instead of publishing five extracts that make the same point.
Automation handles discovery and preparation. Editorial judgment still determines whether a clip makes sense without the original conversation, whether its opening earns attention, and whether its captions match the brand. Keep the review step, especially for clips containing technical claims, sensitive comments, or context-dependent answers.
Teams reducing manual preparation can use this guide to automate content creation with AI. The trade-off is control versus throughput. Native Instagram tools provide direct oversight of each post, while an AI-assisted workflow builds a larger inventory that still requires approval before scheduling.
Long-form repurposing works when every clip has a distinct job. A full queue is not automatically a coherent series, so remove near-duplicates and group related clips into a useful sequence. That approach gives automation room to increase output without flattening the creator's voice.
A scheduled Reel still needs a sensible publication time. Meta can surface follower active times inside its tools, which gives you an account-specific starting point. Broad studies are useful for generating test ideas, but they don't identify one universal hour for every audience.
Later analyzed over 975,000 Reels and found 12 a.m. performed best globally, while Buffer's 2026 analysis of 9.6 million Instagram posts found Reels performed best in the evening, between 6 p.m. and 11 p.m., especially on Wednesday and Thursday. These findings conflict because the datasets, audiences, methods, time zones, and definitions of performance differ. The disagreement is a reason to test, not a reason to ignore timing.
| Source | Dataset size | Best time | Best days |
|---|---|---|---|
| Later | Over 975,000 Reels | 12 a.m. globally | Not specified in the verified finding |
| Buffer, 2026 analysis | 9.6 million Instagram posts | 6 p.m. to 11 p.m. | Wednesday and Thursday |
Start with your own follower activity data, then create a small group of time slots that reflect how your audience behaves. Keep the creative category consistent enough that you can compare timing without confusing the result with a completely different topic or format.
A scheduling time is a hypothesis. Your audience's response decides whether it stays on the calendar.
Creators building a broader platform plan can also use this marketing guide for aspiring writers to connect social publishing with a larger audience-development routine. For the calendar itself, Instagram content calendar guidance can help organize those tests without turning every publishing decision into a last-minute task.
Most scheduling failures come from a mismatch between the account, the destination, and the tool's limits. Start by identifying which layer failed instead of repeatedly rebuilding the Reel.
A personal account can't use the professional scheduling workflow. Convert or use an eligible Creator or Business account if native scheduling is essential, and confirm that a Business or Creator account is connected to a Facebook Page before using Meta Business Suite.
Scheduling also doesn't guarantee reach. A queue can publish consistently while repeating weak hooks, unsuitable topics, or times your audience ignores. Treat the first scheduled batch as a controlled test, then use retention, shares, saves, comments, and profile actions to decide what deserves another iteration.
If a post disappears from the queue, check whether it was saved as a draft, rejected during processing, or removed after an account or connection change. Keep the original video and caption in an organized content folder so a failed schedule doesn't force you to recreate the asset.
A sustainable Reels workflow separates creation, review, scheduling, and measurement. When one person handles all four jobs at once, publishing becomes vulnerable to busy days and inconsistent energy. Put each task into a defined stage, then choose the scheduling layer that fits the stage rather than forcing every account into the same tool.
A solo creator can edit on mobile, review the cover and caption, and queue evergreen Reels in Instagram. A local business may prefer Meta Business Suite for desktop file management and Facebook coordination. A team with long-form recordings and several destinations may need a repurposing platform that creates an asset inventory before scheduling.
Use a simple content board with columns for source, selected clip, edited Reel, approved, scheduled, and published. Give every asset a working label that identifies the topic and intended audience. This prevents a calendar full of vague filenames from becoming difficult to audit.
Keep open space for timely content. A calendar that's completely full can prevent you from responding to a relevant customer question, trend, event, or community conversation. The strongest operating rhythm combines a reliable evergreen baseline with enough flexibility for posts that need to go out while the topic is current.
The goal isn't to automate every decision. It's to make repetitive decisions predictable, reserve human attention for creative quality, and give each Reel a clear path from source material to scheduled publication.
Taja AI turns long-form video into short clips, captions, thumbnails, and platform-specific posts, then supports scheduling from a central dashboard. If you want to build a repeatable repurposing workflow alongside Instagram scheduling, visit Taja AI and evaluate whether its asset generation and publishing tools fit your content operation.


We are blessed to work with leading brands & Companies


We try to make easy and simple for every professionals. Get 30 days free trial - No credit card required.


© 2025 Taja AI. All rights reserved.