.jpeg)
Best Aspect Ratio for YouTube: The Complete 2026 Guide
Discover the best aspect ratio for YouTube videos, Shorts, and community posts. Learn when to use 16:9 vs 9:16 with practical tips and real examples.
5 min read
October 2, 2026

Learn how to make a highlight reel that hooks in the first three seconds, keeps viewers watching, and converts across YouTube, TikTok, and Instagram.
Written by:


You've got the footage, the edit's nearly done, and the reel still feels dead on arrival. That's usually the point where people start blaming the clips, the camera, or the music, when the problem is that they built a video like a summary instead of a distribution asset.
A highlight reel lives or dies in the feed, not in your editing app. That means the opening frame, the cover, the captions, the length, and even the export settings have to earn attention fast enough to survive a swipe.
The failure point is usually obvious if you watch your own reel like a stranger would. The footage looks solid, the pacing feels clean, and then the whole thing collapses because the opening doesn't give the viewer a reason to stop scrolling. The most important decision is not which clip is “best,” it's which clip can carry the first hit of attention.
Short-form video now dominates how people consume highlight-style content, which is why the first glance matters so much. A 2025-2026 benchmark found that 95% of consumers watch short-form video regularly and 71% watch it daily, while 81% say they mainly watch it in vertical smartphone format, and over 60% of the global online population watches short-form swiping video every day (Kapwing benchmark). If your reel doesn't look native to that feed, it gets treated like clutter.
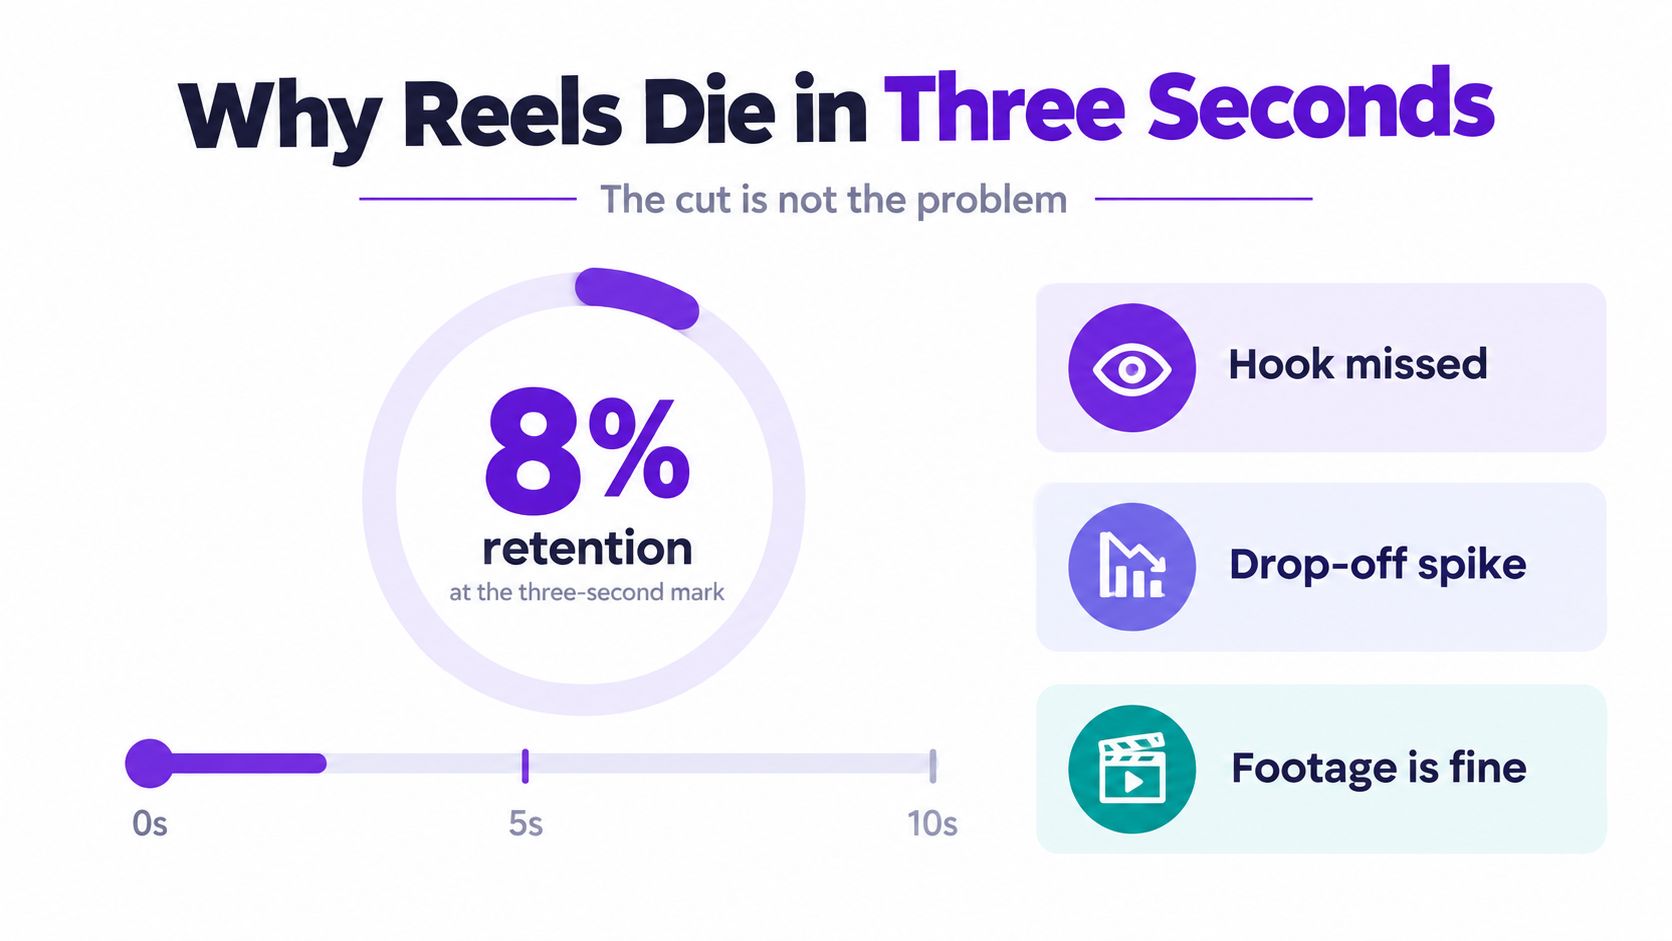
Your cover frame, on-screen text, and opening motion are all competing for the same tiny window. If the cover looks generic, the viewer never gets to the first clean clip. If the first second is a long setup, the reel is already losing.
Practical rule: Treat the first three seconds like a landing page hero section. If it doesn't tell people what they're about to get, they're gone.
The right way to think about how to make a highlight reel is simple. The reel has to promise relevance immediately, then prove it with motion, context, and payoff. That's why the rest of the cut should be built around a feed-first opening, a structure tuned to the platform, and a close that gives the viewer somewhere to go next.
The edit gets easier the moment you stop guessing. Before you trim a single clip, decide what the reel needs to do, who it's for, and what the viewer should feel by the time it ends. If you skip that part, you end up stitching together good moments that don't add up to anything.
A reel made to earn follows does not need the same structure as one meant to land a recruiting message or drive clicks to a long-form video. Pick one primary outcome and let that choice control the pacing, the length, and the final call to action. If you're trying to do everything, the reel will do none of it well.
Then define the audience in plain language. A creator page, a coach's inbox, and a podcast clip all reward different kinds of clarity. The same moment can feel exciting in one context and confusing in another.
Do not start with timestamps. Start with a short list of the must-have moments, because that list tells you what the story is supposed to be. Once you know the handful of beats that matter, you can cut dead space with confidence instead of hoping the timeline will magically organize itself.
The strongest beat should not sit in the opening frame. The opening frame is for earning the watch, the payoff clip is for rewarding it. That one decision keeps you from wasting your best moment on people who were never going to stay.
Here's a simple five-minute pre-flight pass:
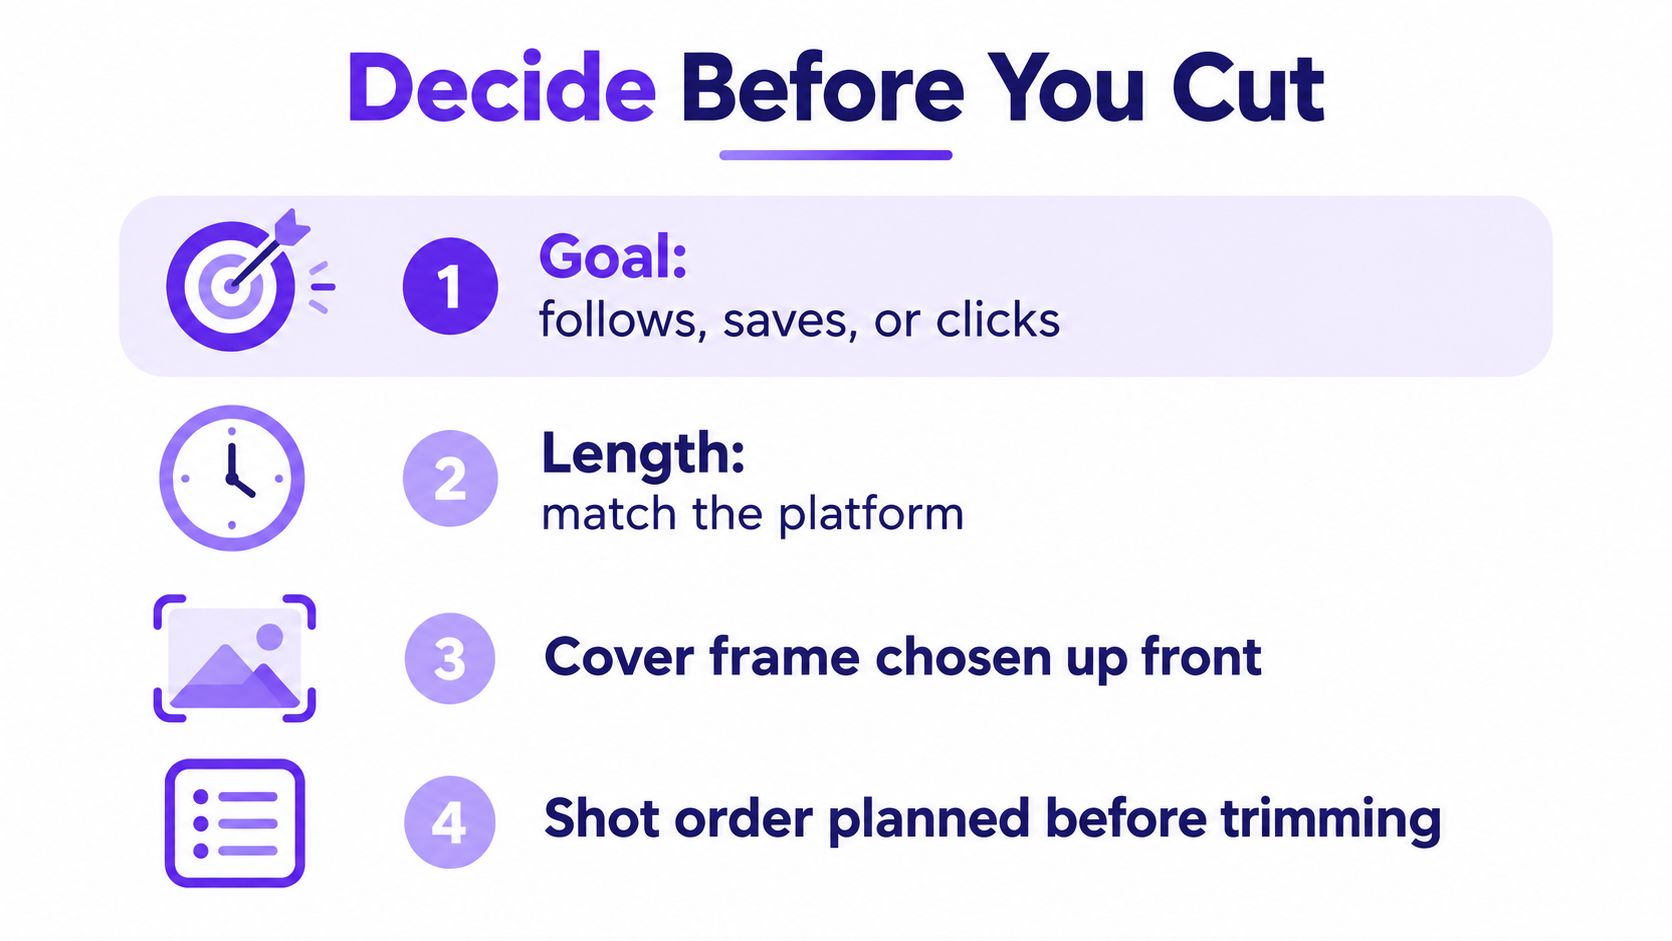
Length should serve the distribution job. A feed reel needs fast comprehension and a strong completion rate. A recruiting tape needs enough context for someone to judge the subject. Choose the target platform and viewer first, then set the runtime.
Short-form retention data shows that videos under 90 seconds retained about 50% of viewers on average, while roughly 60% of short videos were watched through 41% to 80% of their total length. The strongest engagement appeared in the 21- to 34-second range, with Instagram Reels in the 15- to 30-second range averaging 5.8% engagement (Grabon benchmark). For feed distribution, compression gives the viewer fewer chances to leave. Add time only when it delivers context, proof, or a clearer payoff.
| Goal | Length Range | Primary Metric |
|---|---|---|
| Awareness reach | 15 to 30 seconds | Completion and replays |
| Watch-through to a long-form link | 20 to 45 seconds | Click intent |
| Podcast discovery | 30 to 60 seconds | Follows and saves |
| Recruiting tape | 3 to 5 minutes | Evaluation clarity |
A 25-second moment stretched to 90 seconds carries dead weight. A six-minute story forced into 20 seconds loses the context that makes its best beat matter. Remove pauses, dead air, and filler reactions first. Then tighten transitions and the timing of on-screen payoffs.
The export should match the place where the reel will live. A short feed cut should earn replays and shares. A longer cut should help a recruiter or podcast listener evaluate the subject without searching for missing context. Use this IG Reels length guide as a platform-specific starting point before you edit.
Use this rule: For the feed, shorten the reel until every frame earns its place. For recruiting or review, keep only the context that helps the viewer judge the subject quickly.
Open with the hook already in motion. A face in reaction, an action peak, a mid-sentence word, or a sharp visual contrast works because it breaks the scroll before the viewer has time to classify the post. That first moment is doing more work than the rest of the reel combined.
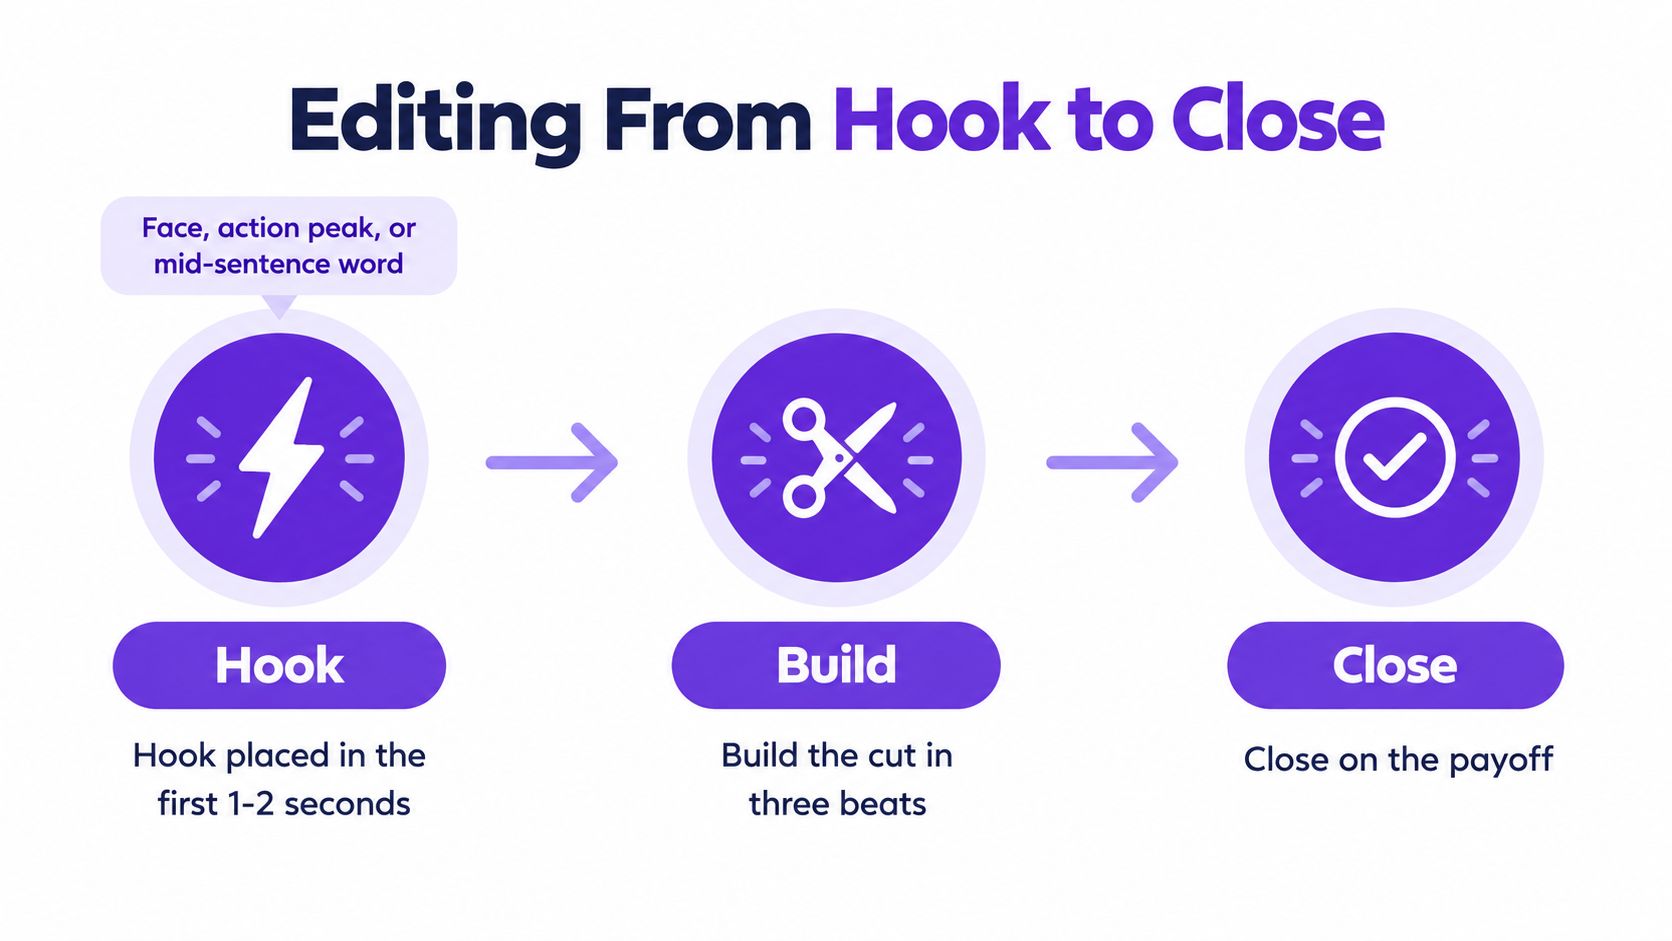
Cut on motion changes, word stress, and laugh beats. Keep the reel lean, and don't leave any clip sitting long enough for the viewer to get bored. Jump cuts are usually stronger than dissolves for short-form because they keep momentum intact.
I'd keep most shots under a few seconds unless a reveal or reaction really needs room. Hard cuts on action usually feel cleaner, and L-cuts work only when a reaction or line carries the next moment forward. The point is movement, not decoration.
Background hum, uneven levels, and muddy music make a reel feel sloppy even when the visuals are strong. Dialogue should be easy to hear, and music should sit under speech instead of fighting it. If the sound mix draws attention to itself, it's too loud.
A practical way to speed this up is to use a tool that handles the first pass for you. If you're assembling a lot of short clips from longer recordings, ShortGenius AI video ad maker is one option for turning source footage into format-ready cuts without starting from scratch every time.
The close should create one more reason to stay connected. That can be a question, a tease, or a promise of what comes next. The viewer should feel like the reel opened a door instead of ending with a hard stop.
Keep the opener, the middle, and the close moving in the same direction. If the reel slows down to admire itself, the feed will punish it.
Not every highlight reel should look the same. A vertical creator clip, a recruiting tape, and a podcast snippet all serve different audiences, so the structure has to change with the use case. If you copy the wrong format, the reel may look polished and still underperform.
A useful comparison for anyone doing create AI sports highlights is to separate the reel by where it will be watched and what the viewer needs to judge quickly. The feed wants speed, a coach wants context, and an educator wants the claim first.
| Element | Vertical Short-Form | Sports / Recruiting | Podcast / Educator |
|---|---|---|---|
| Length | 15 to 45 seconds | 60 to 90 seconds | 20 to 60 seconds |
| Opening shot | Hook in the first second | Strongest play early, with context | Contrarian claim or sharp quote |
| Clip count | Very few, tightly stacked | Enough to show range | Enough to support one idea |
| Music role | Drives pace, stays light | Supportive, not distracting | Often secondary to speech |
| On-screen text | Short, punchy, feed-friendly | Identity and context visible | Captions that teach through the cut |
| Strongest moment | By the middle of the reel | Early, but after enough context | Early enough to justify the thesis |
Vertical short-form needs the hook immediately, then a payoff before the viewer drifts. Sports and recruiting reels need enough context for someone else to evaluate the subject, which means the subject has to stay identifiable and the clip order has to make sense. Podcast and educator reels work best when the point lands early, because the caption is often doing part of the teaching.
The mistake is forcing one format into another. A creator-style cut built for the feed can feel shallow in a coach's inbox, and a recruiting reel can feel slow on social if it spends too long explaining itself. Match the structure to the room it's walking into.
Finishing is where a reel becomes publishable. Captions, title, cover frame, thumbnail, and export settings should be handled together, because they all affect how the clip performs once it leaves the edit tool and enters the feed.
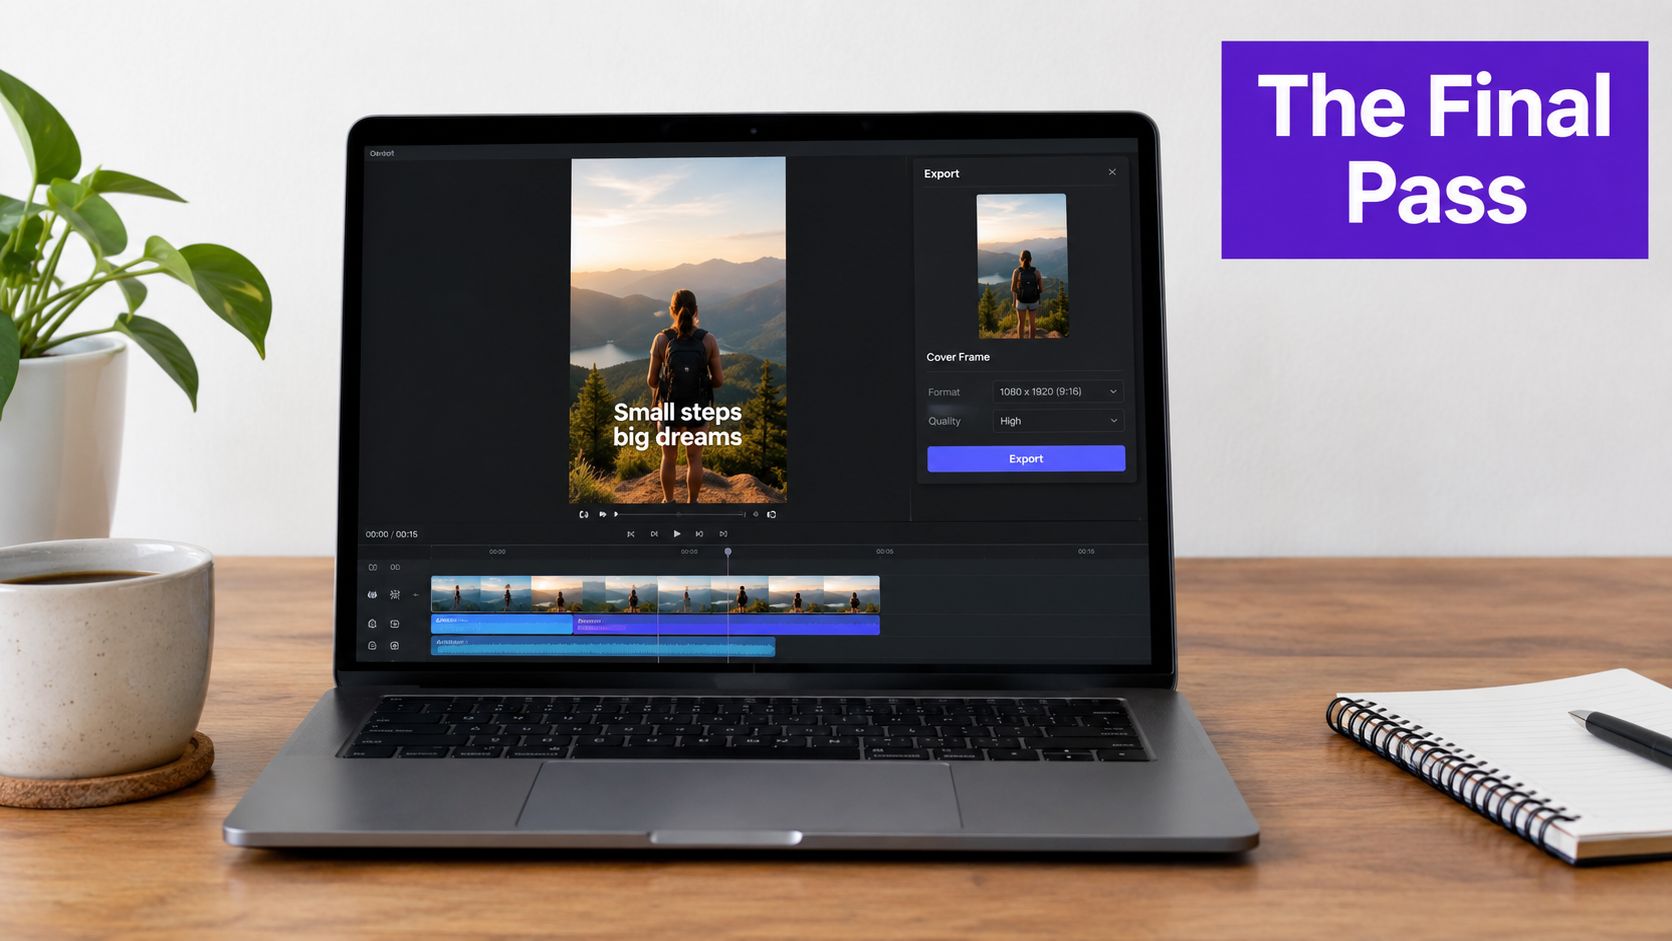
Burn in captions instead of relying on auto-only subtitles. Keep them to two lines max, make the hook line centered when it needs emphasis, and use a weight that still reads in bright light. If the viewer can't follow the line with one glance, the caption is failing its job.
Choose the cover frame at the highest expression or action peak, not on a black title card. Then build a thumbnail that survives a small crop in-feed, because the platform will not preserve your layout the way your editing software does. The image has to communicate instantly even when it's tiny.
Use 9:16 at 1080x1920 and 30fps for TikTok and Reels, and keep 9:16 up to 60 seconds ready for Shorts. Keep a 1:1 or 4:5 backup for LinkedIn if the same story needs a second life there. Name files with the version and platform so you don't create a mess when you repurpose later.
If you want a faster finishing pass, this caption workflow guide is a useful reference for turning one source clip into caption-ready variants. Tools that handle this well can save a lot of manual cleanup, especially when the same reel needs different text treatments on different platforms.
Don't treat export as a technical afterthought. The final file is the version the algorithm and the audience actually see.
A highlight reel that earns attention on Monday can keep working all week, provided you package each version for the feed where it will appear. Build one master cut, then extract assets with different jobs. Clip count, captions, framing, and export settings should support retention and reach, not fill a content calendar.
Start with the hero edit and identify the moments that work without much context. Cut those moments into platform-specific versions, then give every asset a clear hook-first file name and caption angle.
Write captions before scheduling. Export each version in the aspect ratio and duration that suit its destination, then review early performance to decide which angle deserves another push. A workflow tool like Taja AI can turn one source video into clips, captions, thumbnails, and platform-specific posts, reducing repetitive editing work.
Use this repurposing workflow guide to standardize the handoff from one edit to multiple posts. Keep the strongest footage in circulation by changing the packaging, not by reposting the identical file. If weak packaging is wasting good footage, Taja AI can support the full repurposing workflow from a single source video.


We are blessed to work with leading brands & Companies


We try to make easy and simple for every professionals. Get 30 days free trial - No credit card required.


© 2025 Taja AI. All rights reserved.