.jpeg)

Content Marketing ROI: A Practical Guide for 2026
Learn how to measure and grow content marketing ROI with practical steps and real examples. Improve your strategy and track results in 2026.
5 min read
September 27, 2026

Learn how to crop video mac easily using iMovie, Photos, and FCP. Our 2026 guide covers reframing for social media while preserving full resolution and quality.
Written by:


You've probably got a good video sitting on your Mac right now that's trapped in the wrong frame.
It might be a webinar recorded in widescreen, a podcast interview that looks fine on YouTube, or a product demo that works on a laptop but falls apart the moment you try to post it as a vertical short. The footage isn't the problem. The framing is.
That's why crop video mac isn't just an editing task. It's a repurposing move. A smart crop turns one asset into multiple platform-ready versions without reshooting anything. A bad crop chops off faces, softens the image, and wastes the original recording.
The people who get more reach from the same footage usually aren't filming more. They're reframing better.
A lot of wasted editing time starts with one bad assumption. Creators treat cropping like the last cleanup step, then wonder why every platform version feels off and takes too long to finish.
Cropping is really a distribution decision.
The frame decides what gets noticed first, what gets ignored, and whether a clip feels native to the platform where you post it. That shift matters when you are trying to turn one recording into a YouTube upload, a square promo, and a vertical short without rebuilding the edit from scratch.
A long-form interview makes the point fast. In widescreen, two speakers can share the frame comfortably. In a vertical cut, that same shot can bury the intended moment. One face gets too small, captions fight for space, and the eye drifts to empty background instead of the line you want people to remember.
A wide frame gives context. A tighter frame gives priority.
That is why the same clip can feel more instructional on YouTube, more personal in a feed post, and more immediate in a short-form placement. The script did not change. Viewer attention did.
Practical rule: The best crop makes the point obvious fast.
This is also why aspect ratio is a strategy question, not just an editor setting. If your destination is short-form social, the framing needs to support that format from the first cut. A quick reference for TikTok aspect ratio requirements and format choices helps clarify how much of your original frame will survive and what needs to stay centered.
Fast reframing beats heavier editing for a lot of business content. Testimonials, tutorials, webinars, podcast clips, and product demos usually do not need flashy transitions. They need a frame that protects the subject, leaves room for captions, and matches the platform.
The real question is not how to crop one video on a Mac. It is how to get more usable assets from the footage you already have, without turning repurposing into a second production cycle.
Before you touch the crop handles, decide what the clip needs to do. A sloppy crop usually starts with a sloppy goal. If you don't know whether the clip is meant for a vertical short, a square feed post, or a standard presentation, you'll frame it wrong the first time and export twice.
Most cropping mistakes happen because people open the editor before choosing the destination platform.
Use this quick decision guide:
| Format | Best use | What to watch for |
|---|---|---|
| Vertical | Shorts, stories, reels | Keep the speaker centered and leave room for on-screen captions |
| Square | Feed posts, promos, simple talking-head clips | Avoid crowding the face too close to the top edge |
| Widescreen | YouTube, presentations, embedded site video | Preserve context and don't crop just for the sake of movement |
If you want a platform-specific breakdown, this guide to TikTok aspect ratio is a useful reference point when you're mapping clips to social formats.
Good cropping often starts before editing. When recording, leave enough space around the main subject so you can reposition later.
That means:
A simple habit solves a lot of problems. Record your main content as if you might need a tighter version later. That gives you room to adapt instead of forcing a rescue job in post.
This is the essential part.
A Screen Charm guide on cropping video on Mac notes that cropping a 4K recording down to a 1080p frame can still look sharp because 4K has roughly four times the pixel data of 1080p, while aggressive cropping from a 1080p source usually causes visible quality loss. That's the practical difference between a flexible master file and a fragile one.
Start with more pixels than you think you need. Cropping always spends image data.
That one rule changes how you plan everything. If you regularly repurpose podcast episodes, tutorials, interviews, or screen recordings, a higher-resolution source gives you room for close-ups, vertical reframes, and square cutdowns without the image falling apart.
When the source is already limited, be conservative. Reframe enough to improve focus, but don't try to fake a dramatic punch-in from thin air.
You recorded one strong long-form video. Now you need a square cut for LinkedIn, a tighter clip for email, and a cleaner frame for internal sharing. On Mac, the fastest path is often the software you already have. That matters because quick turnaround beats a perfect edit when your ultimate goal is getting more usable versions from one source file.
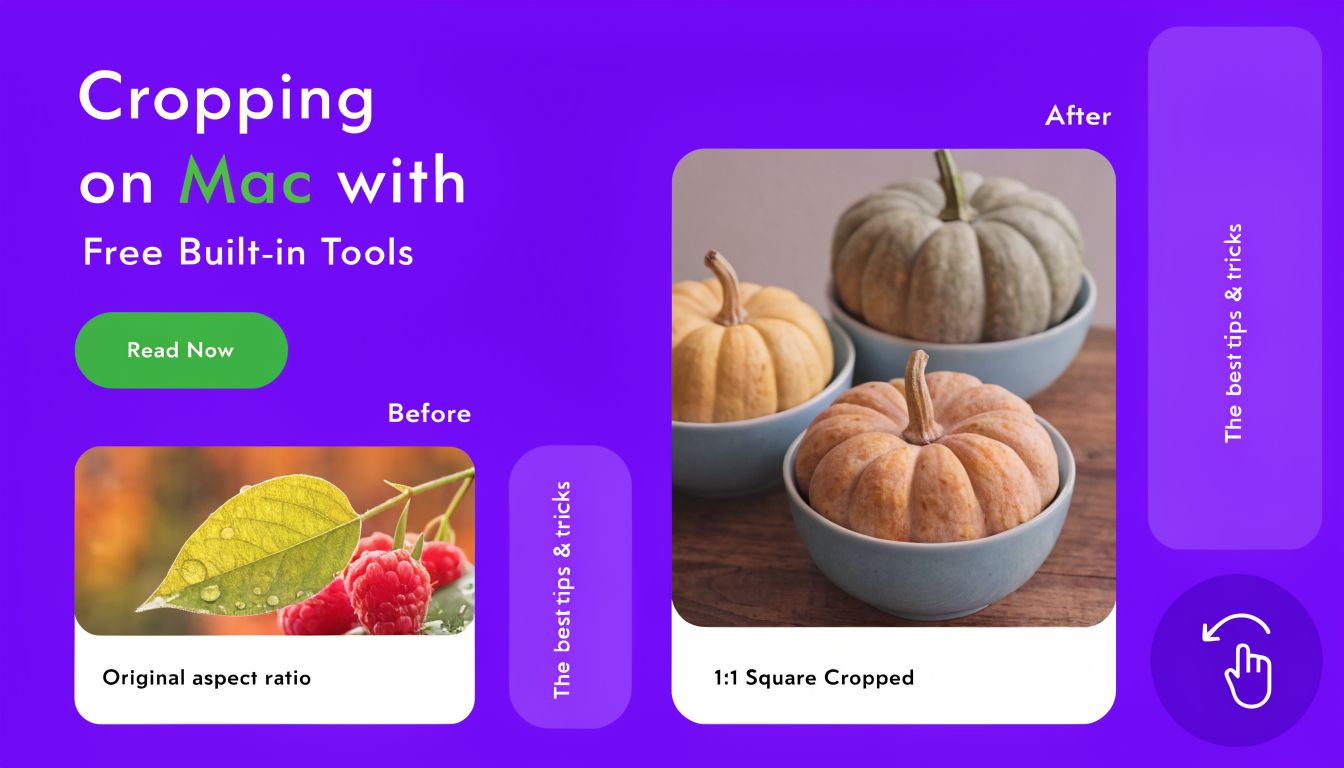
iMovie is the stronger free option if the crop is part of a real edit, not just a quick cleanup. You get a timeline, basic trimming, and enough framing control to turn one wide clip into a tighter version for a specific channel. If you want a broader walkthrough of the app, this guide on how to use iMovie is a solid companion.
The workflow is simple:
That last step saves time. A crop that looks right on the opening frame can drift into awkward territory 20 seconds later.
iMovie works well for stable shots. Talking-head videos, product demos, recorded presentations, and straightforward interviews usually hold up fine. It is also a practical fit for teams creating high-quality company event videos who need quick internal cutdowns before investing time in a full post-production pass.
The trade-off is static framing. If the subject shifts a lot, your crop becomes a compromise between dead space and accidental cutoffs.
Use iMovie if the job calls for speed and decent control, not precision editing.
It is a good choice when:
For repurposing, that matters more than people admit. A fast crop in iMovie can turn a neglected wide clip into a version that fits the platform you plan to publish on.
Photos is faster than iMovie, but it is much narrower. Use it when the clip already works and only needs a cleaner frame.
Open the video in Photos, double-click it, click Edit, then choose Crop. You can adjust the framing and apply standard aspect ratios or a custom one. The controls are simple, which is the point.
Photos is useful for:
If you are producing several versions from one master video, Photos usually runs out of road quickly. It does one job well. It does not help much with sequencing, timing, or building multiple deliverables from the same footage.
Choose based on the outcome you need, not the tool you already opened.
| Tool | Best for | Main trade-off |
|---|---|---|
| Photos | Fast fixes and basic reframing | Minimal editing control |
| iMovie | Simple project-based cropping | Limited precision when framing gets complex |
Photos is faster for one-off fixes. iMovie is better when the crop supports a content plan, especially if you are turning one source video into several usable assets.
Free built-in tools are strong when the footage is clean, the subject is obvious, and speed matters more than polish.
They start to fall apart when:
Use Photos for the quickest correction. Use iMovie when the crop is part of a repurposing workflow and you need just enough control to create a better-performing second version without slowing the whole process down.
Professional cropping on Mac stops being a design choice and starts becoming a distribution decision. One framing pass can turn a single master file into a clean vertical short, a square social clip, and a tighter cut for email or sales follow-up. The right tool decides how much time that takes, and how consistent the results look across every version.
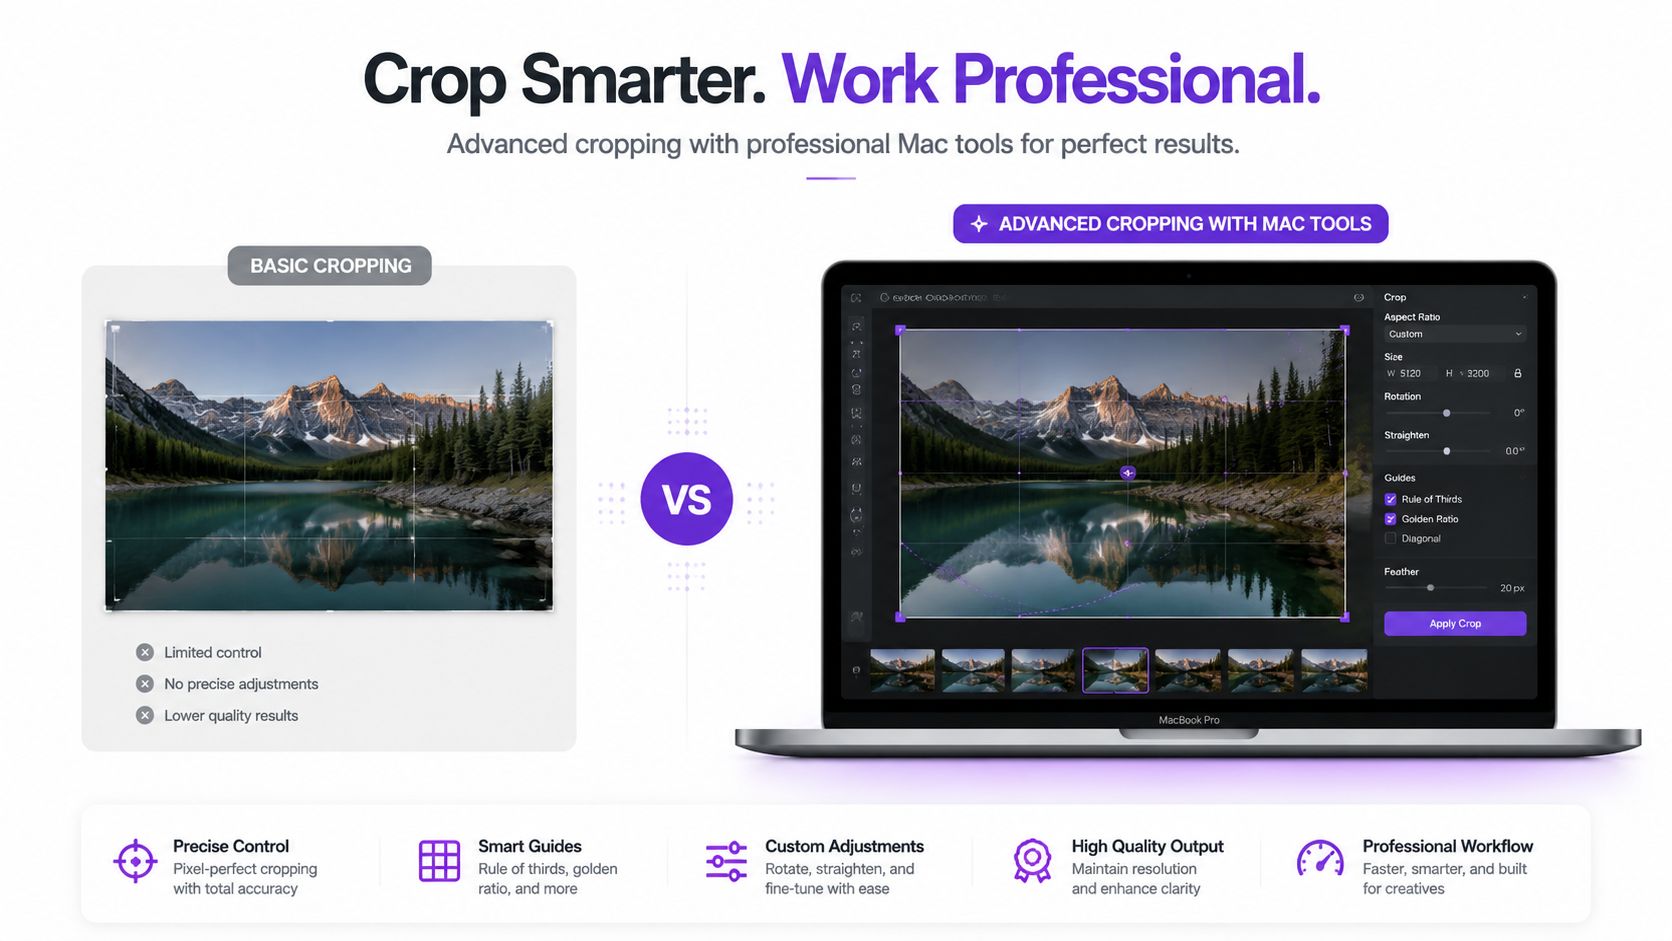
Final Cut Pro earns its place when the crop has to hold up for the entire clip, not just the opening frame. If your speaker shifts in their chair, a product demo moves between screen zones, or a stage presenter crosses the shot, static framing breaks fast.
Keyframing fixes that. You can animate position and scale over time so the crop follows the subject instead of leaving them half out of frame. That matters when you are pulling multiple assets from one recording and want each cut to look intentional, not like a rushed zoom.
Use Final Cut Pro when you need:
This is especially useful for business footage. Teams focused on creating high-quality company event videos often start with wide stage shots, panel recordings, or room coverage that was never framed for social. Final Cut Pro gives you enough control to turn that material into clips people will watch.
FFmpeg solves a different problem. It is not about visual experimentation. It is about executing the same rule, accurately, over and over.
That makes it a strong fit for recurring workflows. If every webinar intro needs the same center crop, or every interview batch needs a 9:16 version with matching dimensions, FFmpeg can process the job without opening a full editor. For solo creators, that saves hours. For teams, it keeps output consistent.
A practical FFmpeg workflow is good for:
The trade-off is obvious. FFmpeg is fast once the rule is clear, but it gives you very little visual feedback while you are deciding on the crop. Final Cut Pro is better for judgment. FFmpeg is better for repetition.
Manual reframing works for a single clip. Repeatable commands win when cropping becomes part of weekly production.
Sometimes cropping is only the visible part of the workload. The bigger time sink is turning one long recording into several usable assets with different framing, packaging, and publishing needs.
Taja AI fits that broader workflow. It focuses on repurposing long-form video into shorter content assets, including clips and platform-specific outputs. That is a different value than frame-by-frame crop control. It reduces repetitive post-production work around distribution.
| Tool | Best use case | Strength | Limitation |
|---|---|---|---|
| Final Cut Pro | Creative reframing and moving subjects | Precise visual control | More hands-on editing time |
| FFmpeg | Batch cropping and repeatable jobs | Fast automation | Less visual, less beginner-friendly |
| iMovie | Simple free edits | Easy to use | Limited advanced control |
| Photos | Basic quick fixes | Fastest native option | Narrow editing range |
Pick Final Cut Pro when the frame needs editorial judgment. Pick FFmpeg when the frame follows a repeatable rule.
That choice matters more than people think. The wrong tool turns cropping into tedious cleanup. The right one turns one source video into a system for reaching more platforms without multiplying your editing time.
A clean crop can still fail on export. Many otherwise good edits go sideways at this stage. The frame looks right in the editor, then the final file comes out soft, letterboxed, or awkwardly positioned on the target platform.
The export should match where the clip is going. If you cropped for a vertical short, export a vertical file. If you leave the project in a widescreen container, the platform may add black bars or force an ugly fit.
A practical export checklist:
Blurry output usually comes from one of three mistakes:
If the original footage didn't have enough resolution to support the crop, no export setting can fully rescue it. That's why the source planning earlier matters so much.
A softer-looking clip can sometimes be improved by exporting at the intended platform dimensions instead of letting the platform resize it for you. But if the crop already stretched the image beyond what the source can support, the softness is baked in.
A blurry export often starts as a capture problem, not an export problem.
Black bars usually mean your crop and export container don't agree. The video itself may be vertical, but the exported file may still be sitting inside a widescreen frame.
Check these points:
If the main subject ends up out of frame, the issue is usually different. That often means the crop looked acceptable at one moment but failed across the clip because the person moved. Free tools struggle here. In more dynamic footage, you need to reposition the crop at different points or move to a tool that supports animated framing.
Before you publish, check the finished clip in this order:
| Check | What you're looking for |
|---|---|
| Edges | No chopped-off heads, hands, or product details |
| Center | Main subject stays visually dominant |
| Text area | Captions or overlays don't cover critical visuals |
| Playback | No black bars, weird scaling, or softness after export |
This review takes a minute and saves a repost.
Manual cropping is still a useful skill. You should know how to reframe a clip on your Mac, fix a weak composition, and export the right version for the right channel. That knowledge keeps you from being trapped by your tools.
But manual cropping turns into a bottleneck fast.
The moment you're pulling shorts from webinars, podcasts, sales calls, tutorials, event footage, or weekly educational videos, the task stops being “crop one clip” and becomes “repeat the same judgment across a pile of assets.” That's where time disappears. Not in the first edit, but in the fifth variation, the caption pass, the platform resize, the thumbnail tweak, and the scheduling work afterward.
The smart shift is to treat cropping as one part of a larger repurposing system. The frame still matters. It always will. But the bigger win comes from building a workflow where reframing, clipping, packaging, and distribution happen with less manual effort.
That's how you get more reach from footage you already have.
If you're tired of manually turning one long video into a dozen platform-specific assets, Taja AI gives you a faster repurposing workflow. You upload one long-form video, and it helps generate shorts, clips, captions, thumbnails, blogs, and platform-ready posts from a single dashboard so you can spend less time resizing content and more time publishing it.


We are blessed to work with leading brands & Companies


We try to make easy and simple for every professionals. Get 30 days free trial - No credit card required.


© 2025 Taja AI. All rights reserved.