.jpeg)
Create Youtube Shorts from Youtube Video
Create youtube shorts from youtube video. Create YouTube Shorts from a YouTube video with this practical 2026 guide. Learn clipping, captions, thumbnails
5 min read
October 17, 2026

Learn how to post on YouTube the right way in 2026. Our guide covers uploading, SEO, thumbnails, scheduling, and repurposing to get more views and save time.
Written by:


Most creators treat uploading to YouTube like administrative work. It isn't. The upload is the first distribution decision, and the channels that get traction usually make those decisions before the file ever reaches YouTube Studio.
The evidence points in the same direction. Titles around 53 characters help avoid truncation, over 90% of top videos use custom thumbnails, and a CTR in the 5 to 10% range from sources like YouTube search often leads to 2 to 3x more impressions according to TubeBuddy's breakdown of upload settings and optimization. That means the publish workflow isn't clerical. It's part packaging, part positioning, part launch strategy.
If you're trying to learn how to post on youtube in a way that grows a business, the button clicks matter less than the system around them. The practical workflow starts with file prep, moves through upload settings with intent, then continues into optimization, accessibility, scheduling, and repurposing.
Publishing problems usually start before YouTube Studio enters the picture. The file itself sets the pace for everything that follows. Upload speed, processing time, rights checks, version control, and repurposing all get easier or harder based on how you prep the asset.
A good publishing workflow treats the exported video as a distribution asset, not just the final render from editing. That shift matters for creators running a business. The same file may need to become a YouTube upload, a clipped Short, a LinkedIn teaser, a sales enablement asset, or part of an email campaign. If the source file is disorganized, every downstream task takes longer.
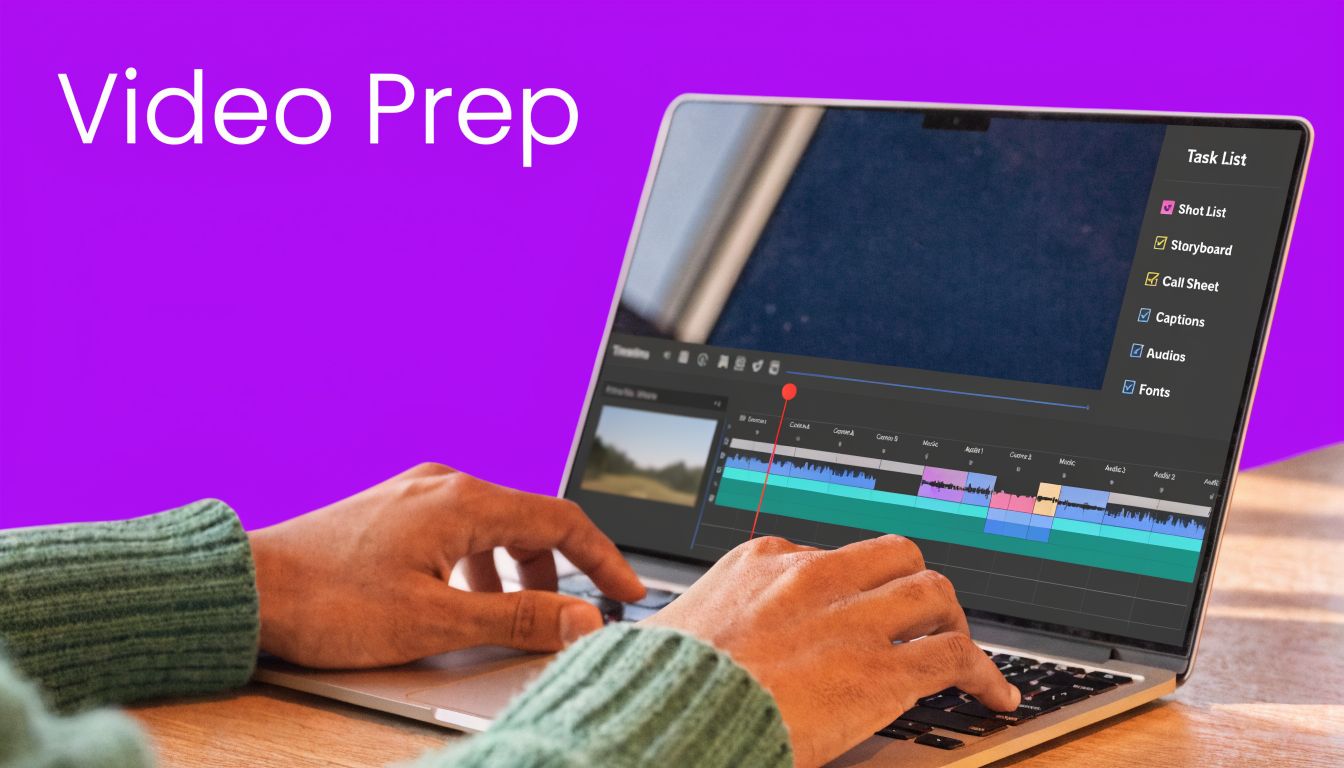
Editing files are built for revision. Publishing files are built for reuse.
Export one clearly labeled, final version for YouTube. Use a naming system that answers the basic questions at a glance: topic, format, version, and date. For example, youtube-seo-tutorial-longform-v3-2026-04-17.mp4 is easier to trust than final_final_new.mp4. That sounds minor until you batch uploads, hand off work to a team member, or return later to cut clips from an older video.
I also recommend keeping your archive master and upload version in separate folders. The archive protects quality for future edits. The upload version keeps the publishing queue clean, which lowers the odds of posting the wrong cut.
A practical pre-upload check catches the mistakes that waste the most time:
Compression is a quality decision. It affects what viewers notice first.
Screen recordings, on-screen text, product demos, and talking-head videos with detailed backgrounds tend to break down fast under poor compression. If the file is too heavy, reduce size in a way that protects legibility and motion instead of running it through whatever converter is easiest to find. This guide to video compression software for Mac is a solid starting point for creators working with long interviews, webinars, or podcast-style uploads.
The trade-off is simple. Aggressive compression speeds up upload and storage, but it can soften visuals that matter for retention. For educational or product-led content, I usually protect text sharpness first. Viewers will forgive a slightly larger file. They will not forgive blurry slides.
Practical rule: If the file is hard to identify, move, or repurpose, the publishing process will stay slower than it should be.
Busy creators lose time by rethinking the same low-value choices every time they publish. Build defaults before upload day. Decide your export preset, folder structure, naming convention, archive rules, and rights review process once, then repeat them.
That creates room for the decisions that actually affect performance after the video goes live. A well-prepped file moves faster through upload, makes metadata entry easier, gives your team fewer chances to make avoidable mistakes, and leaves you in a better position to repurpose the video after publishing. The upload button is only the start. Clean file prep is what makes the rest of the distribution plan workable.
The mechanics of posting on YouTube aren't difficult. The friction comes from making decisions in the right order, especially when the desktop and mobile interfaces push you toward slightly different habits.
On desktop, YouTube Studio feels like a publishing console. On mobile, it feels more like a fast posting tool. Both work, but desktop gives you better control over metadata, checks, and launch settings.
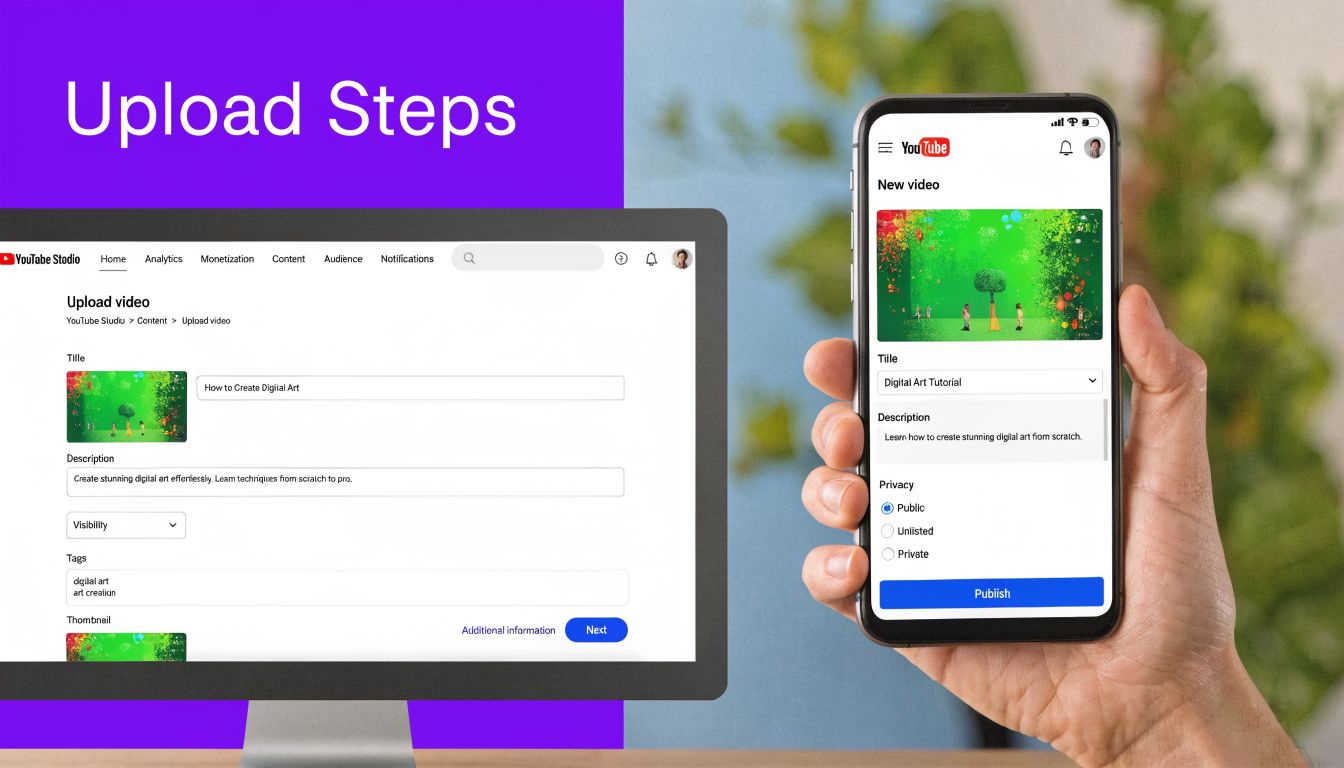
Desktop is the stronger option when the video matters commercially. Client work, lead generation videos, educational content, podcast episodes, and cornerstone content all deserve the full workflow.
Open YouTube Studio and click Create, then Upload videos. Select the final export, not a work-in-progress local render.
This seems obvious, but in teams and solo businesses alike, duplicate versions cause publishing mistakes. Keep one folder labeled ready to upload and use only that folder for YouTube-ready assets.
As soon as the file begins uploading, complete the fields that carry the most weight. Start with title, description, and thumbnail. Then move to playlist, audience designation, and category.
If you want a stronger operational understanding of what each screen in Studio tells you, this YouTube Studio deep dive on analytics and channel growth is useful because it connects upload decisions to later performance review.
A practical order for the Details screen:
YouTube may prompt you to add subtitles, end screens, and cards. These aren't decorative. They guide the next action.
For long-form content, end screens work best when they continue the same journey the viewer is already on. A real estate market update should lead to another local market video, not a generic homepage-style recommendation. A teaching video should send people into a sequence, not a random upload.
After you've seen the interface once, this walkthrough helps if you want a visual refresher during setup:
Many creators rush here. Don't.
YouTube runs automated copyright review before publication. If you get the confirmation that checks are complete with no issues, you're in a cleaner position to publish. If you see a problem, resolve it before launch instead of hoping it won't matter later.
A delayed publish is easier to recover from than a live video with rights restrictions.
The visibility choice should match the role of the video.
Scheduling also belongs here, but the strategy behind it matters more than the click itself, so that comes later.
Mobile is ideal when speed matters more than depth. Behind-the-scenes clips, event coverage, simple updates, or lightweight Shorts can move faster from phone to channel.
The sequence is straightforward:
The trade-off is control. Mobile makes it easier to publish, but easier to under-optimize too. Thumbnail handling, detailed descriptions, and broader metadata review usually feel better on desktop.
Here's the simplest way to decide:
| Situation | Better choice | Why |
|---|---|---|
| Evergreen tutorial | Desktop | More control over metadata and video elements |
| Podcast episode | Desktop | Better handling for descriptions, chapters, and links |
| Quick Short from an event | Mobile | Speed matters more than full setup |
| Client-facing brand content | Desktop | Fewer avoidable mistakes |
| Casual community update | Mobile | Faster turnaround |
If the video is meant to rank, convert, or represent your brand for months, use desktop. If it's meant to be timely and lightweight, mobile is fine.
Publishing performance is usually decided before the video collects its first hundred views. YouTube needs clear topic signals, viewers need a reason to click, and both judgments happen fast. Busy creators often treat optimization as a metadata chore. In practice, it is packaging strategy, and packaging decides whether the upload becomes an asset or just another file on your channel.
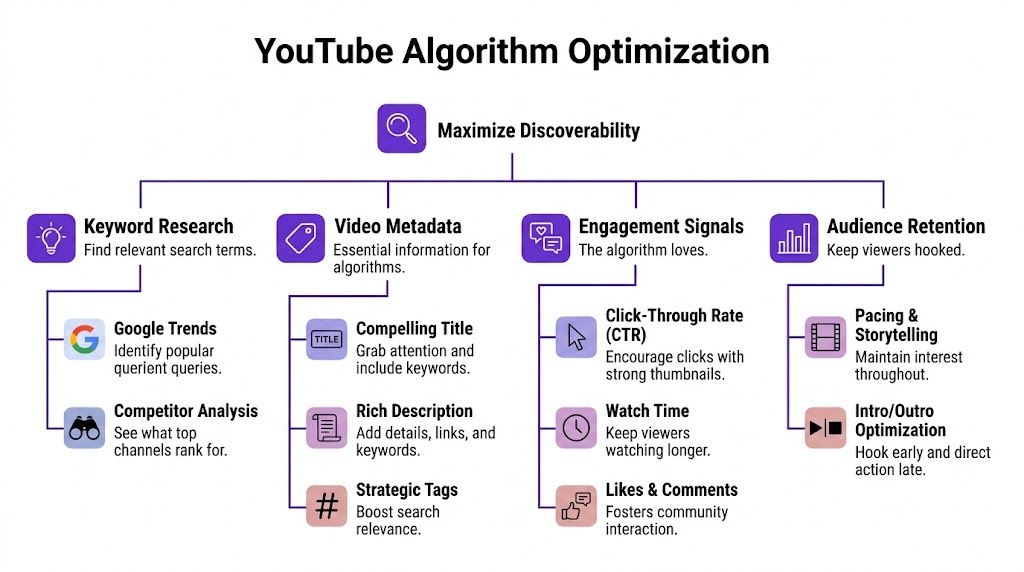
A title has two jobs. It helps YouTube classify the video, and it helps the right viewer decide that this version is worth their time.
Shorter titles often perform better because they stay readable on search, suggested, and mobile surfaces. I usually trim until one promise is obvious. If a title tries to cover the tutorial, the audience, the bonus tips, and the broader business outcome all at once, clarity drops.
Weak title pattern:
Stronger title pattern:
That second version is easier to scan and easier to pair with a thumbnail. If the video targets a specific audience, move that qualifier close to the front only when it improves intent matching, such as "for business owners" or "from your phone."
The opening lines of the description do more work than the rest of the box. They show up in previews, reinforce the topic, and help viewers confirm they clicked the right result.
A practical structure:
Many channels waste that space on social links, disclaimers, or a generic brand statement. Save those for lower in the description. The top should sell the value of the video.
For teams planning topics before upload, metadata quality starts upstream. Good titles and descriptions come from clear intent mapping, not last-minute improvisation. This guide to comprehensive SEO and keyword research is useful for building that workflow before you ever open YouTube Studio.
If the thumbnail fails, the rest of the optimization stack gets fewer chances to matter. Custom thumbnails consistently outperform default frames because they communicate intention. They tell the viewer this video was packaged to compete.
Good thumbnails usually follow one clear angle:
| Thumbnail approach | Best use case | Common mistake |
|---|---|---|
| Clear outcome | Tutorials, walkthroughs, demos | Tiny text that disappears on mobile |
| Tension or contrast | Commentary, breakdowns, opinions | Generic facial expression with no context |
| Result or object focus | Products, transformations, case studies | Cluttered collage with too many ideas |
A thumbnail is not a summary of the whole video. It is the visual argument for the click. If the title names the topic, the thumbnail should sharpen the curiosity, stakes, or payoff.
Creators who want a technical shortcut often spend too long on tags. That is rarely the best use of time. Start with the assets that influence discovery and response more directly: title, thumbnail, description opening, and category.
Tags still have a role, especially for misspellings, alternate phrasings, or branded terms. They just should not be the center of your workflow. For most channels, ten extra minutes refining the title and thumbnail will do more than twenty minutes building a long tag list.
This is also where consistency matters. If the title promises a beginner posting tutorial, the description, category, and thumbnail should support that exact topic. Mixed signals make it harder for YouTube to place the video confidently.
High click-through rate helps, but only if the video delivers on the promise. Overstated titles and thumbnails can spike curiosity and then hurt retention. That trade-off matters. You are not trying to win one click. You are trying to earn enough satisfaction that YouTube keeps recommending the video after the initial test.
I look for message match first. Did the opening minute confirm the promise made by the title and thumbnail? Did the description support the same angle? If viewers click and leave quickly, the problem is often expectation setting, not just content quality.
If you want a stronger system for packaging videos around discoverable topics, this article on mastering YouTube SEO to skyrocket your video reach connects the search side of optimization to the publishing workflow.
What works
What hurts performance
This is the part many creators miss. The upload is not the finish line. Strong optimization sets up search discovery, suggested traffic, click-through, retention, and later repurposing. It gives the video a better chance to produce results long after publish day.
A polished upload can still lose momentum if the release mechanics are weak. Scheduling, Premieres, chapters, captions, and permissions shape how the video lands with viewers and how usable it feels after the first burst of attention.
The hidden advantage is consistency. Advanced settings let you publish like a system instead of posting whenever you happen to finish editing.
Scheduling matters most when your channel serves a working audience. Solopreneurs, agents, consultants, pastors, educators, and local service businesses usually don't need random publication. They need a repeatable release pattern.
If your audience expects weekly videos, scheduling creates reliability. It also prevents the common mistake of finishing a video at night and publishing immediately just because it's done. Production timing and audience timing aren't the same thing.
Premieres are different. They're useful when the video benefits from a live moment, such as a product reveal, a major interview, a community event, or a flagship episode you plan to support in real time through comments. If the video is evergreen and instructional, a standard scheduled release is often cleaner.
Field note: Treat Premieres like events, not defaults. Most instructional videos don't need event framing.
Chapters are one of the easiest quality upgrades for long-form YouTube publishing. They help viewers find specific parts, return to relevant sections, and commit to a longer video because the structure feels easier to scan.
Captions matter for a different reason. They improve comprehension, help viewers in sound-off environments, and make content more accessible to a broader audience. If your business relies on education or trust, this is part of the product, not an optional polish layer.
A practical accessibility review should include readable on-screen text, spoken clarity, captions, and navigable structure. For teams that want a broader reference point beyond YouTube-specific settings, this WCAG compliance checklist is a useful framework for checking whether digital content is easier to use for more people.
Not every setting deserves equal attention. A few deserve a standing review before every publication:
The strongest publishing setups combine timing, usability, and follow-through. A scheduled tutorial with clear chapters, accurate captions, related end screens, and a planned comment response window usually performs better operationally than a video that gets posted instantly and left alone.
That doesn't mean every upload needs a complex launch. It means every upload should feel intentional.
The upload button starts distribution. It does not finish the job.
Creators who get consistent returns from YouTube treat every video like a content package, not a single post. One recording should feed discovery, nurture, sales support, and future topic planning. That approach matters even more for small teams and business owners because production time is usually the bottleneck. Better distribution gets more value from footage you already paid to script, film, and edit.
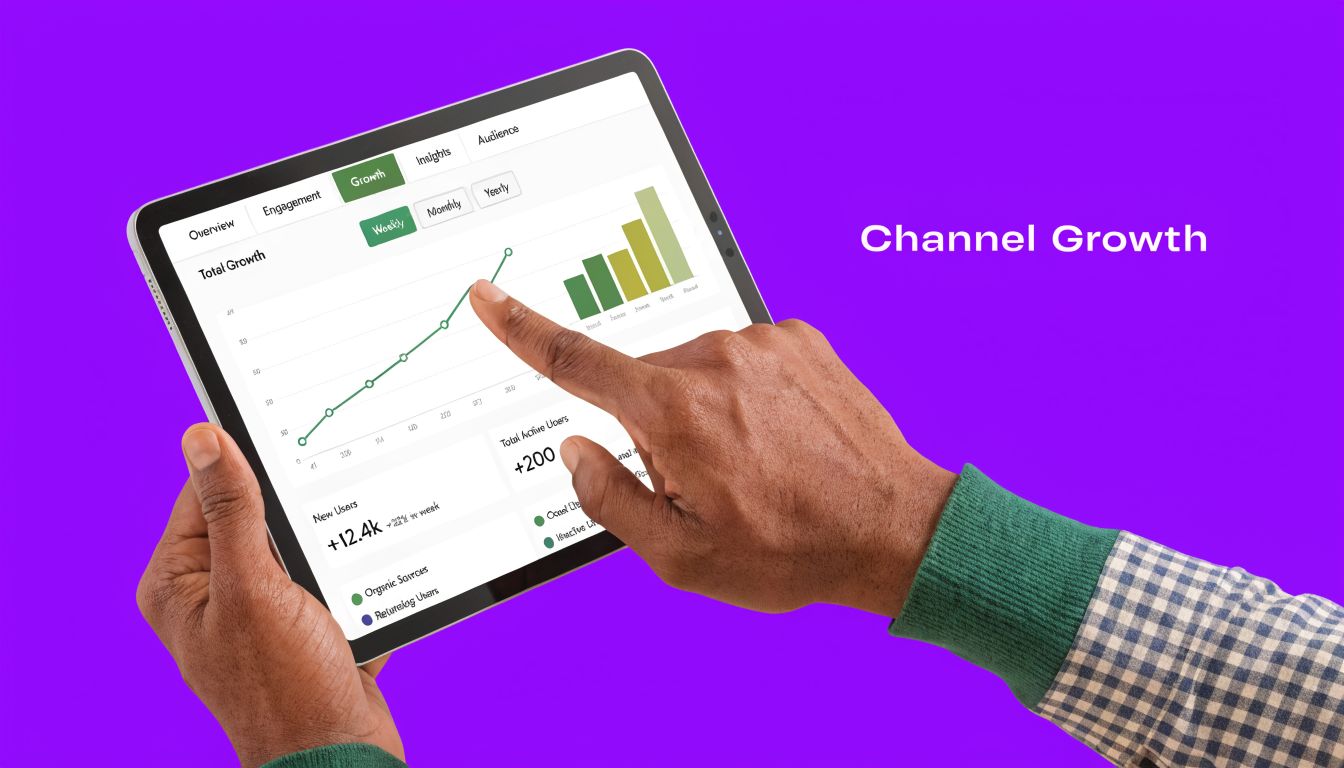
A long-form upload should create multiple entry points for different viewer behaviors. Some people want the full lesson. Others need a 30-second proof point before they commit. Others will only discover the idea through email, LinkedIn, Instagram, or Shorts.
That is why post-publish planning belongs in the workflow before the video goes live.
A podcast episode can produce Shorts built around sharp opinions or memorable clips. A local service business can turn one educational video into short objection-handling posts for prospects who are still comparing providers. A coach, consultant, or educator can split one lesson into narrower clips aimed at very specific search intent.
The pattern is practical:
Broad topics sound scalable, but they often bury smaller channels under heavier competition. Specific topics give YouTube clearer context, attract viewers with clearer intent, and make repurposing easier because each clip has a sharper angle.
One useful reference on this point is Syllaby's article on low-competition YouTube niches, which argues for going much narrower in crowded categories.
That has real workflow consequences. A real estate channel gets more traction from "How property taxes change by neighborhood in Phoenix" than from "home buying tips." An educator gets more usable clips from "how to solve two-step equations with negative fractions" than from "study advice." Specificity improves packaging, search alignment, clip extraction, and thumbnail clarity at the same time.
Faceless channels can work for businesses, educators, and creators who do not want to be on camera. The trade-off is that the content has to carry more identity through writing, narration, structure, and editing choices. If the voiceover sounds generic and the visuals feel assembled from random stock assets, viewers can tell.
What usually holds up better is content with a recognizable point of view and production choices that support the message.
| Approach | Why it works |
|---|---|
| Brand-specific narration | It gives the video a distinct voice instead of a replaceable one |
| Commentary that adds new meaning | It helps reused visuals feel interpreted and useful |
| Royalty-free media with a clear role | It reduces rights risk and keeps the edit focused |
| Repeatable visual templates | It saves production time and keeps the channel recognizable |
Repurposing breaks down when it depends on memory. The better approach is a simple post-publish workflow that runs every time.
Some teams cut clips manually, write captions in a doc, schedule each platform natively, and track everything in a spreadsheet. That works at low volume and gives more control. It also creates drag once publishing frequency increases. Tools such as Taja AI can help turn long-form videos into shorts, captions, thumbnails, blogs, and platform-ready posts, but the bigger win is operational clarity, not automation for its own sake.
A useful repurposing checklist looks like this:
I use one standard here. Every upload should create at least one asset for discovery, one for conversion, and one insight for the next production cycle.
That is how YouTube starts compounding. A single video brings in views today, feeds clips for the next two weeks, supports sales conversations, and sharpens your next topic choice.
Even with a clean workflow, YouTube posting can still break at the last minute. Most issues fall into a few predictable buckets. The fastest fix is to identify the symptom, match the likely cause, and avoid changing five variables at once.
If the file stalls, start with the basics before blaming YouTube.
Likely causes
What to do
A lot of "processing" problems are really export problems.
Pre-upload discipline pays off here. If a claim appears, don't assume it will be harmless.
Likely causes
What to do
If your workflow relies on repurposed material, maintain a rights log. That habit prevents a lot of chaos later.
This often looks like a system bug, but it's usually timing or formatting.
Likely causes
What to do
Sometimes nothing is technically wrong. The package just isn't doing its job.
Likely causes
What to do
The fix isn't always to publish more. Often it's to package better and distribute wider.
If you want a posting workflow that doesn't stop at the upload screen, Taja AI helps turn one long-form video into publish-ready clips, captions, thumbnails, blog content, and platform-specific posts so your YouTube upload can feed a broader content system instead of becoming a one-and-done asset.


We are blessed to work with leading brands & Companies


We try to make easy and simple for every professionals. Get 30 days free trial - No credit card required.


© 2025 Taja AI. All rights reserved.