What Is YouTube SEO and Why Videos Rank
What is YouTube SEO? See how relevance, watch time, CTR, and retention decide rankings, plus the steps and metrics that improve a video.
5 min read
November 3, 2026

How to make a video with YouTube clips: select clips, stitch them, format for each platform, stay copyright-safe, and repurpose long videos.
Written by:


You've got a long interview, a folder of saved moments, or a few videos you want to quote, and you want to turn them into something publishable without spending a weekend rebuilding timelines or fighting a copyright claim. That's the usual starting point for learning how to make a video with YouTube clips. The edit itself isn't hard. What separates a video that holds up from a stitched compilation is context-first editing, clear rights, and enough original commentary that the finished piece is visibly your own work.
YouTube's built-in Clips tool cuts segments of up to 60 seconds from videos on your own channel, so it's built for repurposing your own uploads. Assembling a new video from other creators' clips is a different job, with a different rights position and a different risk profile.
| Source material | Tool path | Rights position | Claim and removal risk |
|---|---|---|---|
| Your own uploaded videos | YouTube Clips or any editor | You own the rights | Low, unless you add third-party music |
| Your own raw footage | Any editor, 16:9 master first | You own the rights | Low |
| Other creators' videos with written permission | Editor with a rights log | Set by the agreement | Low if the license covers reuse |
| Creative Commons videos | Editor with attribution | Set by the exact CC variant | Medium, check the license terms |
| Other creators' videos under fair use | Editor with substantial commentary | Legal exception, decided case by case | High, Content ID claims are likely |
| Unlicensed compilation of others' clips | Not recommended | None | High, removal or demonetization likely |
Work from the first four rows whenever you can. The fair use row only becomes defensible when you do the commentary work properly, and even then you should expect automated matching to flag the material.
If you can't name who owns the footage and which license covers your reuse, stop before you download or clip anything.
That test takes ten seconds and saves hours. I would not open an editor until every planned excerpt passes it, because replacing a clip after you've built narration, captions, and graphics around it usually means rebuilding that whole section.
Attribution is not permission. Crediting the creator, adding a disclaimer, cropping, mirroring, or adding subtitles doesn't by itself make a clip legal to reuse. The U.S. Copyright Act framework behind fair use weighs four factors case by case, purpose and character, nature of the work, amount and substantiality, and market effect, and there's no safe under X seconds rule because the qualitative importance of an excerpt matters as much as its length.
A Content ID claim and a monetization review are different decisions. Passing a reused content review doesn't remove your separate copyright obligations, and clearing copyright doesn't guarantee monetization. A matched upload can be blocked, monetized for the claimant, or tracked, so the outcome isn't always removal, but it also isn't always harmless.
When a claim arrives, don't dispute on instinct. Open your rights log, confirm what permission or exception you relied on, then decide whether to dispute, trim, replace, or accept the claimant's terms. Commercial use can weigh against fair use, though it's only one factor, so a sponsored video needs even cleaner clearance than a classroom critique.
Stitching is the fast part. Making the result read as one authored video takes a stricter sequence.
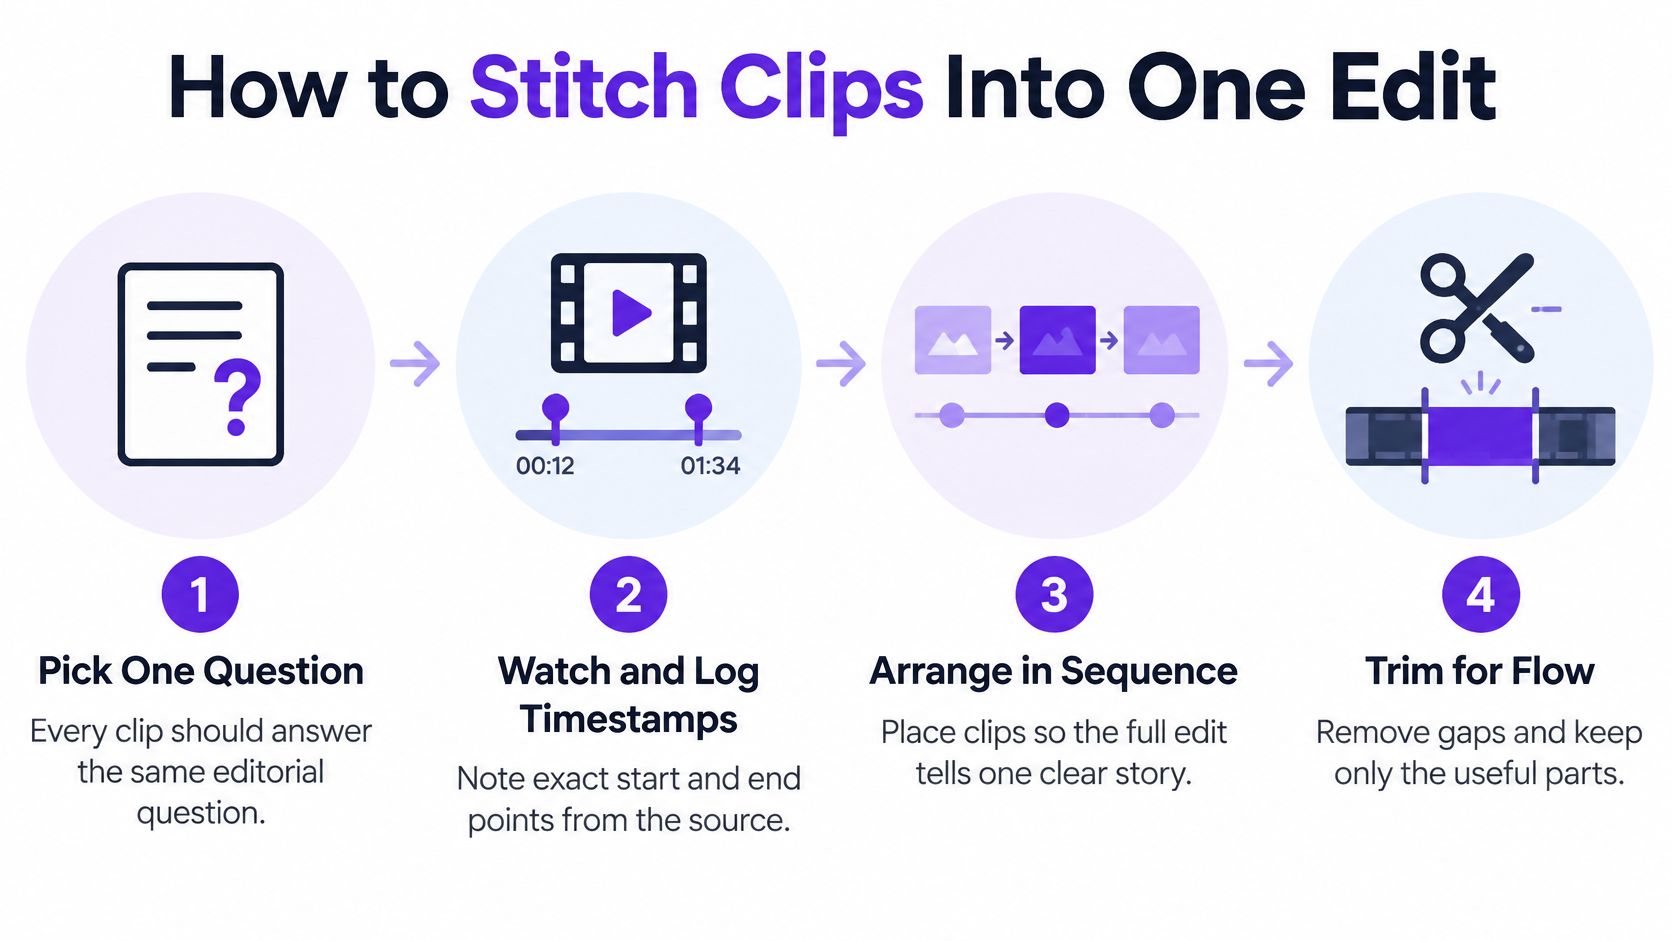
Pick one editorial question. Decide what the video answers, such as why a product fails or what a sermon passage means in practice. Every clip must serve that question, and anything that's merely interesting gets cut. The common slip is collecting good moments first and inventing a theme afterward.
Watch and log timestamps. Play each source in full and note start and end times for every usable moment, plus a short label for what it proves. Those timestamps feed your rights log and make revisions painless. Skipping this step means scrubbing blind every time a client or reviewer asks for a change.
Trim to the shortest useful span. For commentary videos, that's usually a few seconds to about twenty per excerpt. Cut on completed words or actions, not mid-sentence, so the speaker's meaning stays intact. Keeping extra lead-in just in case weakens pacing and increases your amount-used problem.
Order by argument, not upload date. Sequence clips so each one sets up the next, and place a short clip before a long one to establish rhythm early. If swapping two clips changes nothing, one of them probably doesn't belong. Chronological order feels safe but often produces a recap instead of an argument.
Build a labeled 16:9 timeline. Import each source into its own labeled bin, name tracks by source ID, and keep one track per source. You can then mute, replace, or relink an excerpt without rebuilding the cut. This structure also helps when you're learning how to make video montages that still need a clear narrative spine.
Record framing between excerpts. Add original narration, on-camera commentary, or on-screen text before and after each clip so viewers know what to watch for and what you conclude. This is the most common fix for a video that feels like a compilation. Adding commentary after stitching usually means rebuilding the whole cut, so write it before you lock the order.
Use L-cuts for flow. Let your narration start a beat before the picture changes to the clip, or let clip audio carry briefly under your return. The edit feels conversational instead of pasted together. Don't overdo it on every join, or viewers lose track of who's speaking.
Normalize dialogue, captions, and credits. Match loudness across sources so viewers aren't riding the volume, then add readable captions and on-screen source credits where appropriate. Different rooms, microphones, and upload processing make raw clips clash badly. Fix levels clip by clip, not with one global boost.
Lock the cut in one full pass. Watch the entire video without stopping and note only the moments where you wanted to skip. Fix those, watch again, then export the master. Judging an edit in five-second fragments hides pacing problems that a single uninterrupted viewing exposes immediately.
Practical rule: If muting your own narration leaves a video that still works as entertainment on its own, you haven't added enough.
That test is blunt, but it catches weak transformation before a reviewer or claimant does.
Run these checks in the order a viewer meets your video. Each one supports discovery, and several also strengthen the framing that shows the work is yours.
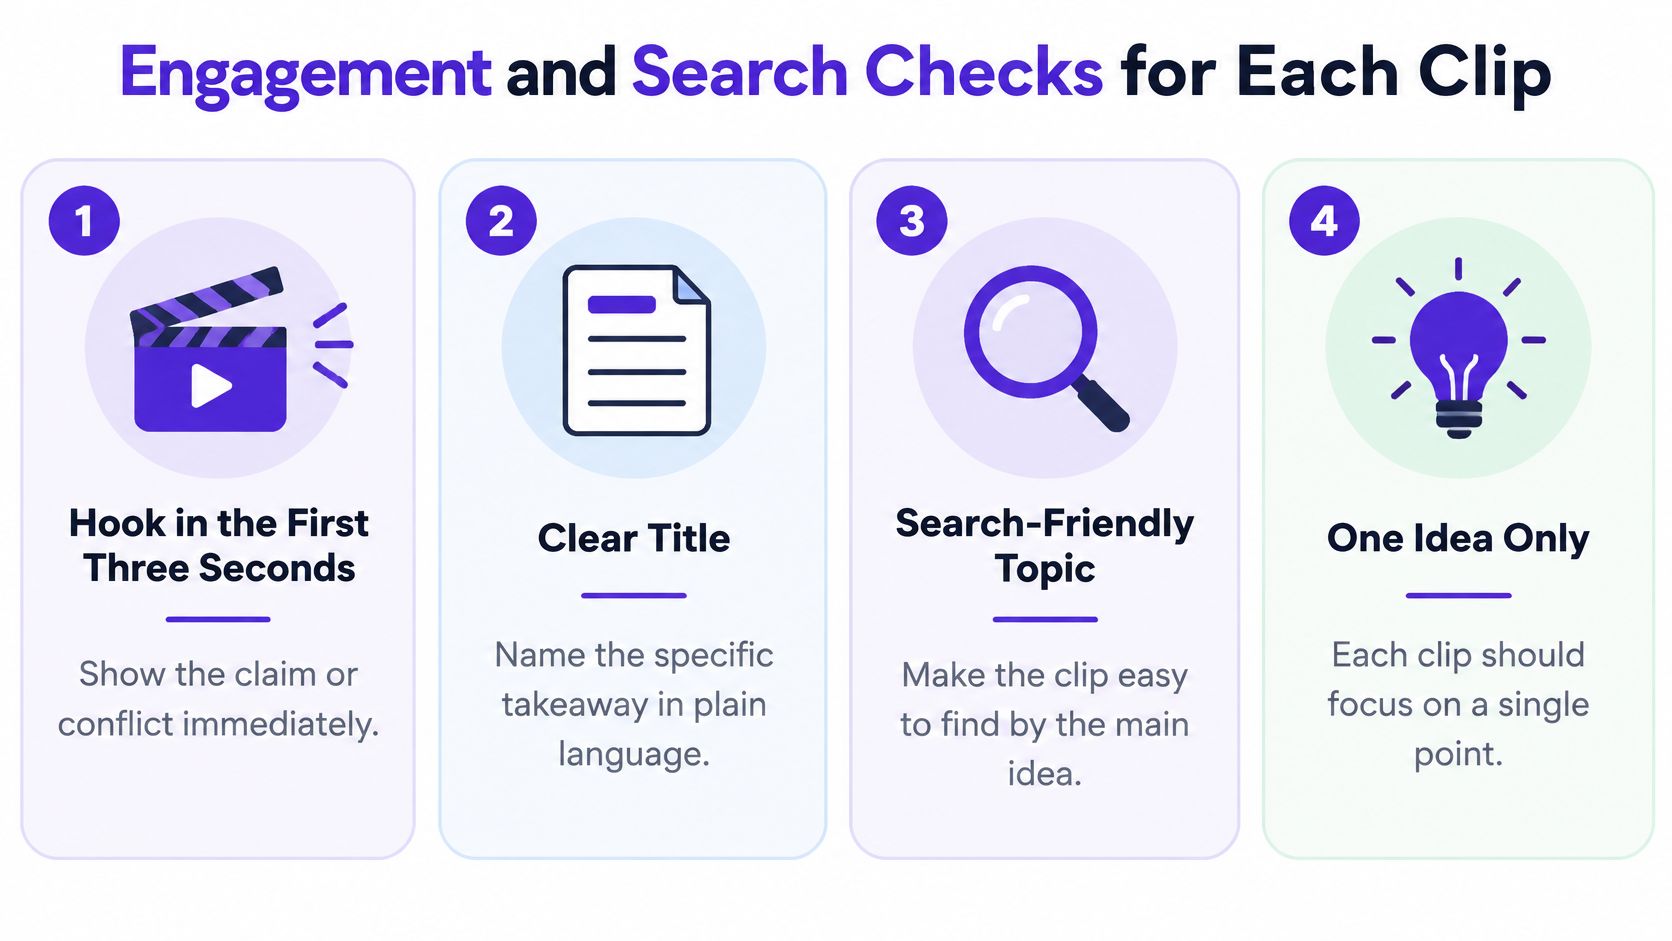
Skip any one of these and the weakness shows. A strong hook with a vague title underperforms in search, while a searchable title with a slow opening loses the viewers it attracts.
Say you've got a 45-minute podcast interview and want six Shorts from it. Start by scanning the full recording for moments that survive on their own, one claim, one story, or one example, and don't separate setup from payoff.
The image below shows the basic setup most solo creators use for this work.
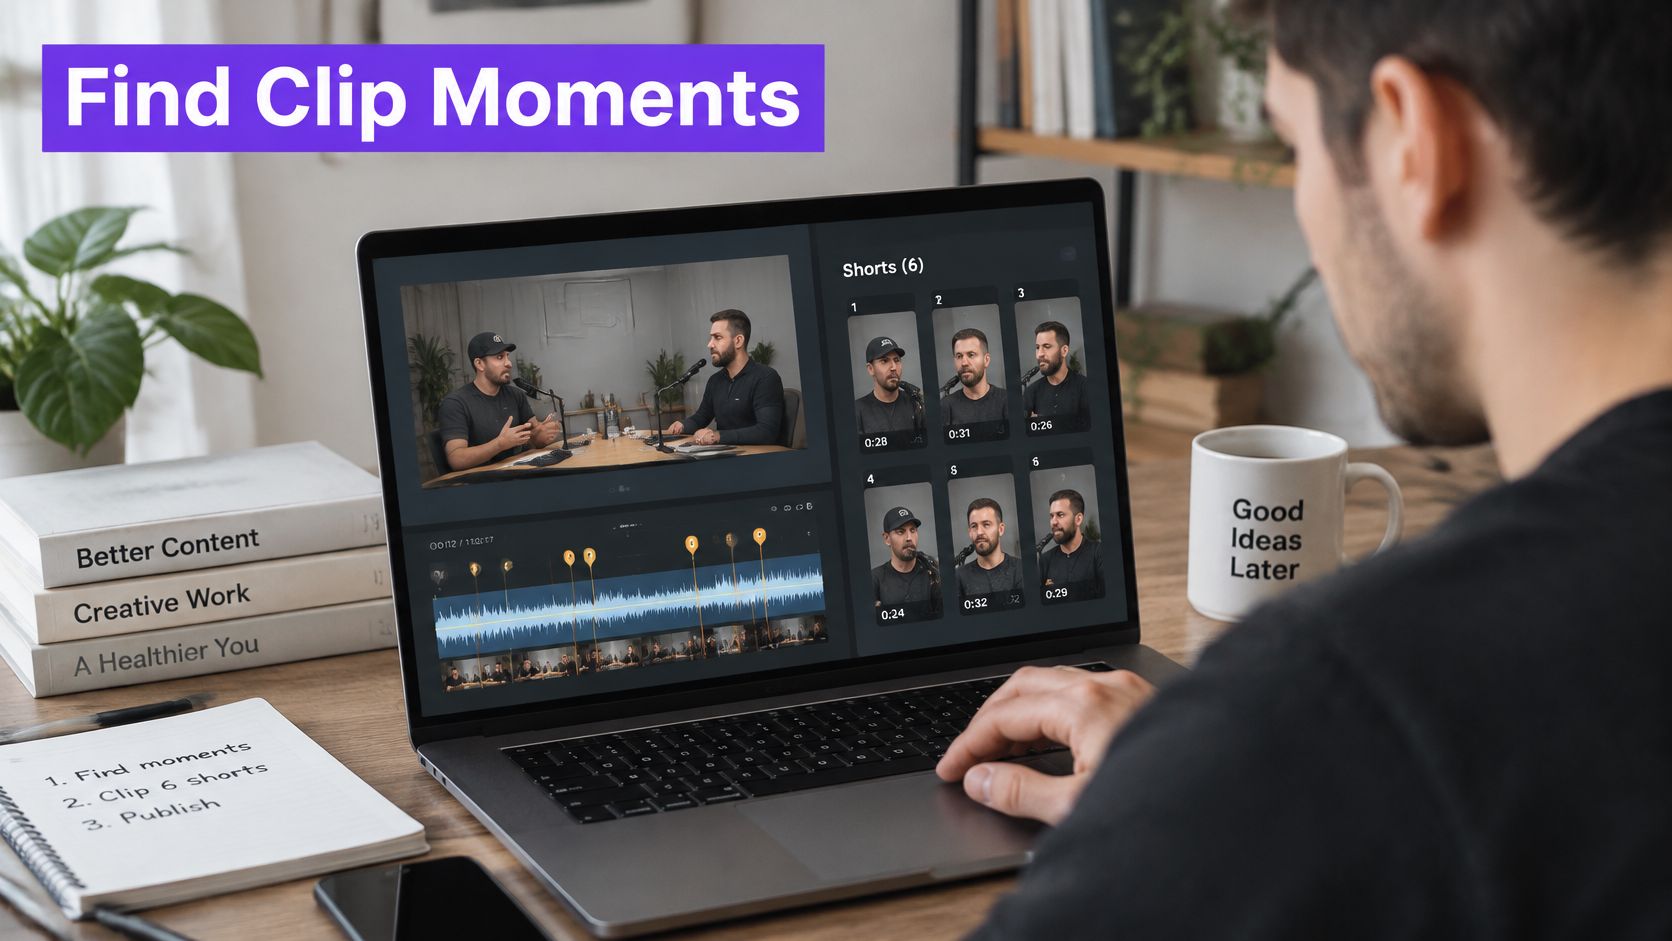
Put a short on-screen context card or spoken line of one or two sentences before each excerpt, naming who's speaking and why the moment matters. Cut each clip to 30 to 60 seconds with one idea only, then title it after a question people search for. This matches what YouTube's reused content guidance describes, since material republished without significant original commentary, substantive modifications, or educational or entertainment value can jeopardize YouTube Partner Program participation, and in July 2025 YouTube reiterated that clips and compilations remained eligible when creators added that significant commentary or value.
The short walkthrough below shows the same context-first structure applied to a long recording.
Taja AI is one option for the mechanical part, since it can generate several candidate clips, captions, and text outputs from one upload and save you scrubbing through a long file. Review every candidate manually for context, accuracy, and rights before publishing, because a tool picks moments by pattern, not by meaning. A structured content repurposing workflow helps you keep that review consistent across a batch.
Once clips are approved, queue them with a social media scheduler rather than posting all six on one day, so each idea gets its own response. A series of short explainers, each with its own point of view, reads as original work. A set of bare cut-downs doesn't.
A clean export preserves the edit; it cannot fix a weak crop or unclear audio. Finish the 16:9 master first, then create the 9:16 vertical version so reframing does not force changes to the main cut. YouTube's recommended upload encoding settings advise matching the export frame rate to the recording and deinterlacing interlaced footage before upload. For standard dynamic range, YouTube recommends 8 Mbps for 1080p at 24 to 30 fps, 12 Mbps for 1080p at 48 to 60 fps, 35 to 45 Mbps for 4K at standard frame rates, and 53 to 68 Mbps for 4K at high frame rates.
| Platform | Aspect ratio | Length guidance | Export notes |
|---|---|---|---|
| YouTube long-form 1080p | 16:9 | Any length | 8 Mbps at 24-30 fps; 12 Mbps at 48-60 fps |
| YouTube long-form 4K | 16:9 | Any length | 35-45 Mbps at standard fps; 53-68 Mbps at high fps |
| YouTube Shorts | 9:16 | Under 60 seconds | 1080x1920, H.264 MP4, burned-in captions |
| Instagram Reels and TikTok | 9:16 | Under about 90 seconds | 1080x1920, H.264 MP4, keep text inside safe margins |
| Instagram feed and LinkedIn | 4:5, 1:1 or 16:9 | Under about 90 seconds | Export 4:5 at 1080x1350, 1:1 at 1080x1080, or 16:9 at 1920x1080; use H.264 MP4 |
Keep the post unscheduled until the private upload is clear. A claim discovered after publishing can cost you the launch window.
Go when the rights log covers every source, both the 16:9 master and any vertical version are ready, the private upload passes review, and no claim is unresolved. No-go if any clip lacks documented permission or a clear exception, including clips selected by a repurposing tool. A final rights and export check keeps a technically polished edit from becoming a publishing problem.
Turn one long video into captioned clips, thumbnails, and platform-ready posts without scrubbing through the timeline for hours. Taja AI can generate several clips from an uploaded video, with clips vertical and under 60 seconds by default. Review each output for context and rights before publishing. During the free trial, you can optimize and repurpose up to 4 long-form videos. Try it on your next interview or lesson at Taja AI.


We are blessed to work with leading brands & Companies


We try to make easy and simple for every professionals. Get 30 days free trial - No credit card required.


© 2025 Taja AI. All rights reserved.