.jpeg)

10 Repurpose Examples to Multiply Content Reach
Explore 10 repurpose examples for turning long-form content into clips, posts, blogs, emails, and lead magnets across creator and business niches.
5 min read
September 17, 2026

Learn how to add and customize borders for video to boost engagement. Our guide covers static, animated, and AI-powered workflows for YouTube, TikTok, & more.
Written by:


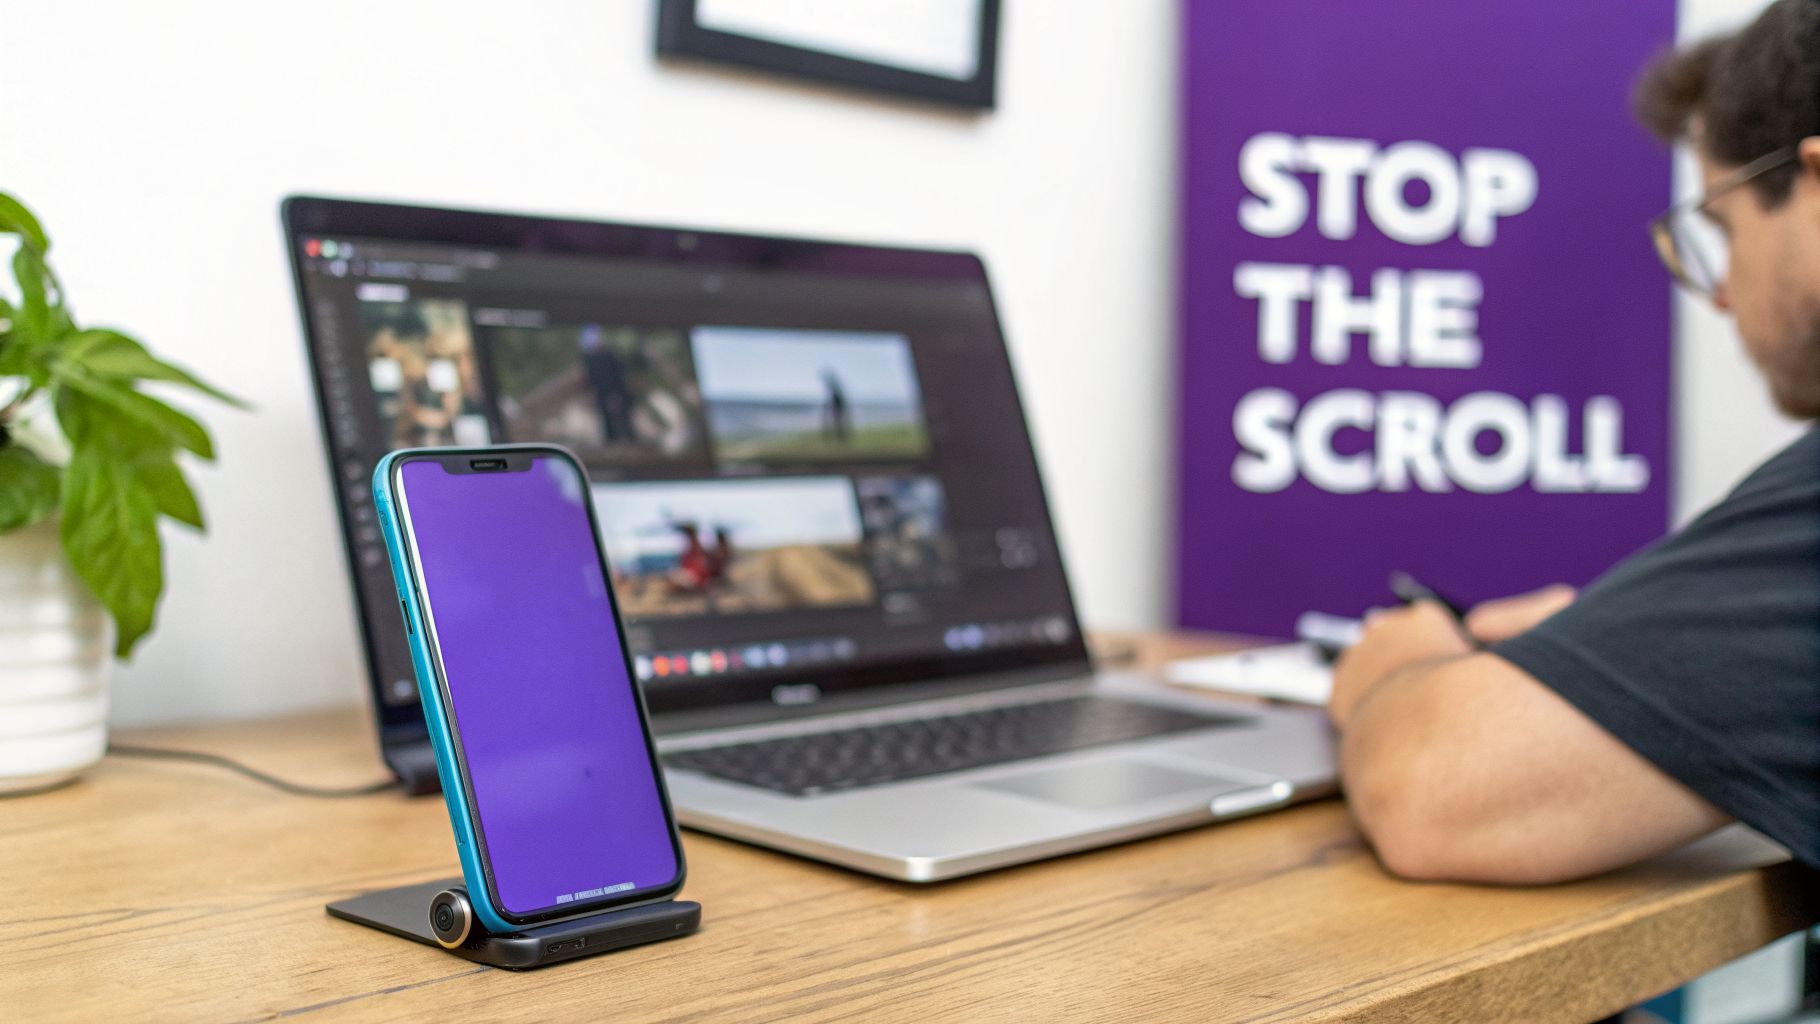
Adding borders for video isn't just a design trend you can ignore anymore. It’s a strategic play that can make or break your audience retention and brand recognition on social feeds that are more crowded than ever. For creators, this is how you turn your standard footage into scroll-stopping content that demands attention.
In a world where simply posting video content isn't enough, you need an edge. Video accounts for a staggering 82% of all internet traffic, and with the global online video audience expected to climb to 3.48 billion viewers by 2026, just showing up is a recipe for getting lost in the noise. You can explore more data on the rise of video and its impact on creators to see just how massive this shift really is.
This is where smart, strategic borders come into play. They do so much more than just frame your video—they create valuable screen real estate for your branding, your message, and crucial accessibility features.
Think about how you scroll through TikTok or Instagram. It's fast. Ruthless, even. Only the most visually jarring content makes you hit the brakes. A well-designed border is that crucial "scroll-stopper."
For solopreneurs, real estate agents, and podcasters, bordered clips are a total game-changer. They let you take one horizontal video and spin it into a dozen platform-native vertical shorts, each one optimized to grab eyeballs and perform. This is what keeps your brand consistent and your content impossible to ignore.
Key Takeaway: Video borders are a functional tool. They add space for compelling headlines, dynamic captions, and your logo, turning a simple video into a powerful marketing asset.
Let's be honest, the biggest hurdle for any creator is time. Manually clipping videos, formatting them for different platforms, and adding custom borders is a soul-crushing, tedious job. You have to create unique versions for Reels, Shorts, and TikTok, each with its own quirks and specs.
This is where AI-powered solutions like Taja AI offer a modern answer to an age-old creator problem. These platforms are built to automate the entire workflow. They analyze your long-form content, pinpoint the most engaging moments, and automatically generate dozens of short-form videos—complete with optimized captions, your branding, and perfectly formatted borders.
This approach saves creators hours of painstaking manual work on every single video, freeing you up to focus on what you actually love: creating great content.
A video border isn't just a pretty frame; it's a strategic choice that can make or break your content's performance. Thinking of it as a decorative afterthought is a rookie mistake. The right border reinforces your brand, makes your content instantly recognizable in a crowded feed, and even solves tricky formatting problems.
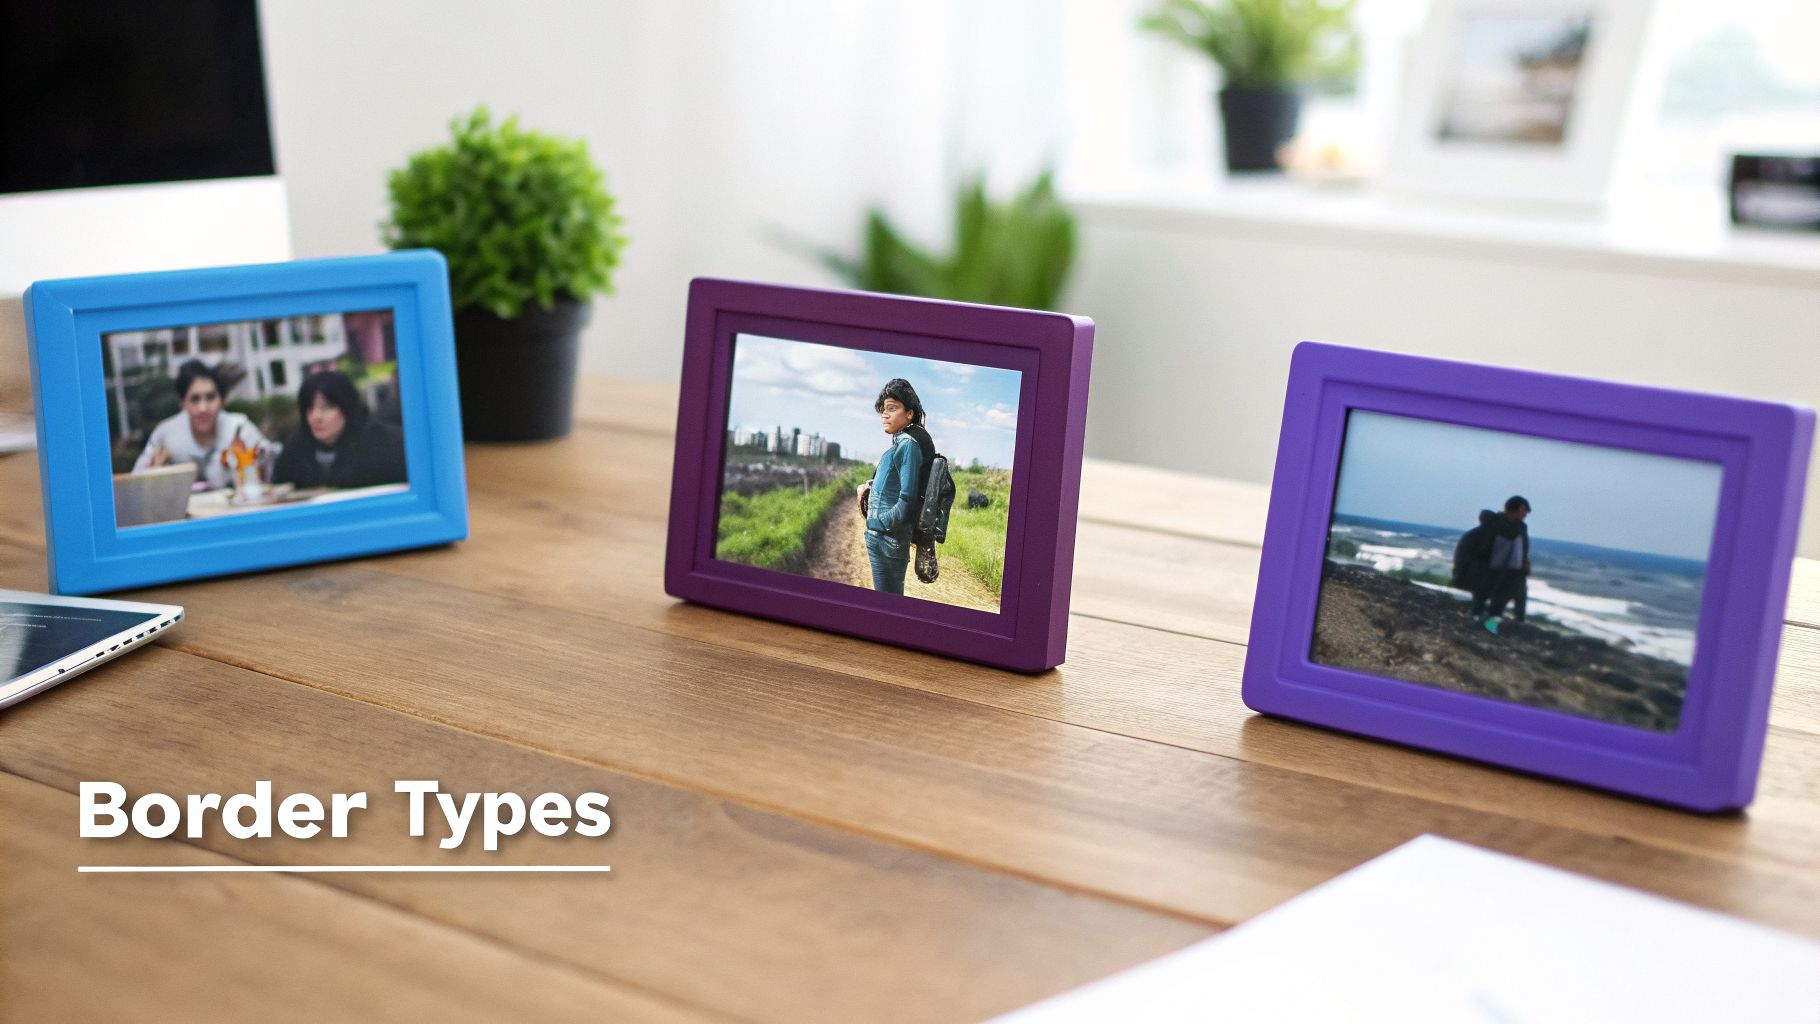
Before you jump into your editor, you need a game plan. What’s the goal of this specific video? Are you building brand authority, adapting a horizontal video for Reels, or trying to stop the scroll on a major announcement? The answer points you to the right border style.
The simplest and often most effective option is the static color border. This is a clean, solid-colored frame, usually pulled directly from your brand's style guide. Its power is in its repetition.
When viewers see that signature color framing a video, they immediately connect it to you, even before your logo appears. For a podcaster slicing up interview clips for Instagram, using that same branded border on every single post creates a professional, cohesive grid. It’s a quiet signal of quality that makes their content stand out.
Next up is the blurred fit-and-fill border, a brilliant fix for one of the most common creator headaches: fitting a horizontal 16:9 video into a vertical 9:16 frame without those ugly black bars. This technique uses a duplicated, scaled-up, and blurred version of your own video as the background.
This fills the entire screen, creating a more immersive feel that looks native to platforms like YouTube Shorts and Instagram Reels. It’s perfect for a real estate agent showing off a wide property shot or a coach sharing a presentation that was recorded horizontally. The result is polished and professional, not lazy.
By using a blurred border, you solve a technical problem (aspect ratio mismatch) with a visually appealing solution that keeps the focus on your primary content.
When you really need to make a splash, animated borders are the way to go. These aren't just static frames; they're dynamic elements with subtle glows, soft pulses, or moving brand graphics designed to grab a viewer's wandering eye.
Think about a social media manager running a limited-time sale. An animated border with a gentle shimmer immediately signals that this isn't just another piece of content—it's something special. That extra bit of movement can be the deciding factor that captures and holds attention, which is the ultimate currency on any social platform.
To make the choice even clearer, let's break down which border works best for which job.
| Border Type | Best For | Primary Goal | Example Scenario |
|---|---|---|---|
| Static Color | Educational content, tutorials, interview clips | Brand Recognition & Consistency | A business coach using their signature blue border on all short-form tips. |
| Blurred Fit-and-Fill | Repurposing horizontal video for vertical platforms | Screen Optimization & Immersion | A filmmaker sharing a wide-shot scene on Instagram Reels without cropping. |
| Animated | Promotions, special announcements, product launches | Attention & Urgency | A brand using a glowing border to announce a flash sale on social media. |
| Branded/Graphic | Building a strong personal or company brand | Authority & Professionalism | A creator adding their logo and a headline to the border area of their clips. |
Ultimately, picking the right borders for video comes down to your objective for that specific piece of content. Once you know what you're trying to achieve—brand consistency, a seamless viewing experience, or maximum attention—the right choice becomes obvious.
Look, I get it. AI tools are incredible for speed, and we're huge fans of automation. But sometimes, you just need to get your hands dirty. Knowing your way around a pro editor like Adobe Premiere Pro or Final Cut Pro gives you a level of pixel-perfect control that automated tools can't always match.
Why would you ever bother with this when AI exists? Control. Pure, unadulterated creative control for those one-off projects or that hyper-specific design you have in your head. It’s a foundational skill that gives you a much deeper appreciation for the work involved, but be warned: the trade-off is a serious time investment for every single video.
This is the kind of professional environment you'll be working in. The screenshot above from Adobe Premiere Pro shows the key battlegrounds: the timeline at the bottom, your effects controls, and the main program monitor. This is where you’ll build your borders from the ground up.
Before you even think about colors or blurs, you need the right canvas. Almost every manual workflow starts by setting up a vertical sequence, which is just editor-speak for a 9:16 aspect ratio (1080x1920 pixels) project. This is the standard for Instagram Reels, TikTok, and YouTube Shorts.
Once your vertical canvas is ready, drop in your horizontal (16:9) footage. It’s going to look weirdly small, with giant black bars at the top and bottom. Don’t panic. That’s our starting point. We’re about to turn that empty space into a branded asset.
A solid color border is the cleanest, most direct way to reinforce your brand identity in every single clip. It's surprisingly easy to do.
This method is simple, but it’s incredibly effective for creating a consistent visual signature. When you start combining this with other branded elements, you build a powerful, recognizable style. If you want to dive deeper into building that visual identity, check out our guide on how to build a comprehensive brand style guide.
Pro Tip: Do yourself a favor and save this entire color matte setup as a preset or template in your editing software. It seems like a tiny action, but shaving a few minutes off every clip you create adds up to hours saved over a month.
The blurred-fill effect is a popular and super elegant way to fit horizontal video into a vertical frame. It feels more immersive and professional than plain color bars and keeps the viewer’s focus on the action.
Here’s the basic rundown of how you build it:
While these manual methods give you absolute control, the downside is crystal clear: they are painfully repetitive and slow. Imagine repeating all these clicks and adjustments for every single highlight you pull from a longer video. It quickly becomes the biggest bottleneck in your entire content workflow.
Okay, so you’ve nailed the perfect border. It’s clean, on-brand, and looks incredible in your editing software. But designing the border is only half the battle.
The real challenge—and where I see so many creators stumble—is making sure that border looks great everywhere. A design that’s flawless on TikTok can get awkwardly chopped off by the username and caption overlay on Instagram Reels, instantly making your video look amateurish.
This happens because every platform layers its own user interface (UI) elements on top of your video. These are the safe zones, and ignoring them is a mistake that will cost you views and credibility. Anything important you place outside these zones, whether it’s a headline, your logo, or even key parts of your video, is at risk of being completely hidden.
Think of it like this: your 9:16 vertical video is the stage, but each platform puts its own curtains, props, and signage around the edges. What’s perfectly visible on one stage might be blocked on another.
Trying to navigate these differences can feel like a total guessing game. But it doesn't have to be. For a standard 1080x1920px vertical video, the safe zones vary just enough to cause major headaches if you're not prepared.
Here's a quick rundown from my own experience:
And it's not just about borders. Understanding the difference between open vs closed captions is crucial for keeping your visuals clean. Open captions are burned directly into your video file, so you have to place them carefully within these safe zones.
This constant manual adjustment is a massive time-waster. It's the kind of repetitive work that leads to mistakes and burnout.
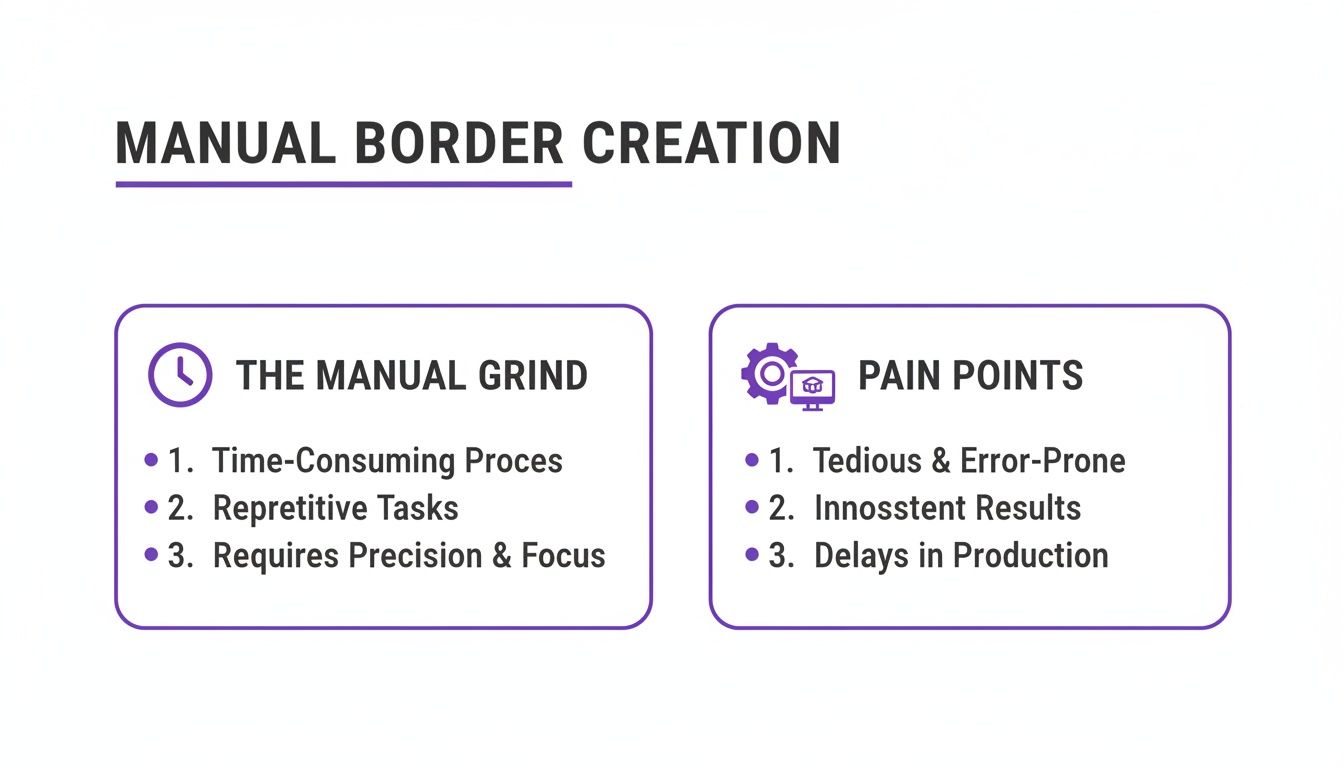
The image above really just scratches the surface of the hidden labor involved in content repurposing. Every single platform demands its own little set of tweaks.
Pro Tip: The ultimate safe zone is a center-cropped square inside your vertical frame. If a visual element absolutely must be seen by everyone, on every platform, stick it in that central area. That's the only way to guarantee visibility.
This constant need to re-format is one of the biggest time sinks for creators. If you're looking for ways to streamline this process, our guide on how to repurpose YouTube videos for Shorts offers proven strategies to get this done efficiently.
When you're manually exporting different versions, you're not just rendering video; you're battling a slightly different layout every single time.
Let's be real for a second. After you've spent hours manually adding borders, tweaking safe zones, and reformatting for every single platform, the reality of doing it all by hand becomes painfully clear. It’s a soul-crushing grind of repetitive tasks that steals time you should be spending on, you know, actually creating content.
This is exactly where an AI-driven workflow completely flips the script. It shifts your focus from tedious busywork to high-level strategy.
Imagine you’re a real estate agent who just wrapped up a 20-minute property tour video. In the old days, turning that single video into a week's worth of social media clips meant blocking off your entire afternoon. You'd have to rewatch the whole thing, hunt for engaging snippets, and then start the painstaking process of creating unique versions for Instagram, TikTok, and YouTube Shorts.
This is the exact grind that AI-powered content repurposing tools were built to destroy. We're not just talking about editing video anymore; we're talking about intelligent content generation.
Instead of manually clipping your video, you just upload your single long-form video to a platform like Taja AI. The AI gets to work instantly, analyzing everything—the visuals, the audio, the spoken words—to automatically identify the most compelling, "viral-worthy" moments. This isn't just random slicing and dicing; it’s data-driven curation.
What you get back isn't one or two clips. You get dozens of ready-to-publish short-form videos, each one framed and primed for social media. A single upload generates a whole pipeline of optimized content, complete with suggested titles, captions, and tags, all ready for distribution across your channels. It’s a command center for your content, not just another video editor.
This automated workflow is at the heart of a massive market shift. The global AI video generator market is projected to skyrocket from $534.4 million in 2024 to $2,562.9 million by 2032. This explosive growth shows just how many creators and businesses are ditching manual methods for good.
This is where the magic really happens when it comes to creating borders for video. The AI doesn't just cut clips; it intelligently applies your pre-set branding to every single one, automatically.
Suddenly, that entire manual process of adjusting for different platform UIs is gone. Taja AI handles all of it, ensuring your branding is consistent and professional everywhere you post. If you're looking to automate and enhance your production, exploring the best AI video creation tools can show you how to incorporate these design elements without the headache.
The result is a massive time-saver. Taja AI users report saving an average of 2.3 hours per long-form video. That’s time you can put back into filming your next property tour or actually engaging with your audience.
The platform becomes a complete content repurposing engine. With a powerful video repurposing AI tool, you can go from a single piece of content to a full content pipeline, maximizing your reach with a fraction of the effort.
Ultimately, this AI-powered workflow lets you schedule weeks of high-quality, perfectly bordered content across all your social channels from one dashboard. It transforms content creation from a daily chore into a scalable, strategic operation.
Alright, so you’ve seen how to create different kinds of video borders. But I know what you’re thinking, because I’ve been there too. Lingering questions pop up right when you’re about to hit “render.” Getting the small details right can feel like the difference between a viral hit and a total flop.
Let's clear up some of the most common hangups creators have about using borders on their videos.
It’s a fair question, but honestly? It’s the exact opposite. A well-designed border is one of the easiest ways to boost your video’s performance, especially in a crowded feed.
Think about it. A good border makes your content pop, gives you prime real estate for a killer title, and creates dedicated space for captions so people can watch with the sound off. The only time a border hurts you is when it’s done poorly. The biggest mistake I see is when creators design a border that gets cut off by the platform’s UI—you know, the username, icons, or the like button. It looks sloppy and unprofessional.
A thoughtfully applied border enhances everything from viewer experience to brand recall. The only way it hurts you is through sloppy execution, like ignoring platform-specific safe zones. That just screams "amateur" and makes your content look broken.
This is where automated tools really save your bacon. They’re built to know where every platform’s safe zones are, automatically adjusting your layout so your videos look perfect every single time.
The "best" color isn't a single magic hex code; it's whatever works for your brand and the platform you're on. Your first priority should always be brand consistency.
Pulling a color directly from your brand’s palette is the smartest move. It builds instant recognition, so when someone is scrolling, they see that specific color and immediately know the content is yours.
But you also have to think about contrast. You need a color that stands out against the app’s interface, whether someone is using light or dark mode. I’ve seen a lot of creators find success using a bright, on-brand accent color that just pops off the screen. If you’re ever stuck, you can’t go wrong with a classic white or black border. It’s clean, professional, and always works.
The time savings are huge. I’m not exaggerating. If you’re repurposing content across multiple platforms, you know the pain.
Manually creating a bordered clip for TikTok, then a completely different version for Reels, and another one for Shorts can literally eat up your entire afternoon. You're constantly re-formatting, double-checking safe zones, and rendering each clip one by one. It’s a soul-crushing grind.
This is the exact problem that automation was built to solve. With a platform like Taja AI, which reports that its users save an average of 2.3 hours per long-form video, the whole process is done in a few clicks. The AI does the clipping, bordering, captioning, and formatting for every platform at once. It frees you up to actually think about your strategy instead of being a full-time video formatter.
Ready to stop wasting hours on manual editing and actually scale your content? Taja AI automatically turns your long-form videos into dozens of perfectly bordered, captioned, and ready-to-publish short clips in minutes. Try Taja AI for free and see how much time you can save.


We are blessed to work with leading brands & Companies


We try to make easy and simple for every professionals. Get 30 days free trial - No credit card required.


© 2025 Taja AI. All rights reserved.