.jpeg)

Convert Video to Blog Post for More Traffic
Learn to convert video to blog post with transcription, SEO structuring, editing and republishing tips that turn recordings into traffic.
5 min read
October 16, 2026

Learn how to zoom on a video seamlessly. Our guide covers playback zoom on iPhone and Android, plus editing zoom for creators using CapCut and Premiere Pro.
Written by:


Learning how to zoom on a video really comes down to two very different things: punching in on something while you're watching, and intentionally adding zoom effects when you’re the one making the video. One is for the viewer who needs to see a tiny detail; the other is for the creator who needs to make a point.
Ever wondered why some videos grab you by the collar and refuse to let go, while others just feel… flat? A lot of the time, the secret sauce is a well-timed zoom. It's more than a simple button in your editing software; it's one of the most powerful storytelling tools you have as a modern creator, marketer, or educator.
First, there’s the playback zoom. This is what you do as a viewer when you need to get a closer look at something on screen. Think about trying to read the tiny text on a software tutorial or getting a good look at the texture of a product in a review video. It’s all about getting clarity for yourself.
But the real magic happens with the post-production zoom. This is where you, the creator, intentionally bake zooms into your video during the edit. It’s an essential skill for telling your audience exactly where to look. A slow, creeping zoom can build incredible tension. A quick punch-in can land a punchline or emphasize a shocked reaction. It’s how you turn a static shot into a dynamic experience.
Mastering the zoom isn't just a technical exercise; it's a core part of effective visual communication. By guiding your viewer's eye, you control the story and make sure your most important points hit with maximum impact.
This is especially true when you're repurposing content. That wide-shot webinar or podcast interview might look great on YouTube, but on a vertical platform like TikTok or Instagram Reels, it feels distant and impersonal. By zooming in on the speaker, you instantly create a more intimate clip that feels native to the platform.
Taking this approach gives you a few key advantages:
By using post-production zooms to turn a single wide shot into multiple focused angles, you multiply the value of your original footage without filming anything extra. It’s a workflow that saves a ton of time while dramatically improving how your content performs.
Ultimately, learning how to properly zoom on a video is an investment in your content’s impact. It's the difference between a video that gets seen and one that gets felt, helping you stand out and grow your reach.
Ever found yourself squinting at your screen, trying to make out tiny text in a tutorial or inspect a product detail in a review? We've all been there. Knowing how to zoom in on a video while it's playing is one of those quality-of-life hacks that, once you learn it, you can't live without.
For years, this was a frustrating limitation on mobile, but thankfully, things have changed. YouTube finally integrated this on both iOS and Android. You can now just use the classic pinch-to-zoom gesture directly on the video player. Spread two fingers apart, and the image magnifies instantly.
You can then pan around the frame to focus on whatever you need to see, even in fullscreen mode. It’s a complete game-changer for anyone who watches instructional or detailed visual content on their phone.
When you’re watching on a desktop, your options get even better. The wildly popular and free VLC Media Player has a fantastic built-in tool for this, giving you some seriously precise control.
While a video is playing, here's how you can find it:
A small picture-in-picture window will pop up in the top-left corner showing the full frame. You can drag the little rectangle inside that window to control exactly what part of the video gets magnified in the main player. It’s incredibly powerful once you get the hang of it.
Before we go any further, it's worth taking a moment to look at how these different methods stack up.
Sometimes you just need a quick answer. This table breaks down the easiest ways to zoom in on your video, depending on what platform or device you're using.
| Platform / Device | Zoom Method | Best For |
|---|---|---|
| YouTube (Mobile) | Pinch-to-zoom gesture | Quickly inspecting details on iOS & Android. |
| VLC Media Player | Interactive Zoom feature | Precise, controlled magnification on desktop. |
| iOS (System-Wide) | Accessibility > Zoom | Universal zoom on any app, including those without native support. |
| Android (System-Wide) | Accessibility > Magnification | Universal zoom with customizable shortcuts for any video content. |
| Web Browsers | Browser Extensions | Adding zoom functionality to video players on any website. |
As you can see, even if an app doesn't support zoom directly, your device's own settings can often do the heavy lifting for you.
The real power move for playback zoom, however, lies in your device's accessibility settings. Both iOS and Android have system-wide magnification features that work on nearly any video, in any app—even those without native zoom support. This is your universal key to zooming anywhere.
These features are designed to make devices easier to use for everyone, which makes them perfect for getting a closer look at any video content.
On an iPhone or iPad:
On an Android device:
And what about websites that host videos without any zoom features? A browser extension can fill that gap. Search your browser's extension store for terms like "video zoom" or "zoom for video player" to find well-rated options that add this functionality across the web. You'll never be stuck squinting at a video again, no matter where you’re watching.
Alright, let's move beyond just pinching your screen to see something better. We're talking about taking control as the creator—learning how to zoom on a video with purpose. This is how you transform a flat, static shot into something dynamic that grabs and holds your audience's attention. We're not talking about those abrupt, jarring zooms that look like a security camera catching a shoplifter. The goal is smooth, cinematic movement.
This technique is often called the "Ken Burns effect," named after the documentarian famous for using slow, elegant pans and zooms to make still photos feel alive. By applying that same idea to your video, you can guide your viewer's focus and give your work a polished, professional feel that most creators miss.
So, what's the secret to a professional-looking zoom? It all comes down to keyframes.
Think of a keyframe as a bookmark for a specific setting at a specific moment in your video. To create a zoom, you really only need two:
Once you set these two points, the editing software does the heavy lifting, automatically creating all the "in-between" frames to make the motion perfectly smooth. The distance between these keyframes on your editing timeline controls the speed. Place them close together for a quick punch-in, or farther apart for a slow, dramatic push.
Mastering this effect often comes down to the tool you use. If you're looking for the right platform, you'll want to explore the best software for editing videos that can give you this level of professional control.
Pro Tip: Want to make your zooms look less robotic and more like a real camera operator? Use "easing." Apply an "Ease Out" to your starting keyframe and an "Ease In" to your ending keyframe. This makes the zoom gently accelerate and then slow down as it finishes, which feels way more natural to the human eye.
Whether you're editing on your phone during your commute or sitting at a high-end desktop rig, there's a tool that can get this done. Let's look at three of the most popular options that cover every level of video editing.
CapCut for Quick Mobile Edits
Perfect for creating content on the fly, CapCut makes adding a zoom incredibly simple.
DaVinci Resolve for Powerful Free Features
Resolve gives you professional-grade controls without the hefty price tag.
Adobe Premiere Pro for Ultimate Control
As the industry standard, Premiere Pro offers the most precision.
The whole idea of zooming in on video isn't new; its roots go all the way back to the earliest days of two-way video communication. Way back in 1931, AT&T held the first true two-way video session, a massive breakthrough that involved using adjustable lenses on what were, by today's standards, primitive cameras. Fast forward to April 2020, and with the remote work explosion, daily users of video platforms surged to over 300 million—a staggering 2,900% increase. Zoom-in features became a hot topic, showing up in 65% of user tutorials aimed at improving online presentations.
This flowchart breaks down the simple ways viewers can zoom in on a video during playback across different devices.
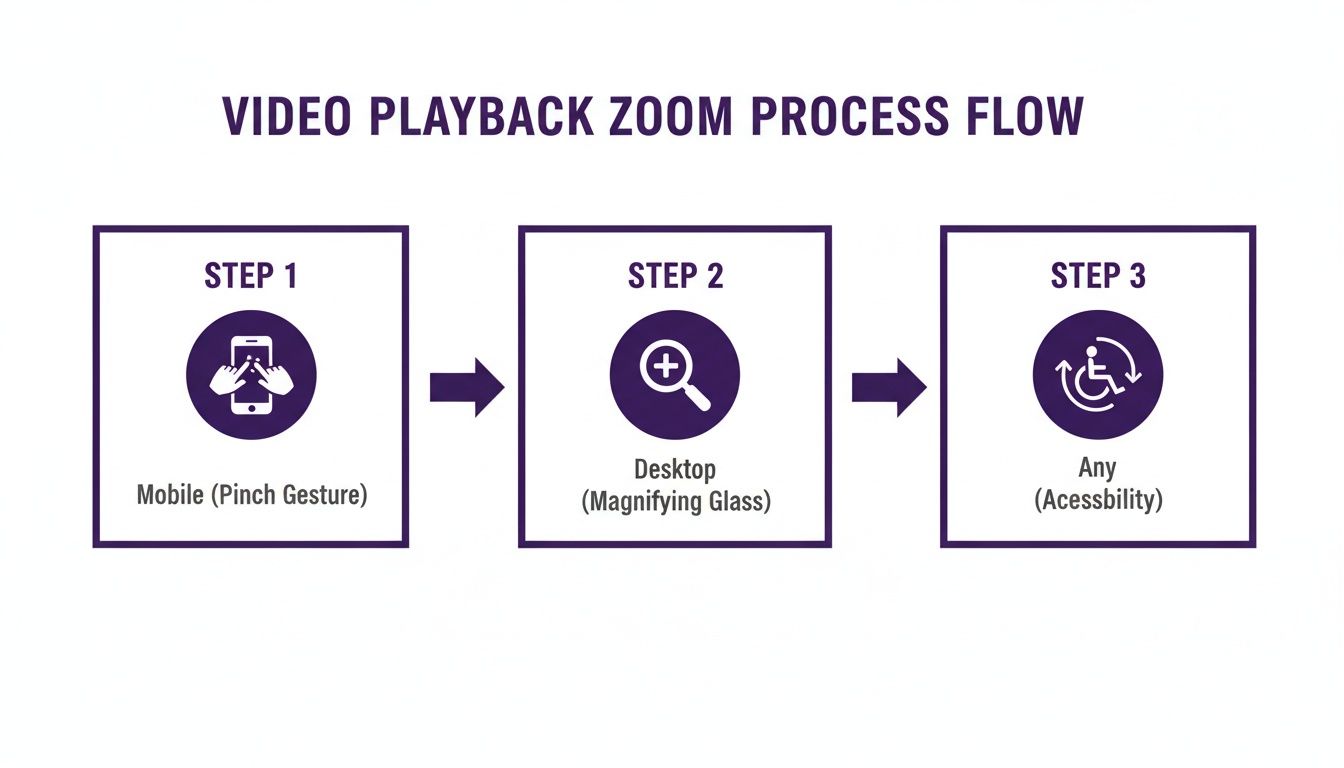
The graphic makes it clear: while your phone and computer have specific built-in methods, accessibility features offer a universal way to zoom in on pretty much any video you're watching.
With these tools, you can turn a boring, static podcast recording or a wide real estate shot into a compelling story, directing your viewer's attention exactly where you want it. And if you're looking for a more automated approach, our AI-powered video maker can even identify the most engaging moments in your footage and create these dynamic zooms for you.
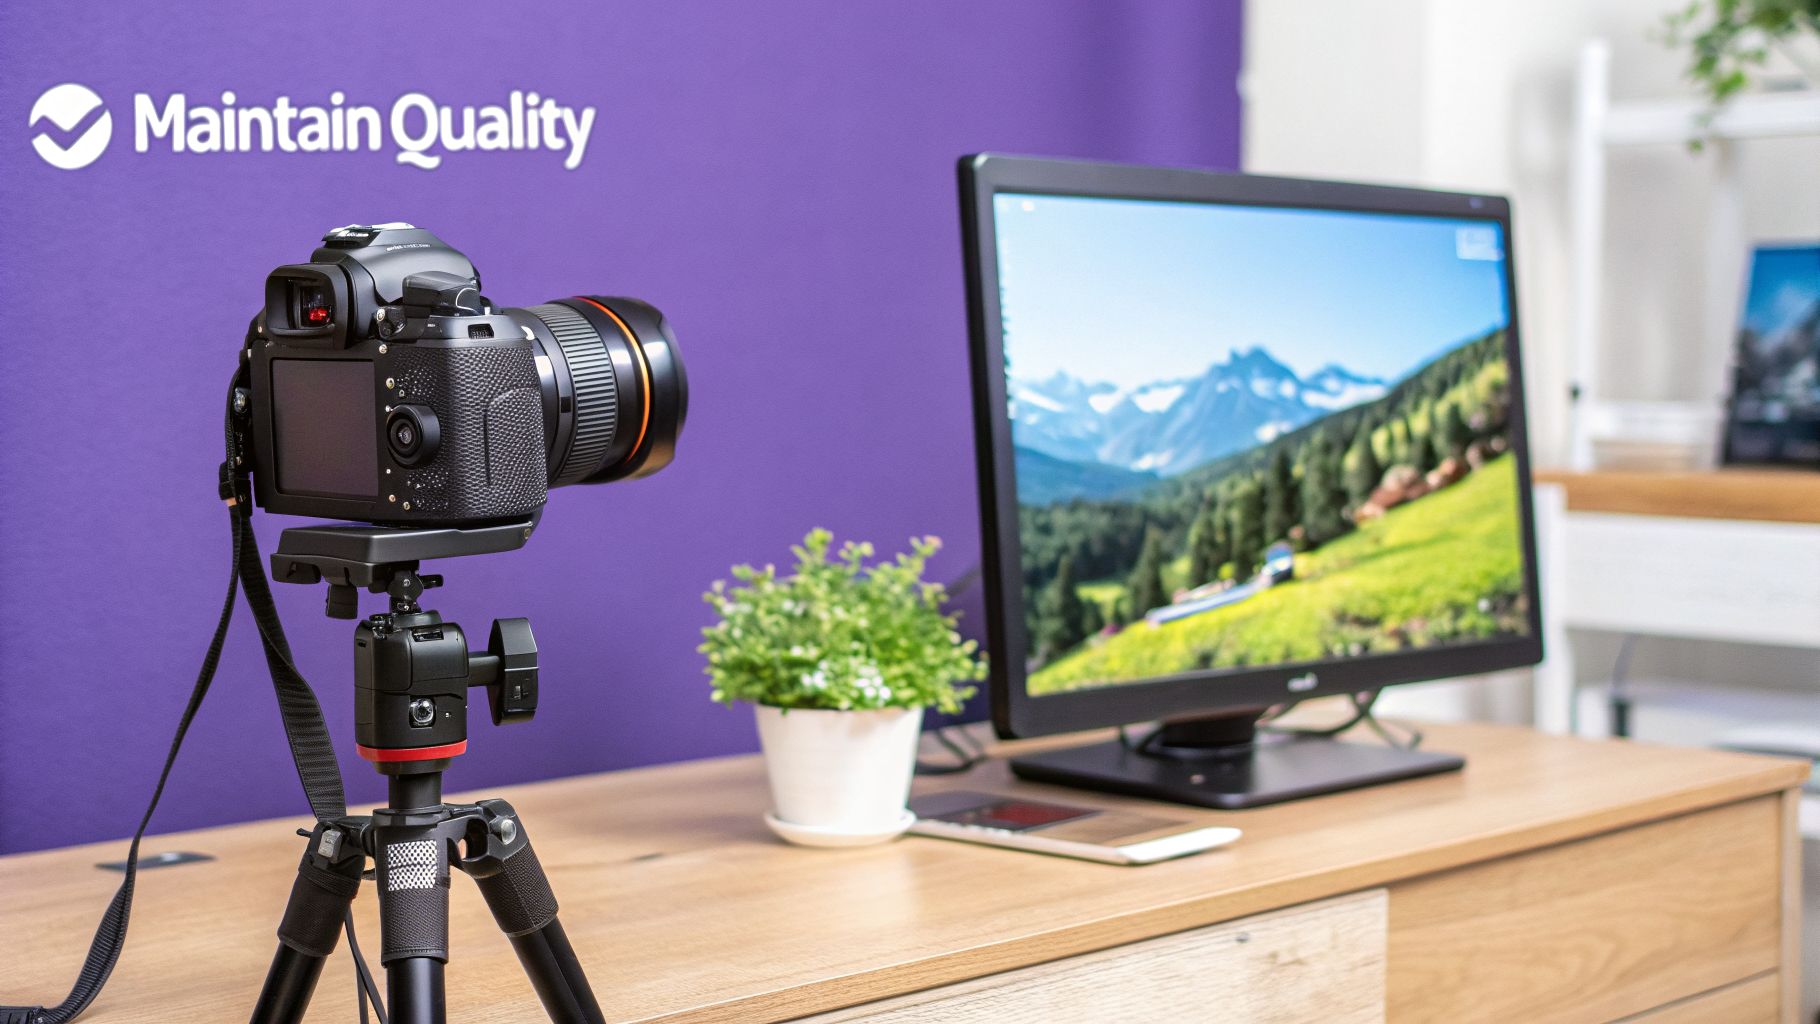
We’ve all been there. You execute a perfect zoom in post-production, but the second you hit play, your crisp footage dissolves into a blurry, pixelated mess. It’s the single biggest frustration when you’re learning how to zoom on a video, but it’s completely avoidable if you know what’s going on under the hood.
The whole game comes down to one thing: understanding the difference between optical zoom and digital zoom.
Optical zoom is what happens in your camera. The physical glass lens elements move to magnify the image before it's recorded. Because it’s bending light, not just stretching pixels, there's absolutely no loss in quality.
Digital zoom, on the other hand, is what happens in editing software. It’s a trick. It’s just cropping into your video and blowing up the remaining pixels to fill the screen. That’s where the ugly pixelation comes from. You’re telling the software to make a small piece of video fit a big frame, and it can only stretch those pixels so far before they start looking blocky and unprofessional.
So, how do you get those slick, professional-looking digital zooms without wrecking your video quality? The single best strategy—the secret weapon of pro creators—is to shoot in a higher resolution than you plan to deliver.
This is the whole magic trick. Film your content in 4K resolution (3840 x 2160 pixels). This gives you a massive digital canvas to play with.
If your final video is going to be exported in 1080p (1920 x 1080 pixels), you have an incredible amount of flexibility.
You can zoom in up to 200% on your 4K footage, and it will still look perfectly sharp in a 1080p final product. Why? Because at a 200% zoom, your 4K clip is effectively becoming a 1080p window. You aren't stretching pixels; you’re just cropping down to the exact size of your final resolution.
This technique is a creative game-changer. You can reframe your shots on the fly, create smooth push-in effects, and even cut between a wide and a close-up from a single take, all without losing a single drop of quality.
But what if you didn't shoot in 4K? You’ve got this standard 1080p clip and you really need to punch in on a detail. Can AI come to the rescue? Sometimes.
AI upscaling software tries to analyze your low-res or over-zoomed clip and intelligently invent new pixels to sharpen the image. The results are getting better, but they have serious limits.
The idea of zooming in software isn't new. It has a surprisingly long history, starting way back with AT&T's Picturephone in the 1960s. But it wasn't until the internet era that it became accessible to everyone. Eric Yuan launched Zoom 1.0 in 2013, and by 2022, video accounted for a staggering 80% of all global internet traffic. This explosion made zooming an essential tool, especially as podcasters found that simply zooming in on facial expressions could boost engagement by 35%. It's a simple trick with a powerful impact.
Okay, so you've spent time manually zooming in on your videos, and you've probably realized something: it’s tedious. Painfully tedious. For busy creators, podcasters, and marketers, every minute spent dragging keyframes is a minute you’re not spending on what actually matters.
This is where working smarter, not harder, stops being a cliché and starts being a survival strategy. AI-powered tools are completely changing the game by automating the most soul-crushing parts of turning your long videos into social-ready clips.
Platforms like Taja AI can analyze your long-form content—think podcasts, webinars, or keynote speeches—and intelligently pinpoint the perfect moments to zoom in. This isn’t just some random crop. The AI has been trained to spot speaker changes, highlight important action on screen, and even recognize shifts in energy that signal an engaging moment.
This isn't your standard video editor's crop tool. We're talking about auto-reframing and smart zoom. These features are built to turn a single horizontal video into a dozen engaging vertical clips, saving you countless hours of manual labor.
Imagine you just filmed a 60-minute real estate tour. Instead of scrubbing through the timeline trying to find those "wow" moments, the AI does the heavy lifting for you. It might automatically generate clips that zoom in on:
You get a week's worth of perfectly framed, attention-grabbing clips for Instagram Reels and TikTok, all without touching a single keyframe. If you really want to optimize this kind of content, learning how to get more views on YouTube Shorts can give you an edge, helping you create zooms that the algorithm loves.
When you let AI handle the initial grind, your role shifts from a tired editor to a strategic curator. You’re no longer hunting for good moments; you’re simply approving and refining them, which absolutely transforms your content workflow.
This screenshot from Taja AI shows how an AI can analyze a video and suggest multiple optimized clips, each with a unique title and focus.
Each clip represents a moment the AI flagged as highly engaging, ready to be turned into a short-form video with smart zooming already baked in.
The idea of "zooming" has come a long way. If you want to get historical, one of the first groundbreaking moments in video came on April 7, 1927, when AT&T broadcast a live moving image of Herbert Hoover. That event laid the groundwork for the tools we take for granted today.
Now, that legacy is being supercharged by AI. Tools like Taja AI are saving creators an average of 2.3 hours per video by automatically finding and zooming into key moments for social media.
For anyone producing a lot of long-form content, like podcasters and educators, this is a lifesaver. An AI-powered automatic clip maker can digest an entire interview and spit out clips that dynamically zoom in on each speaker as they talk. This creates a natural, conversational feel that’s perfect for vertical video, ensuring every clip is optimized for mobile viewing where holding attention is everything.
Once you start playing around with video zooming, a few questions always seem to pop up. Getting straight answers can save you a ton of frustration and help you skip the common mistakes I see new creators make all the time.
So, let's get into the nitty-gritty.
First up, what about live content? Can you, as the viewer, just pinch-and-zoom on someone's live stream? The short answer is almost always no. The person streaming is in full control of the video feed. Any zoom has to happen on their end before it's broadcast. You're just watching the final cut they send out.
This is the one that really matters. How far can you push a digital zoom before your video turns into a pixelated mess that screams "amateur"? While it all comes down to the quality of your original footage, I stick to a hard and fast rule: never push a 4K clip past a 200% zoom if your final video is going to be 1080p.
Why that specific number? Because at 200%, you're not actually stretching any pixels. You're just cropping a perfect 1080p frame out of the larger 4K shot. It’s a pixel-for-pixel match, so there’s zero visible quality loss. Go beyond that, and the software has to start inventing pixels, which is where things get blurry fast.
What about 1080p footage? Your wiggle room is much smaller. I've found you can usually get away with a 110% to 120% zoom for a subtle push-in effect. Anything more, and the quality drop becomes obvious to even casual viewers.
When you’re ready to start editing, you don't need to shell out a bunch of cash. There are some killer free tools that give you professional-level control over your zooms. The best one for you really depends on what you're trying to do.
Here are my top picks:
The choice is simple. Go with CapCut for speed and convenience; pick DaVinci Resolve when you need professional features and total control. If you have more questions on topics like this, feel free to check out our detailed frequently asked questions section.
Ready to stop wasting hours on tedious editing? With Taja AI, you can upload one long video and automatically get dozens of social-ready clips with smart zooms, perfect reframing, and SEO-optimized captions. Start your free trial today and see how much time you can save.


We are blessed to work with leading brands & Companies


We try to make easy and simple for every professionals. Get 30 days free trial - No credit card required.


© 2025 Taja AI. All rights reserved.